Easy Crochet Headband: Twisted Ribbed Ear Warmer for Beginners
Work one flexible back-loop half-double crochet rectangle, interlock the short ends, and seam four layers to create a polished twisted front without a long-edge tube seam.
Written by Sophie Lane•Published •About 13 minutes to read
Make the twist from the short ends—not by turning the whole band into a tube
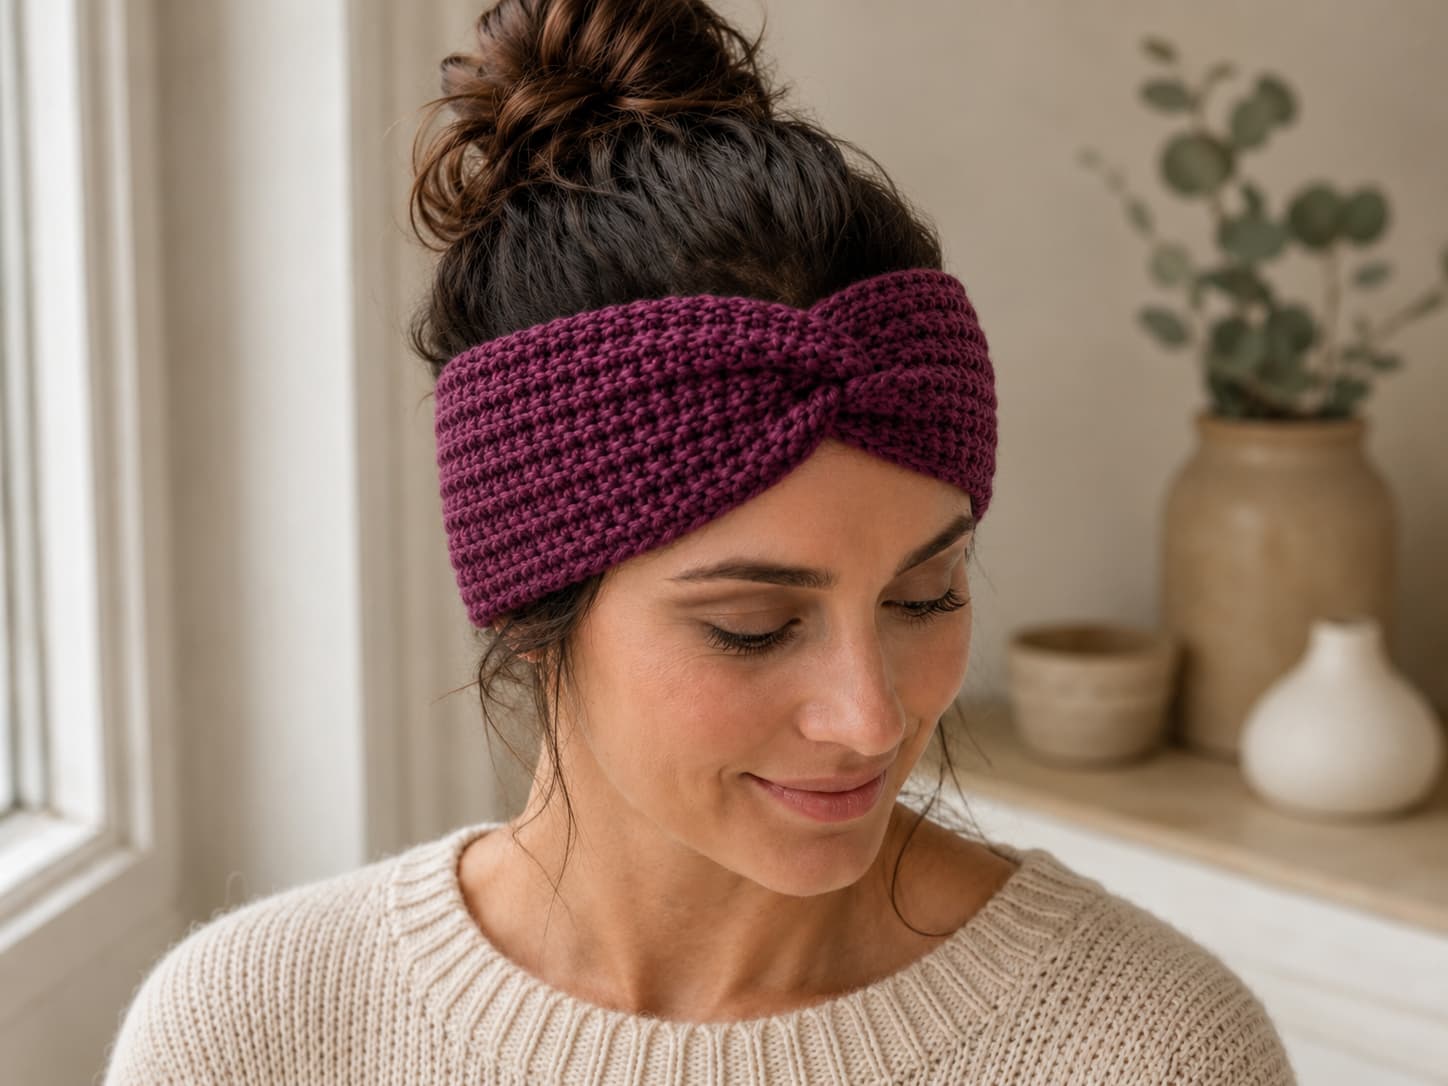
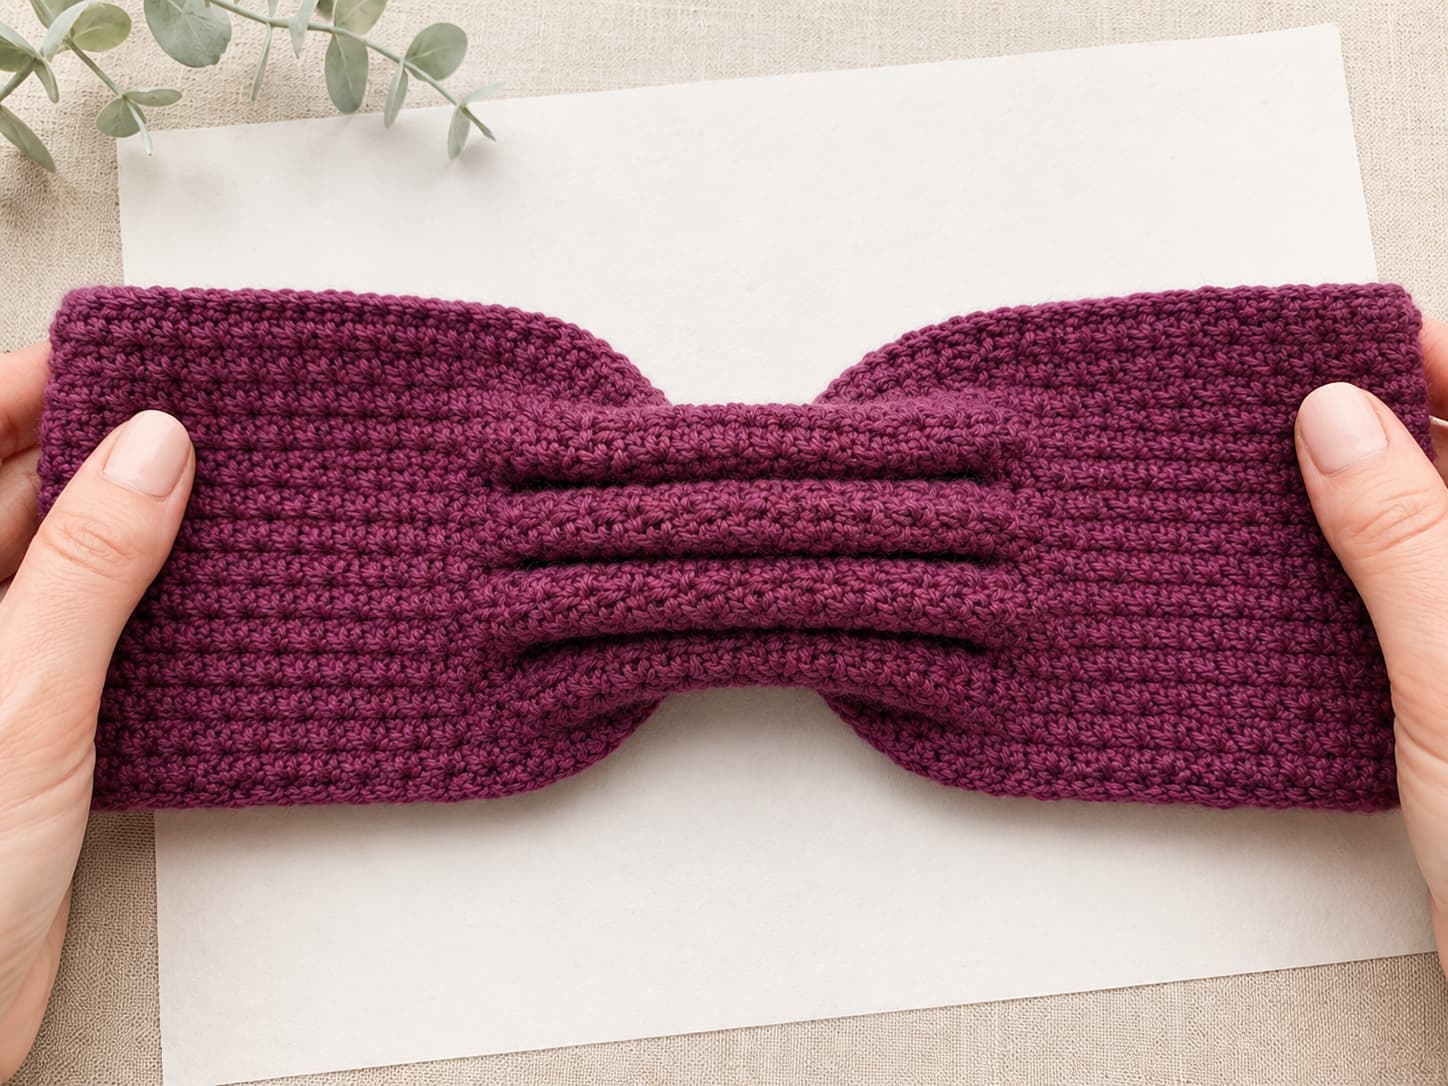
This headband is a flat rectangle worked lengthwise in back-loop half-double crochet. The two short ends are folded, interlocked like alternating C-shapes, and sewn through all four layers. Turning the seam inward reveals the gathered front.
The main sample uses soft plum berry, supported by warm oatmeal styling and small muted-sage details. Plum and berry shades create a more noticeable wearable than cream, while the softened saturation, bamboo hook, linen background, and warm paper preserve the Knitsoul character.
Image 01 · Finished twisted headbandSuggested file: knitsoul-easy-crochet-twisted-headband-plum-berry.jpgReplace only the img src value above with the full HTTPS WordPress Media URL.
The plum-berry sample gives the wearable a stronger focal color while the warm neutral styling keeps the image soft and natural.
Skill levelEasy
Foundation chain, hdc BLO, measuring, folding, and hand seaming.
Gauge14 sts × 11 rows
Per 4 in / 10 cm after washing in hdc BLO.
SizesS/M (M/L)
Designed around measured adult head ranges, not gender labels.
Finished lengthAbout 19 (21) in
Approx. 48.5 (53.5) cm before final fit verification.
Finished widthAbout 4⅜ in
Approx. 11 cm from 12 rows at reference gauge.
Sample colorSoft plum berry
Oatmeal and muted sage remain supporting colors in the image set.
On this page
Construction
Use a simple rectangle with one precise finishing move
Lengthwise foundation
The starting chain determines the relaxed circumference of the headband.
Back-loop texture
Every row of hdc BLO creates horizontal ribs with useful stretch and visual depth.
Four-layer twist
Each short end is folded, then the two folded ends interlock in alternating layers.
Hidden front seam
A hand-sewn seam closes the four layers and turns inward to reveal the gathered front.
Materials and color
Choose soft yarn with recovery as well as stretch
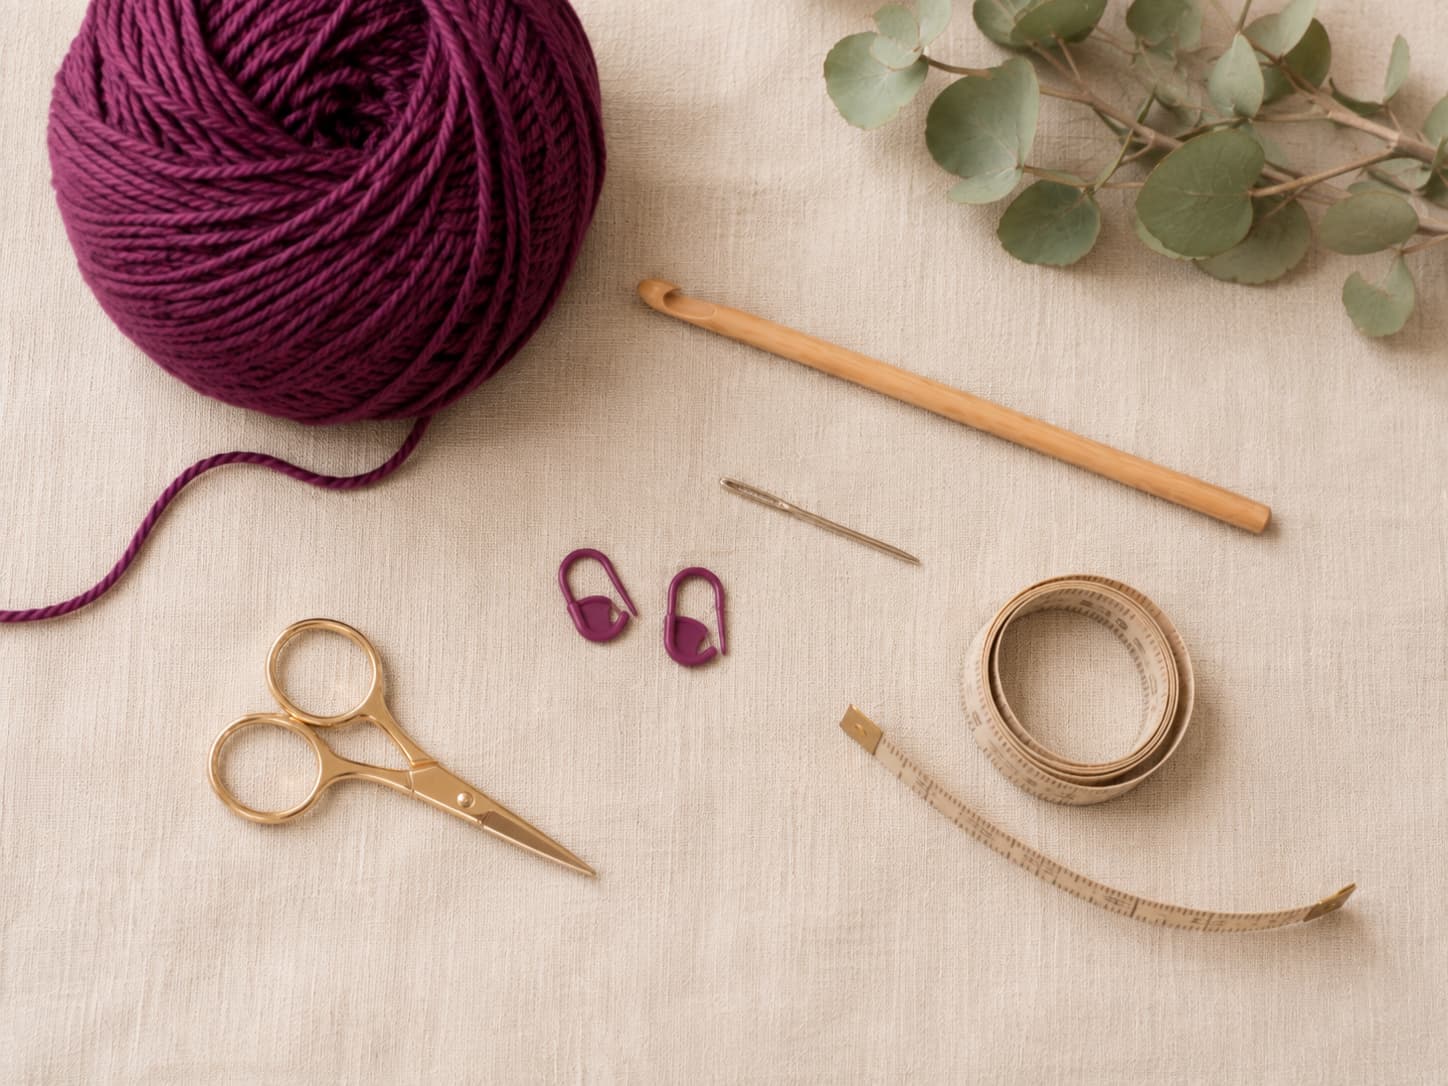
Image 02 · Headband materialsSuggested file: knitsoul-crochet-headband-materials-plum-berry-oatmeal.jpgReplace only the img src value above with the full HTTPS WordPress Media URL.
Choose yarn with comfortable softness and enough recovery to hold the headband in place.
Item
Specification
Purpose
Yarn
60–80 yd / 55–73 m Category 4 yarn
Choose a smooth wool blend or resilient acrylic that feels comfortable against skin.
Hook
5.0 mm, or size needed for gauge
Produces flexible hdc BLO ribs without an open, loose fabric.
Measures the rectangle and holds the four-layer seam before sewing.
Main sample
Soft plum berry
Provides a wearable focal color that photographs well against warm neutrals.
Supporting colors
Oatmeal, muted forest sage, golden ochre
Useful for alternate samples and props without crowding each image.
Fit before pattern
Measure the head, wash the swatch, and choose comfortable negative ease
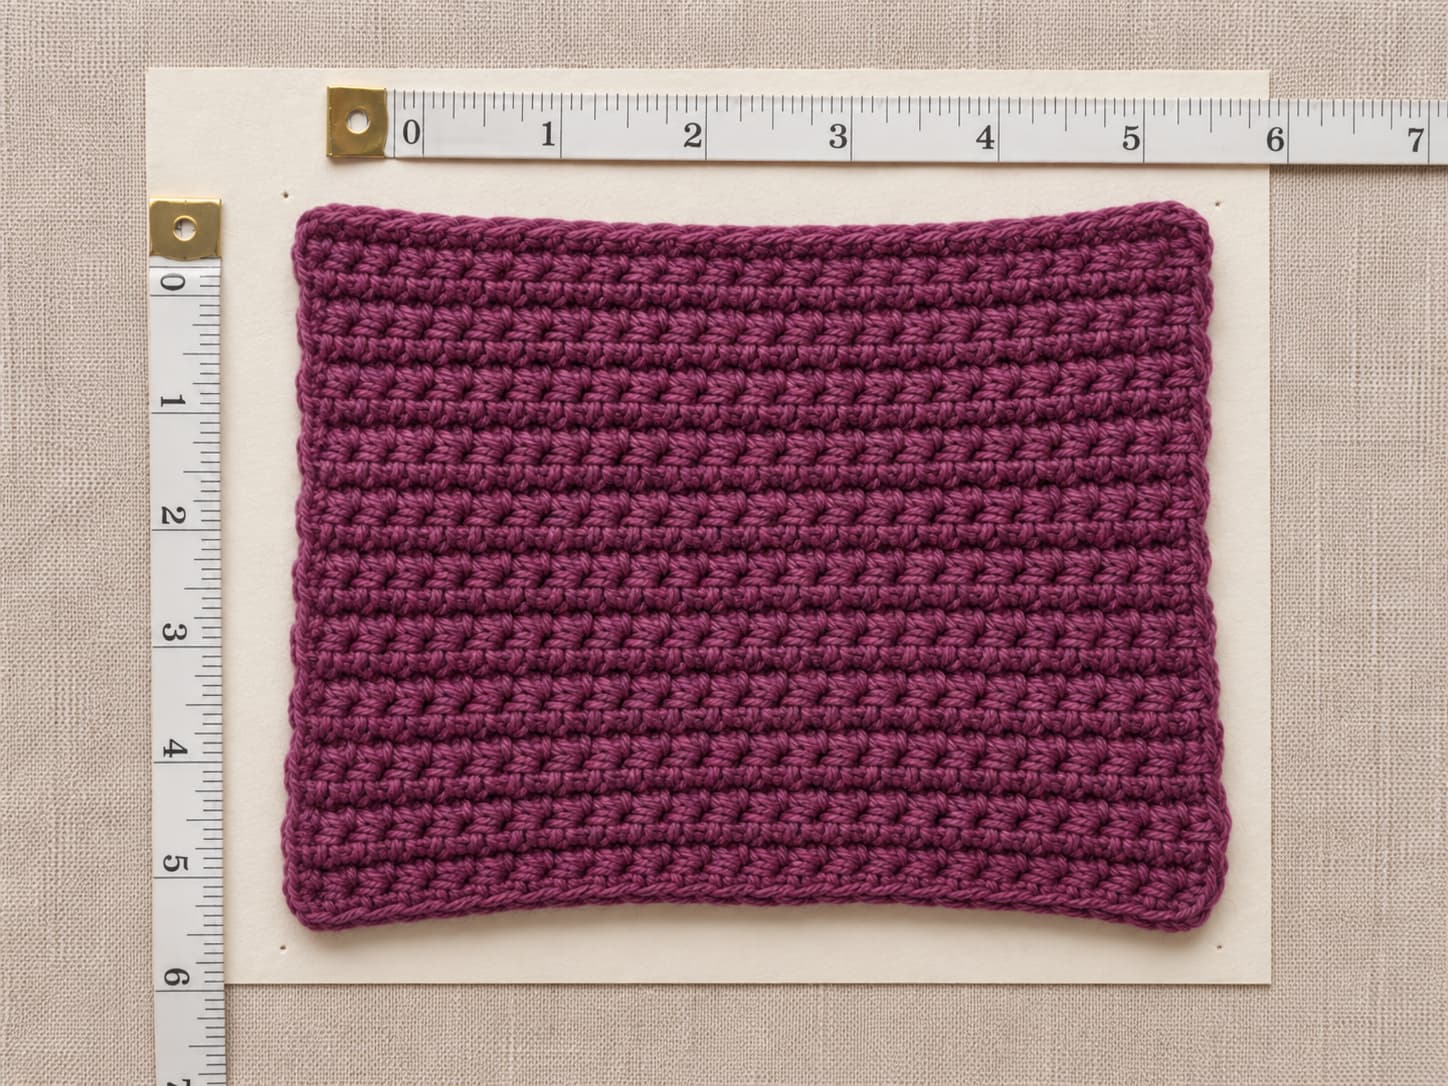
Image 03 · Gauge and sizingSuggested file: knitsoul-crochet-headband-gauge-swatch-plum-berry.jpgReplace only the img src value above with the full HTTPS WordPress Media URL.
The finished length depends on stitch gauge, while the band width depends on row gauge.
Gauge: 14 hdc stitches and 11 rows = 4 in / 10 cm in back-loop half-double crochet after washing.
Measurement
S/M
M/L
Suggested head range
20–22 in / 51–56 cm
22–24 in / 56–61 cm
Starting chain
67
74
Stitches per row
66
73
Relaxed rectangle length
About 19 in / 48.5 cm
About 21 in / 53.5 cm
Rows / width
12 rows / about 4⅜ in or 11 cm
Complete free pattern
Twisted Ribbed Headband: S/M (M/L)
Knitsoul free pattern
Plum-Berry Twisted Ear Warmer
Size orderS/M (M/L)
ConstructionWorked flat, short ends seamed
Abbreviationsch, hdc, BLO, st, RS, WS
Turning chainDoes not count as a stitch
Foundation and Row 1
Ch 67 (74) loosely. Starting in the second ch from hook, hdc in every chain across. Ch 1, turn. 66 (73) sts.
Rows 2–12
Hdc in the back loop only of every stitch across. Ch 1 and turn after Rows 2–11. Do not chain after Row 12. Keep the first and last stitches visible. 66 (73) sts.
Check the rectangle
Without stretching, confirm a length near 19 (21) in / 48.5 (53.5) cm and a width near 4⅜ in / 11 cm. Wrap it around the intended head with the short ends overlapping at the forehead. Adjust the length before seaming when needed.
Prepare the seam
Fasten off with a 24 in / 61 cm tail. Lay the rectangle with the right side facing up and the short ends pointing left and right.
Fold and interlock
Fold each short end in half so its long edge halves meet, creating two C-shaped ends. Slide the ends together so the four layers alternate: one half of End A, one half of End B, the second half of End A, and the second half of End B.
Seam
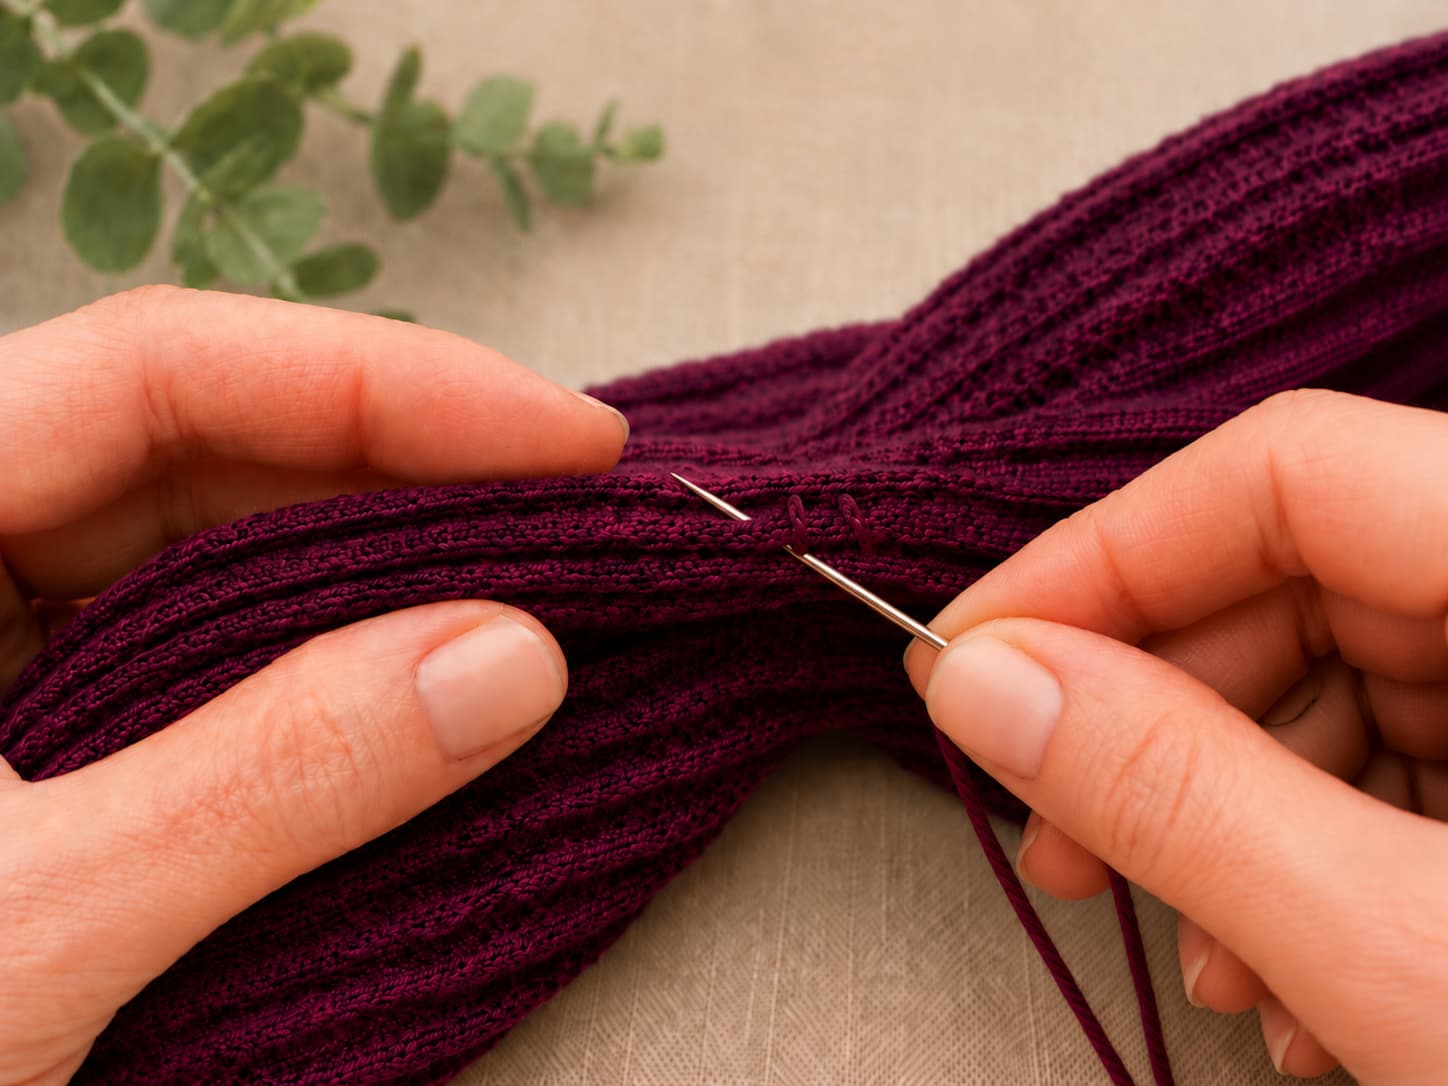
Use locking markers to hold the four layers. Thread the tail and whip stitch through all four layers across the complete short edge. Repeat back across weak areas without pulling the seam rigid. Secure and weave the tail.
Reveal the twist
Open the band and turn the seam toward the inside. Pull the outer folds gently over the seam so the gathered twist sits at the front centre.
Technique 1
Work every row in the back loop for consistent flexible ribs
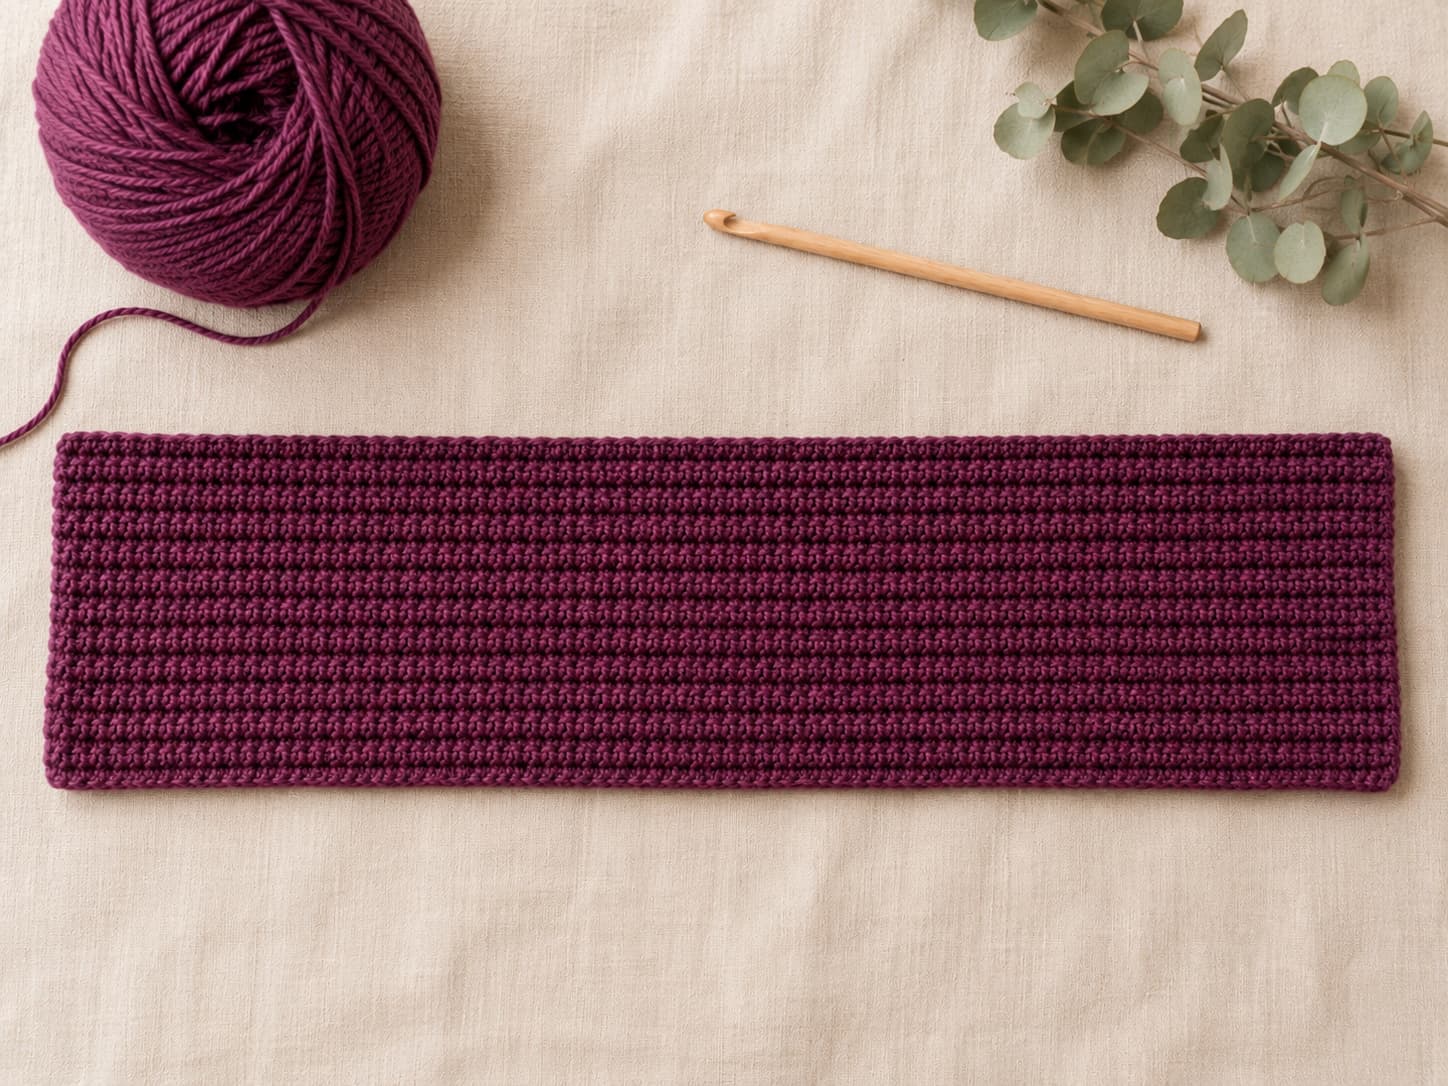
Image 04 · Ribbed rectangleSuggested file: knitsoul-crochet-headband-hdc-blo-rectangle-plum.jpgReplace only the img src value above with the full HTTPS WordPress Media URL.
Working every row through the back loop creates consistent horizontal ribs and useful stretch.
Insert the hook under the back loop only—the loop farthest from you at the top of the stitch. Keep the unused front loop visible as a horizontal ridge. Count every row because accidentally using both loops creates a noticeable interruption in the texture.
Technique 2
Interlock four short-end layers to create the gathered front
Image 05 · Interlocking twist setupSuggested file: knitsoul-crochet-headband-interlocking-twist-assembly.jpgReplace only the img src value above with the full HTTPS WordPress Media URL.
The alternating four-layer arrangement creates the twist without seaming the long edges into a tube.
Image 06 · Four-layer seamSuggested file: knitsoul-crochet-headband-four-layer-seam-closeup.jpgReplace only the img src value above with the full HTTPS WordPress Media URL.
Passing through all four layers secures the twist; the seam is turned to the inside after finishing.
Fold both short ends in half along the width.
Keep the folds facing each other like two open C-shapes.
Slide them together so the layers alternate A–B–A–B.
Pin the upper and lower corners before sewing.
Pass the needle through all four layers on every stitch.
Turn the finished seam inward and arrange the folds around it.
Finishing and fit
Check the seam at the forehead and the recovery around the full head
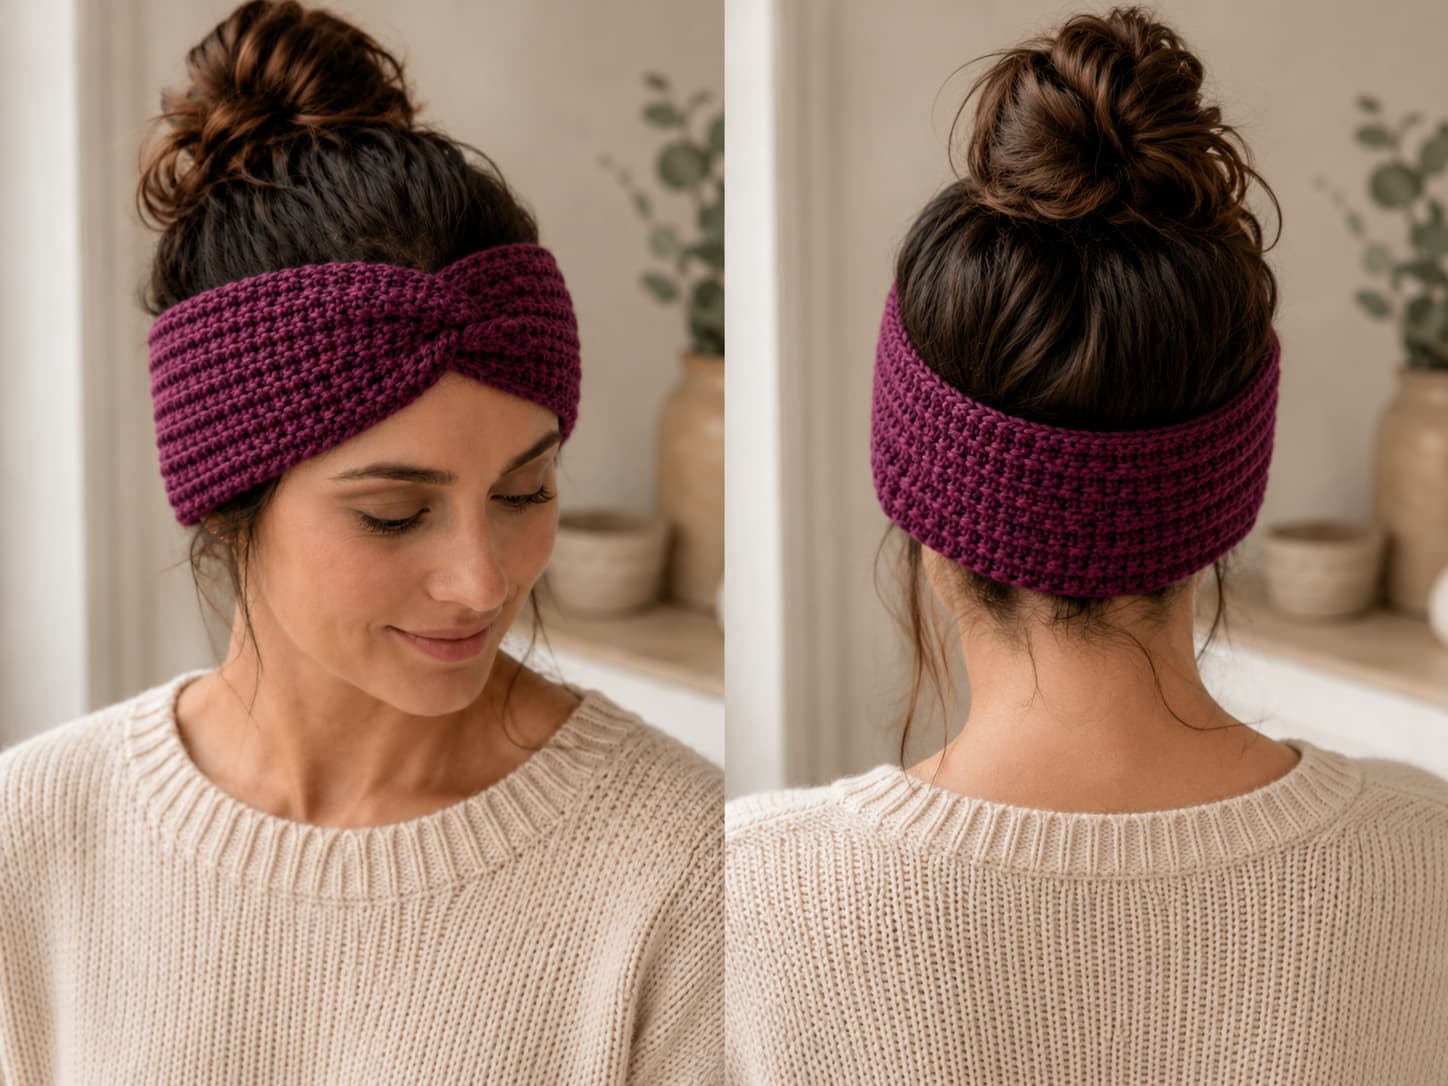
Image 07 · Front and back fitSuggested file: knitsoul-crochet-twisted-headband-front-back-fit-plum.jpgReplace only the img src value above with the full HTTPS WordPress Media URL.
The finished band should sit snugly without creating pressure at the seam or slipping over the ears.
Wash or steam only as permitted by the yarn label. After drying, place the twist where it feels most comfortable and confirm that the smooth back does not ride upward. The band should stretch onto the head and return close to its relaxed measurement after removal.
Practice tips and variations
Adjust color, width, and length while keeping the seam balanced
Plum berry
The main sample color gives the pattern a rich focal point without becoming neon or overly saturated.
Forest sage
A muted green version feels quieter and works especially well with oatmeal, camel, and denim outerwear.
Golden ochre
A softened ochre adds warmth and visibility while remaining more wearable than bright primary yellow.
Custom width
Add or remove rows, keeping an even total when possible so both folded end halves align cleanly.
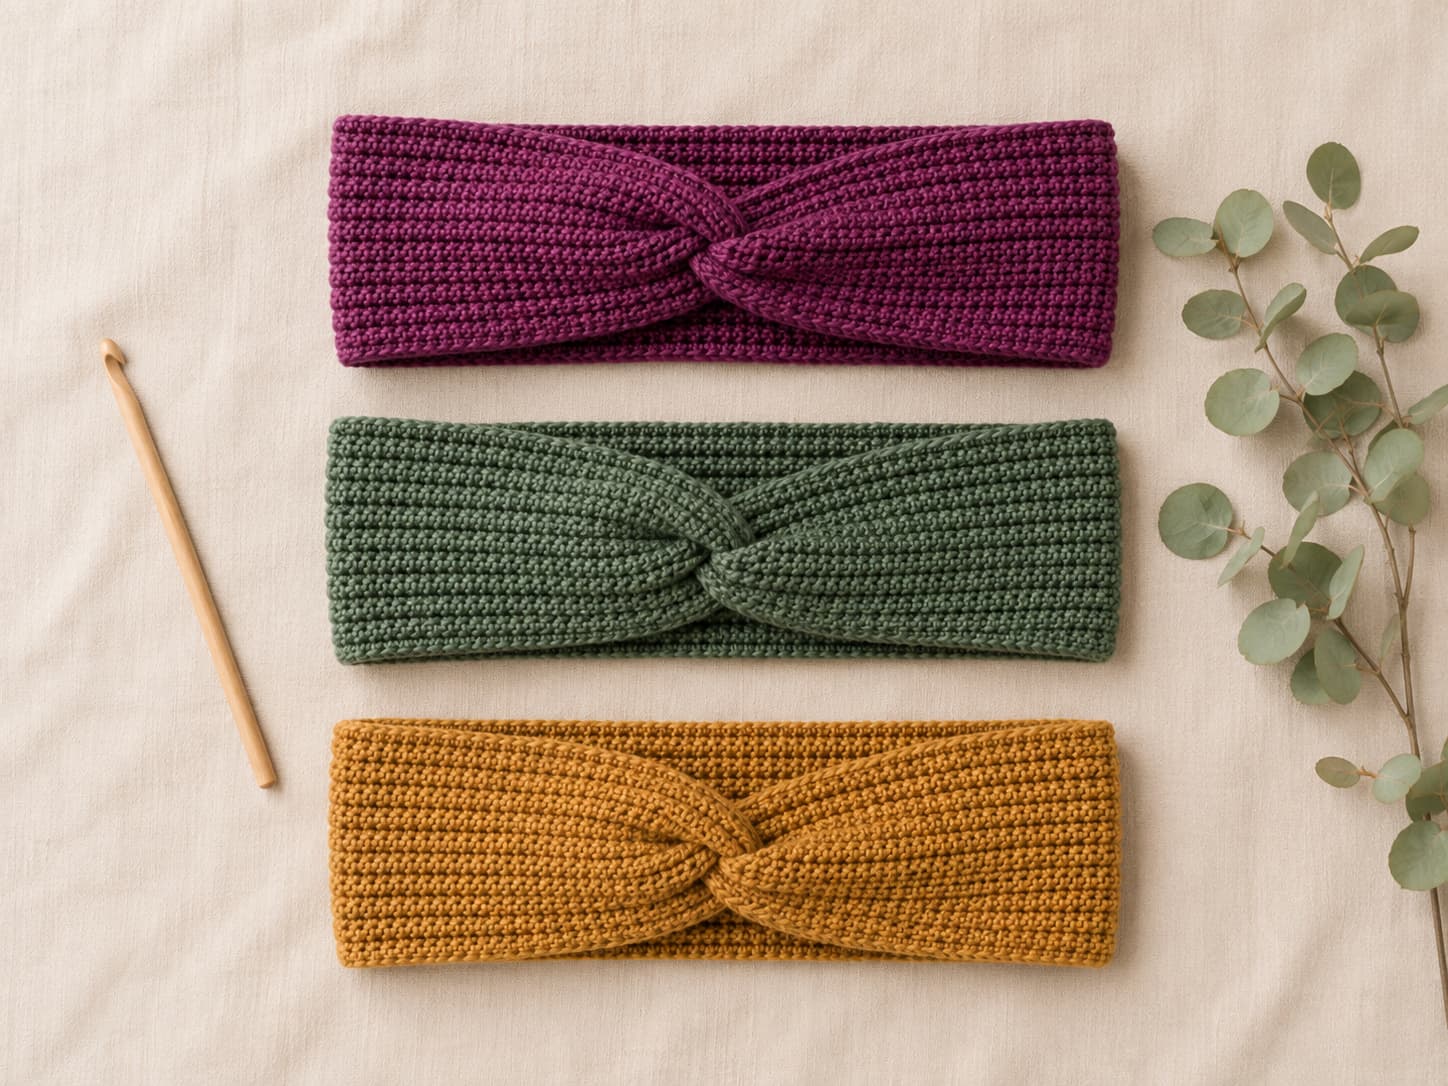
Image 08 · Color variationsSuggested file: knitsoul-crochet-headband-color-palette-plum-sage-ochre.jpgReplace only the img src value above with the full HTTPS WordPress Media URL.
Plum berry, forest sage, and golden ochre provide wearable color while the oatmeal styling links the group to the Knitsoul palette.
Troubleshooting
Six problems that change fit or the twisted front
Tight foundation chain
Use a relaxed chain or a hook 0.5 mm larger for the foundation only, then recheck the finished length.
Missing edge stitches
Count 66 (73) stitches on every row and mark the final stitch until the edges are easy to recognise.
Broken rib sequence
Work every row through the back loop only; a both-loops row creates a flatter band across the fabric.
Ends merely stacked
The layers must alternate A–B–A–B. Two stacked folded ends produce a bulky straight seam rather than a twist.
Long edges seamed
Leave the long edges open. The rectangle itself is the full-width band.
Rigid four-layer seam
Pull only until the layers meet and use a flexible hand seam rather than a tight crocheted ridge.
Continue learning
Take the ribbing and fit skills into the next wearable
1. How long should the headband be before seaming?
At the stated gauge, the S/M rectangle is about 19 inches and the M/L rectangle is about 21 inches. Measure the intended wearer and compare the rectangle’s relaxed length and stretch before seaming. Yarn recovery and personal comfort matter more than the size label alone.
2. Why does this version not seam the long edges?
The fabric is already a complete broad band. The twisted front is formed by folding and interlocking the two short ends, then sewing through four layers. Seaming the long edges would turn the band into a narrower tube and change the intended width and fit.
3. Can I use cotton yarn?
Cotton can work when the specific yarn has enough elasticity and recovery, but many firm cottons relax during wear. Make a washed swatch, stretch it several times, and check whether it returns close to its original measurement. A soft wool blend or resilient acrylic is often easier for this construction.
4. How do I adjust the length?
At a stitch gauge of fourteen half-double crochet stitches per four inches, about three to four stitches change the length by roughly one inch. Add or remove foundation chains, then confirm the relaxed and stretched measurements before working all twelve rows.
5. How do I make the band wider or narrower?
Change the number of rows. At eleven rows per four inches, three rows change the width by a little over one inch. Keep an even total when you want the two folded end halves to align neatly.
6. Why is the seam bulky?
The front seam intentionally contains four layers, but it should remain flexible. Use a tapestry needle rather than crocheting a rigid ridge, pass through consistent edge loops, and pull the yarn only until the layers meet.
7. May I sell finished headbands made from this pattern?
You may sell finished physical headbands made from the pattern. Do not copy, redistribute, or sell the written pattern or images. Credit Knitsoul as the source when listing finished items online.
A simple wearable
Let even back-loop rows create the stretch and four interlocked layers create the twist
The finished result depends on accurate length, a consistent twelve-row width, and a flexible seam through all four short-end layers. Verify the washed fit before making multiples or publishing fixed time and yarn-use claims.