Skip to the knit hat pattern

Free knitting pattern + circular-knitting lesson

Easy Knit Hat Pattern: Your First Seamless Beanie in the Round

Knit a three-size worsted-weight beanie with a 1×1 ribbed brim, stockinette body, eight-section crown, and a choice of DPNs or Magic Loop for the final rounds.

EasyU.S. knitting termsSizes S (M, L)Worked in the round
Quick answerJump to pattern

Start here

Move from flat rectangles to a fitted circular project

This easy knit hat is worked from the brim upward in a continuous round. The brim alternates knit and purl stitches, the body uses knit stitches only, and the crown removes eight stitches on each decrease round until eight live stitches remain.

The pattern is designed as a next project after a washcloth or scarf. You should already know a cast-on, knit, purl, and basic bind-off terminology. The new skills are joining without twisting, reading rounds, moving markers, making k2tog decreases, and changing to a small-circumference method.
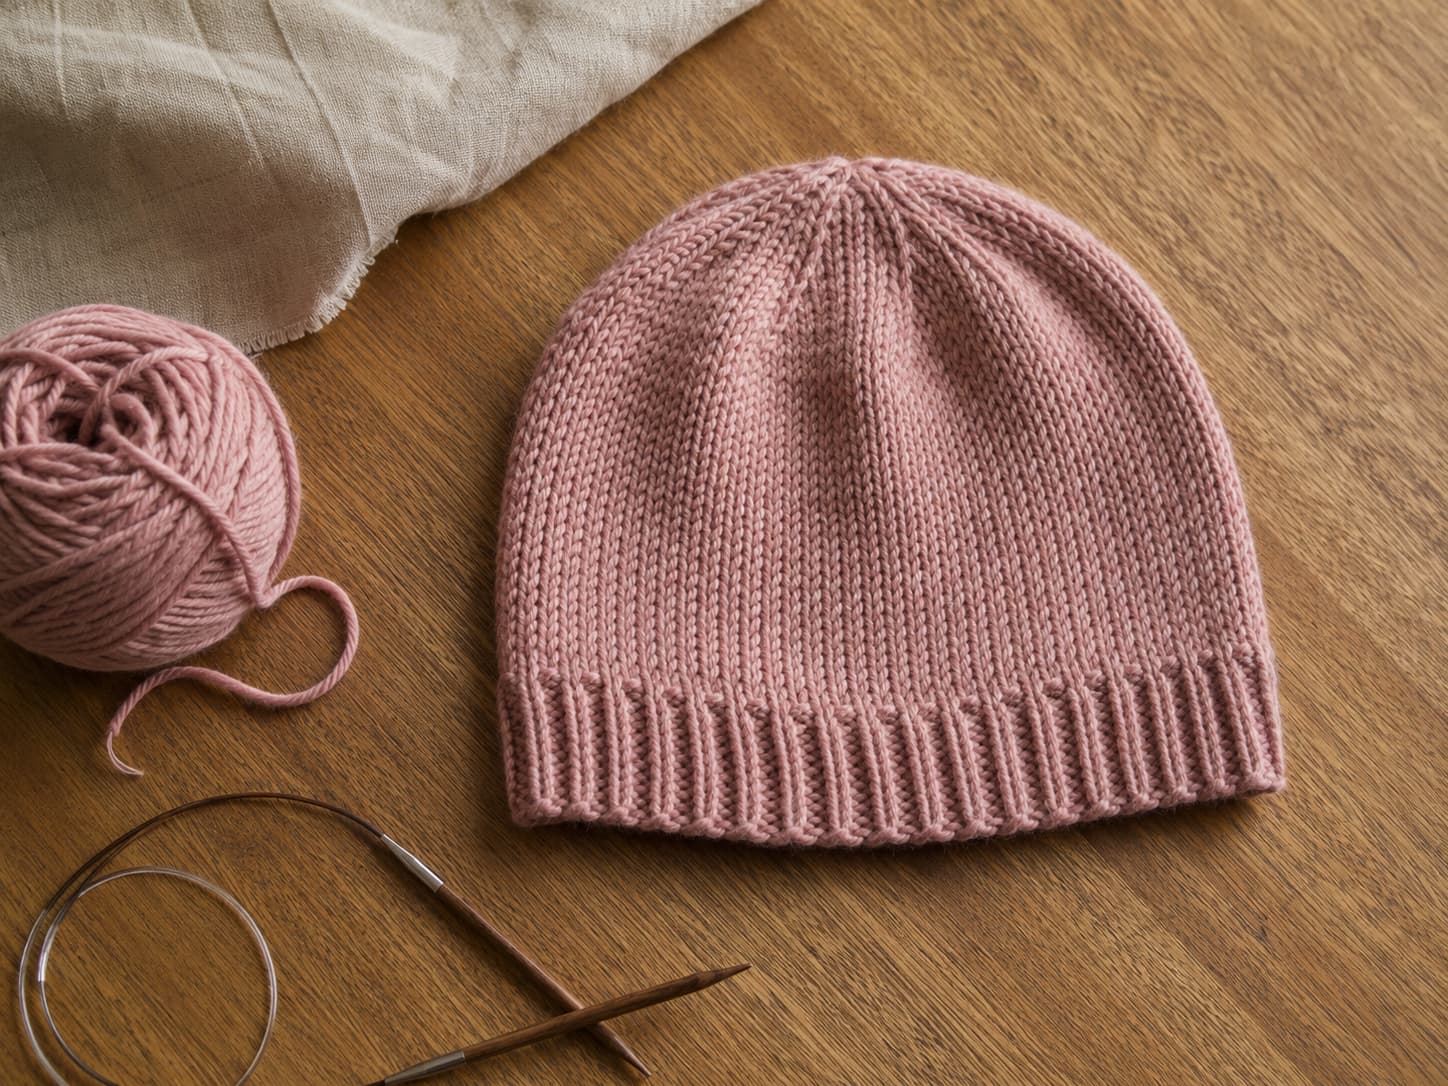
Finished dusty-rose seamless knit beanie with a single-layer 1×1 ribbed brim, smooth stockinette body, and rounded decrease crown beside circular needles on a warm wooden table.
The first hat teaches circular knitting, ribbing, stockinette, decreases, and a drawstring crown.
Skill levelEasy

Circular knitting and simple decreases are introduced.

Gauge18 sts × 24 rnds

Per 4 in / 10 cm after washing in stockinette.

Finished circumference17¾ (19½, 21¼) in

Approx. 45 (49.5, 54) cm at pattern gauge.

Fits head20–21 (21–22½, 22½–24) in

Measure the wearer and choose preferred negative ease.

Yarn estimate120 (140, 160) yd

Approx. 110 (128, 146) m; verify with final samples.

First-project timeApprox. 4–7 hours

Includes joining, corrections, crown, and finishing.
On this page

Construction

Know the four transitions before casting on

Flat cast-on to a round

The cast-on edge must remain untwisted around the cable before the first and last stitches are connected.

Ribbing to stockinette

The brim uses a smaller needle. The body begins by knitting onto the larger needle.

Full circumference to crown

Seven additional markers divide the hat into eight sections for evenly spaced decreases.

Short circular to small circumference

DPNs or Magic Loop take over when the remaining stitches no longer travel around the short cable.

Materials

Use tools that support gauge and comfortable circular knitting

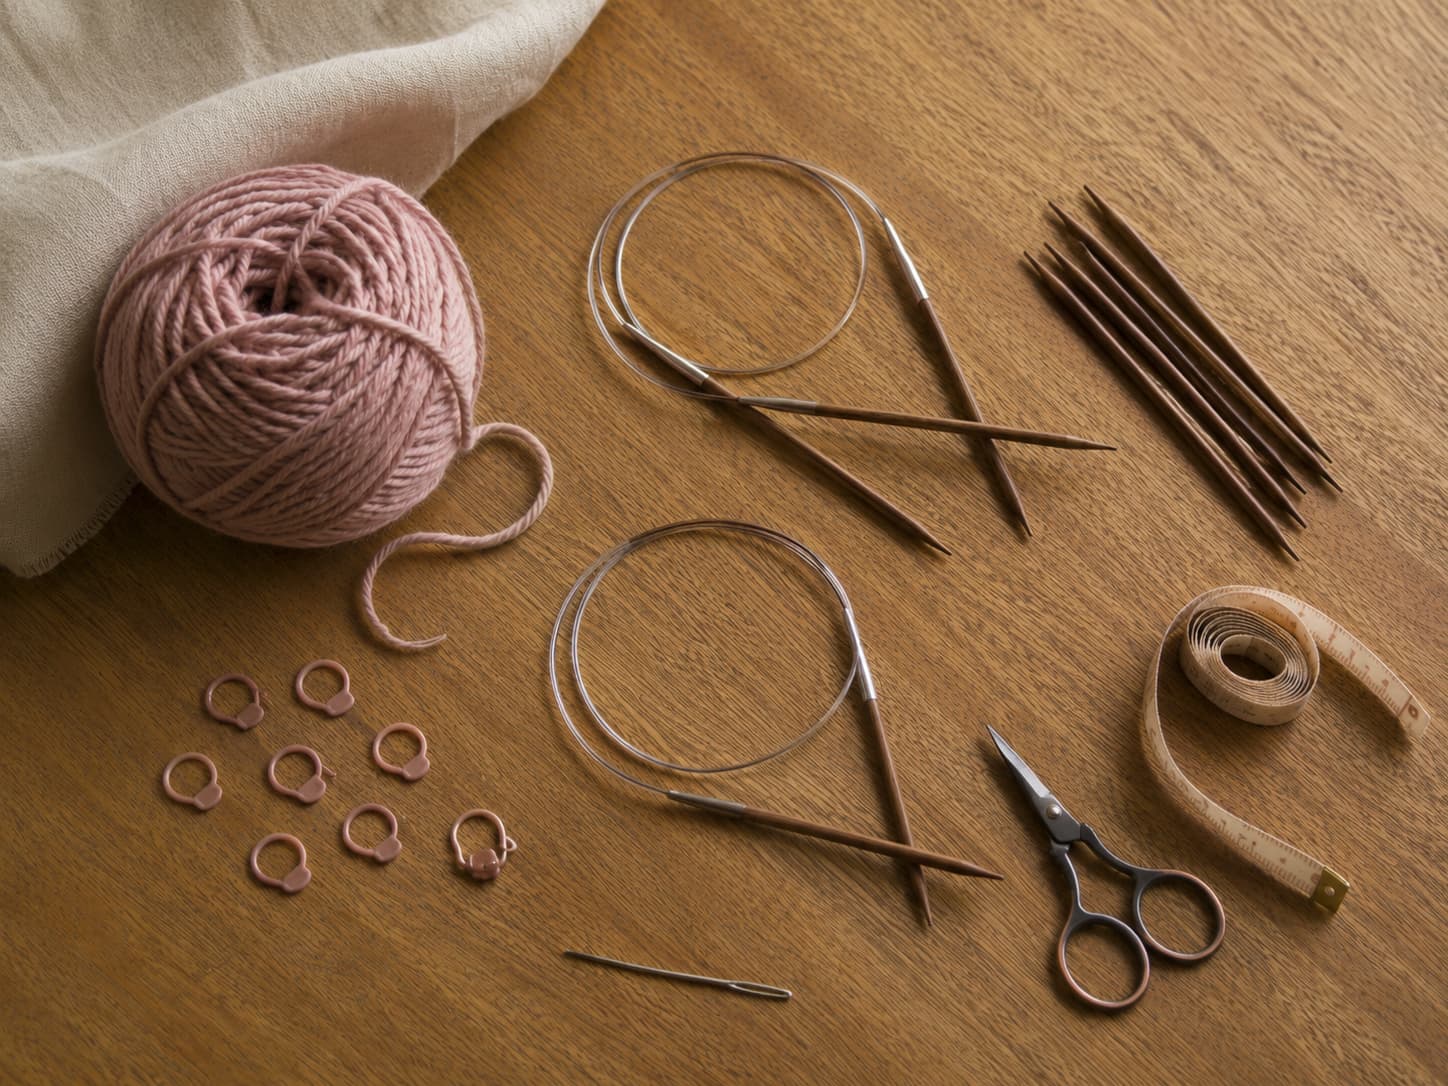
Dusty-rose smooth worsted-weight yarn, 4.5 mm and 5 mm circular needles, matching DPNs, stitch markers, measuring tape, scissors, and a tapestry needle arranged on natural linen.
Use metric needle sizes and choose yarn by gauge, fabric, care, and total meterage.
ItemSpecificationPurpose
Yarn120 (140, 160) yd / 110 (128, 146) m smooth Category 4 yarnChoose a resilient yarn suitable for the wearer and intended care.
Brim needle4.5 mm 16-inch circular, or size needed for a firm elastic brimWorks 1×1 rib at a slightly denser gauge.
Body needle5 mm 16-inch circular, or size needed for pattern gaugeWorks stockinette body and early crown.
Crown needles5 mm DPNs or 32–40-inch circular for Magic LoopHandles the shrinking circumference.
Markers8 total, with one distinctive BOR markerMarks the beginning and eight crown sections.
Finishing toolsTapestry needle, scissors, tape measure, optional row counterMeasures, tracks, closes, and secures the hat.

Fit before pattern

Match gauge, then choose finished circumference and ease

MeasurementSML
Suggested head range20–21 in / 51–53.5 cm21–22½ in / 53.5–57 cm22½–24 in / 57–61 cm
Cast-on80 sts88 sts96 sts
Finished circumference17¾ in / 45 cm19½ in / 49.5 cm21¼ in / 54 cm
Begin crown at total length5½ in / 14 cm5¾ in / 14.5 cm6 in / 15 cm
Approx. finished height8½ in / 21.5 cm9 in / 23 cm9½ in / 24 cm

Gauge

18 stitches and 24 rounds = 4 inches / 10 cm in stockinette after washing.

Make an in-the-round swatch with DPNs, Magic Loop, or a circular speed-swatch technique. When you swatch flat as a preliminary check, remember that purl-row tension can differ from knit-only circular tension. Confirm the hat’s stitch gauge after the first inch of body and restart early when it is outside the target.

Complete free pattern

Easy Seamless Beanie: written instructions

Knitsoul free pattern

Easy Knit Hat · S (M, L)

Gauge18 sts × 24 rnds / 4 in
ConstructionBottom up, seamless, in the round
AbbreviationsCO, k, p, k2tog, rnd, st, pm, sm, BOR
Size orderS (M, L)

Cast on and join

With the 4.5 mm 16-inch circular, loosely CO 80 (88, 96) sts using a stretchy cast-on you can work consistently. Arrange the lower cast-on edge toward the center of the cable and confirm it does not twist. Place the distinctive BOR marker and join for working in the round.

Brim

Rnd 1: *K1, p1; rep from * around.

Repeat Rnd 1 until the brim measures 1½ in / 4 cm from the cast-on edge.

Body

Change to the 5 mm 16-inch circular. Knit every round until the entire piece measures 5½ (5¾, 6) in / 14 (14.5, 15) cm from the cast-on edge.

Set up crown

Keeping the BOR marker, place 7 more markers so the round is divided into 8 equal sections of 10 (11, 12) sts.

Crown repeat

Decrease rnd: *Knit to 2 sts before marker, k2tog, sm; rep from * 8 times. Eight stitches decreased.

Plain rnd: Knit every stitch, slipping markers.

Work these two rounds as a pair 8 (9, 10) times total, switching to matching DPNs or Magic Loop when needed. After the final plain round, all sizes have 16 sts.

Completed pairSML
1728088
2647280
3566472
4485664
5404856
6324048
7243240
8162432
91624
1016

Final round and closure

Final rnd: K2tog around, removing markers as reached. 8 sts remain.

Cut yarn with a 10–12 in / 25–30 cm tail. Thread the tail through the 8 live stitches, remove the needles, draw the opening closed, pass the tail through the center, secure it on the inside, and weave it through several stitches before trimming.

Technique 1

Join in the round without locking in a twist

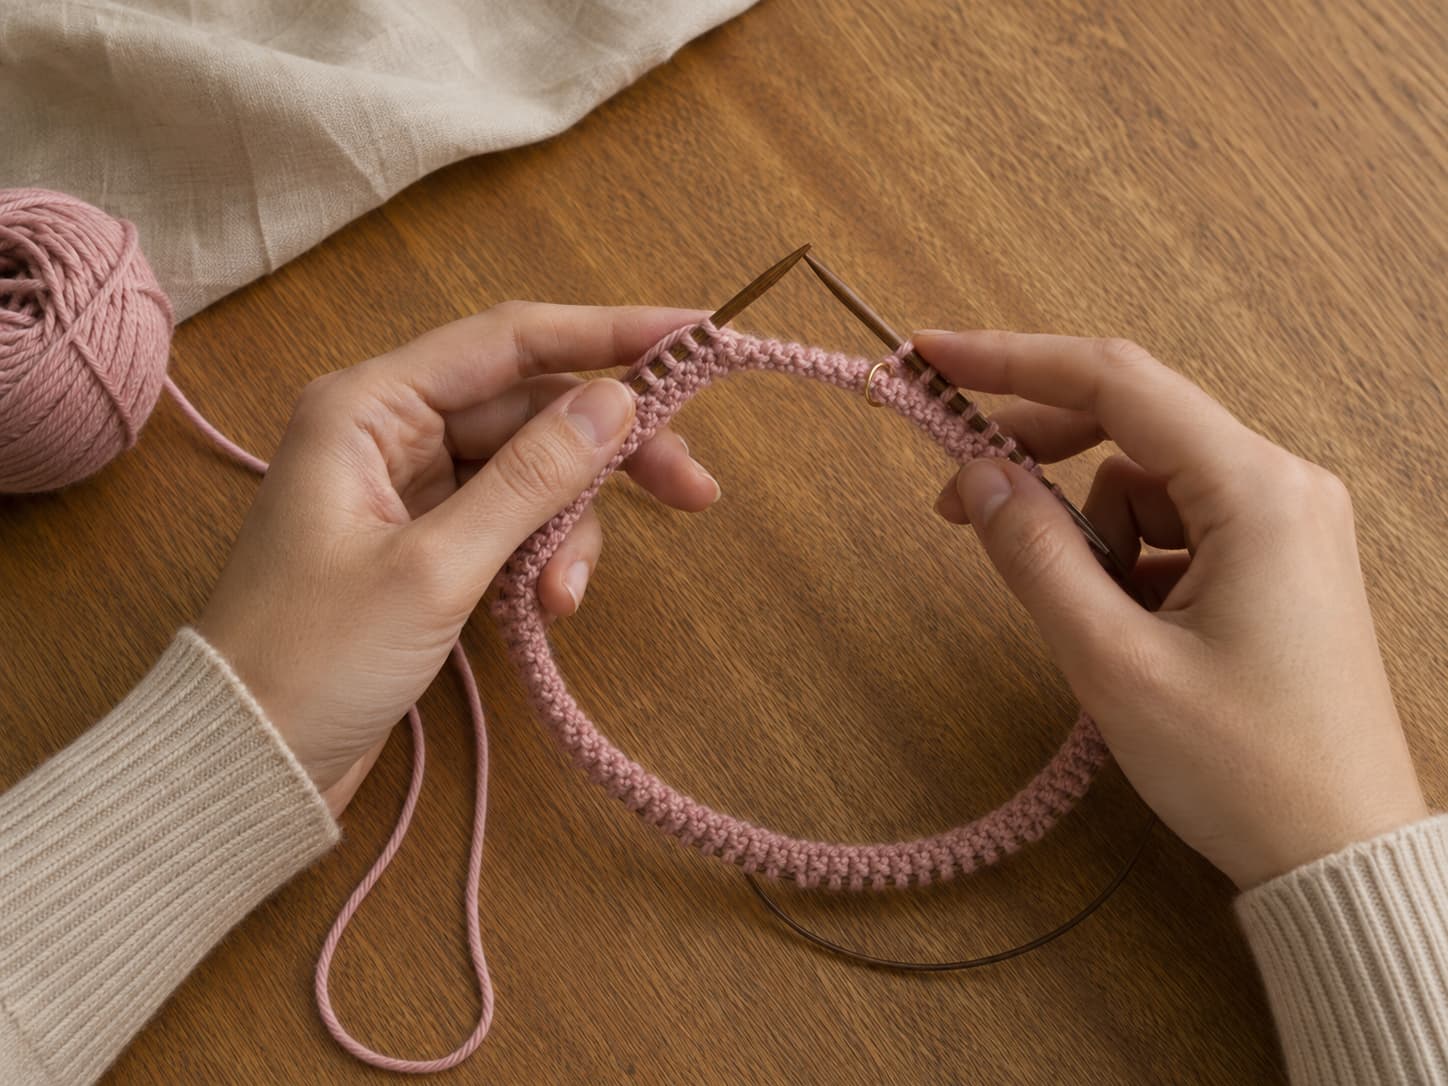
Dusty-rose cast-on stitches arranged evenly around a 16-inch circular needle with the lower edge facing the center before joining the hat in the round.
Check the complete cast-on edge for a twist before making the first joined stitch.
  1. Spread stitches along the cable so none are stacked.
  2. Trace the lower cast-on edge around the complete circle.
  3. Make sure the edge points toward the center everywhere.
  4. Bring the tips together without rotating either end.
  5. Place the BOR marker and knit the first stitch.
  6. Check again after several stitches; restart immediately if the edge twists.

Technique 2

Move the yarn between the tips for clean 1×1 ribbing

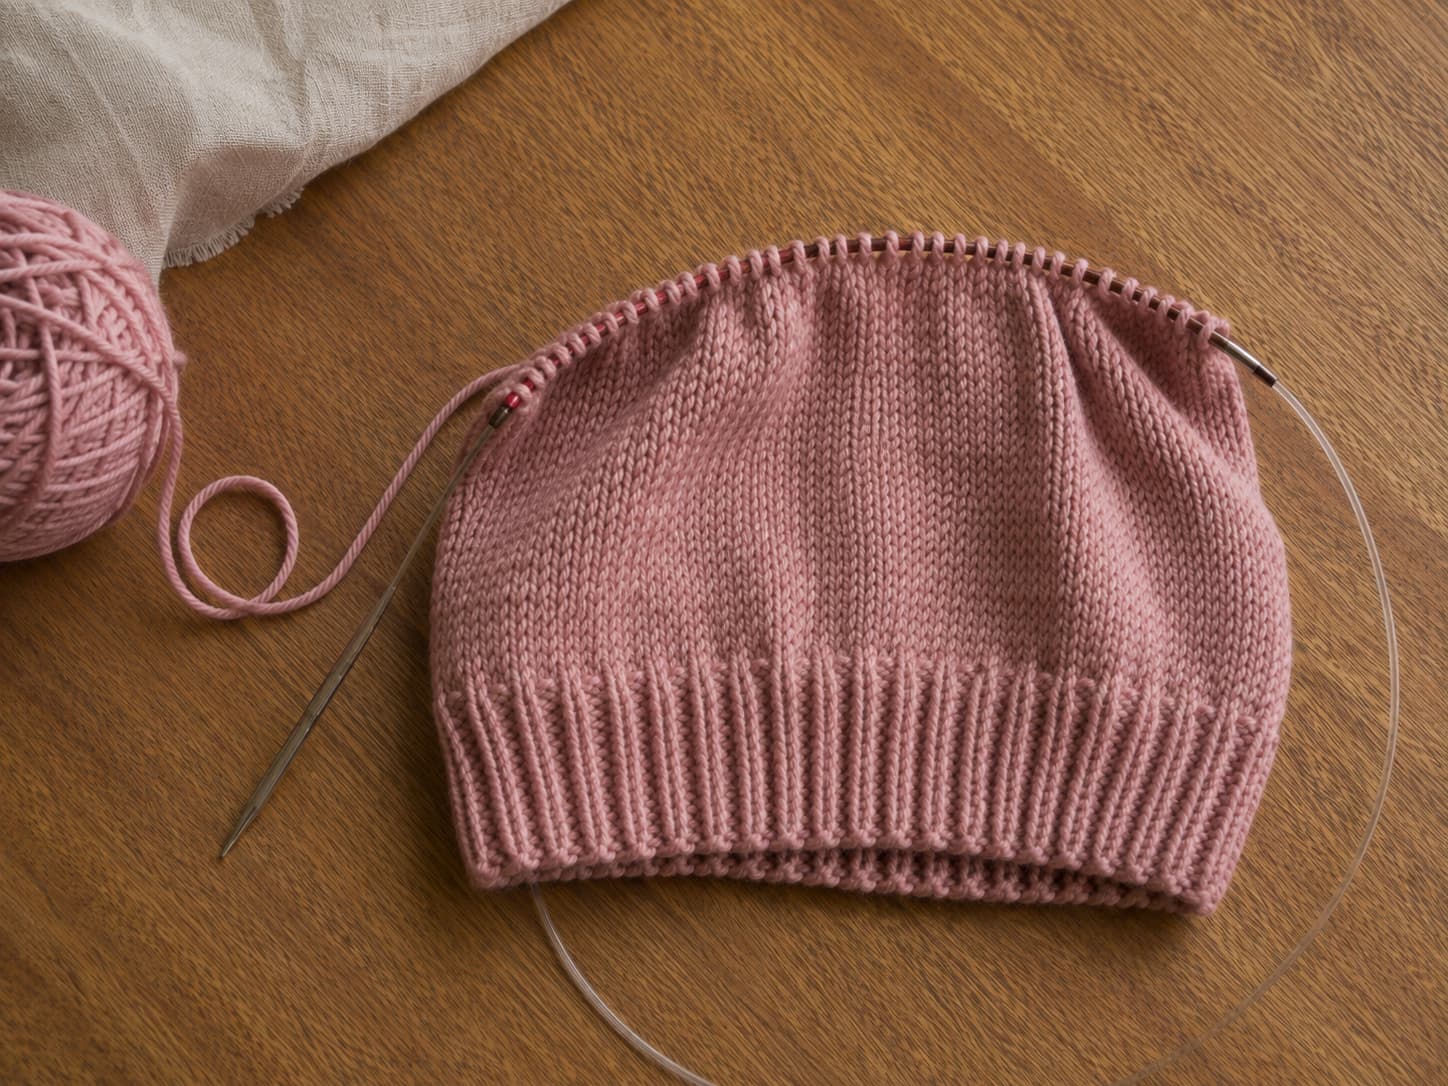
Dusty-rose knit hat in progress showing a single-layer 1×1 ribbed brim transitioning to smooth stockinette on circular needles.
The smaller needle supports a resilient brim; the larger needle produces the pattern gauge in the body.

For every purl stitch, bring the working yarn forward between the needle tips. For every knit stitch, return it to the back between the tips. Taking the yarn over the needle creates an accidental yarn over and adds a stitch.

When changing to the larger body needle, knit the first body round directly onto it. The smaller needle becomes empty as the round progresses. Confirm the printed metric size before continuing.

Technique 3

Let eight marker sections create a controlled rounded crown

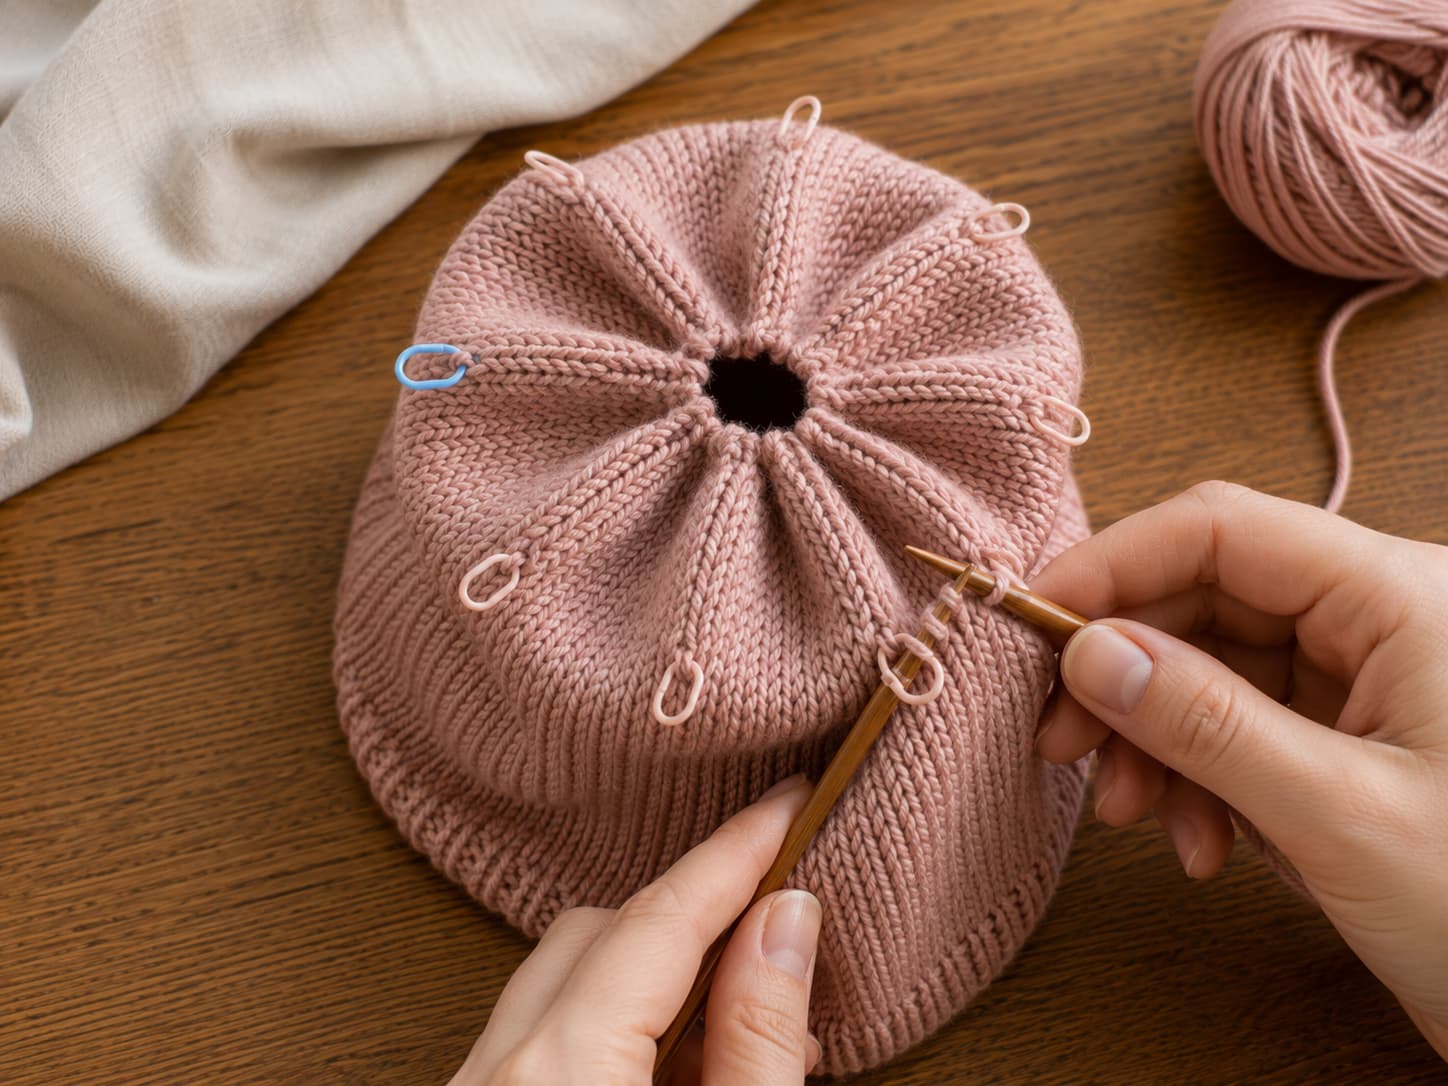
Dusty-rose knit hat crown on circular needles with eight clearly spaced sections and a knit-two-together decrease positioned before each marker.
Eight decrease points remove eight stitches on every decrease round.

Each decrease round works one k2tog immediately before every marker, removing eight stitches. The plain round between decrease rounds adds height. Count the complete round after each decrease pair and compare it with the checkpoint table.

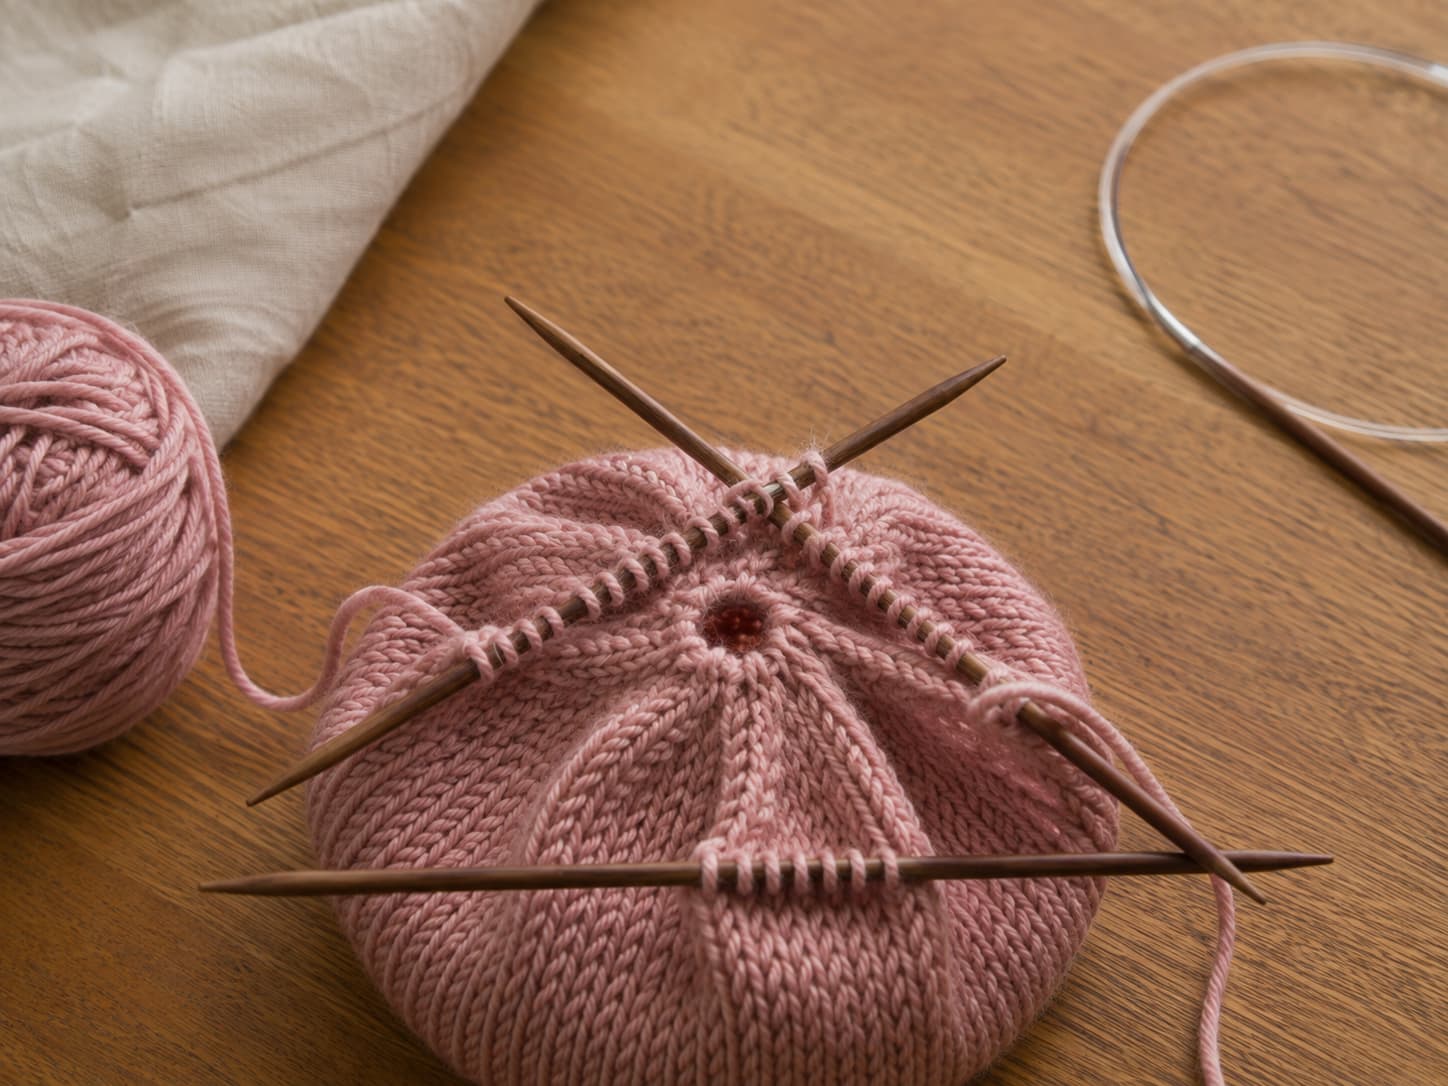
Dusty-rose hat crown with the remaining live stitches distributed across double-pointed needles beside a long circular needle arranged for Magic Loop.
Use DPNs or Magic Loop when the remaining circumference becomes too small for the 16-inch circular.

Finishing

Secure the crown, weave the tails, and wash for the intended care

Weave the cast-on tail through the reverse of the ribbing without restricting stretch. Wash according to the yarn label, remove water without wringing, shape the brim and crown by hand, and dry thoroughly. Avoid stretching the ribbing over an object larger than the intended head measurement.

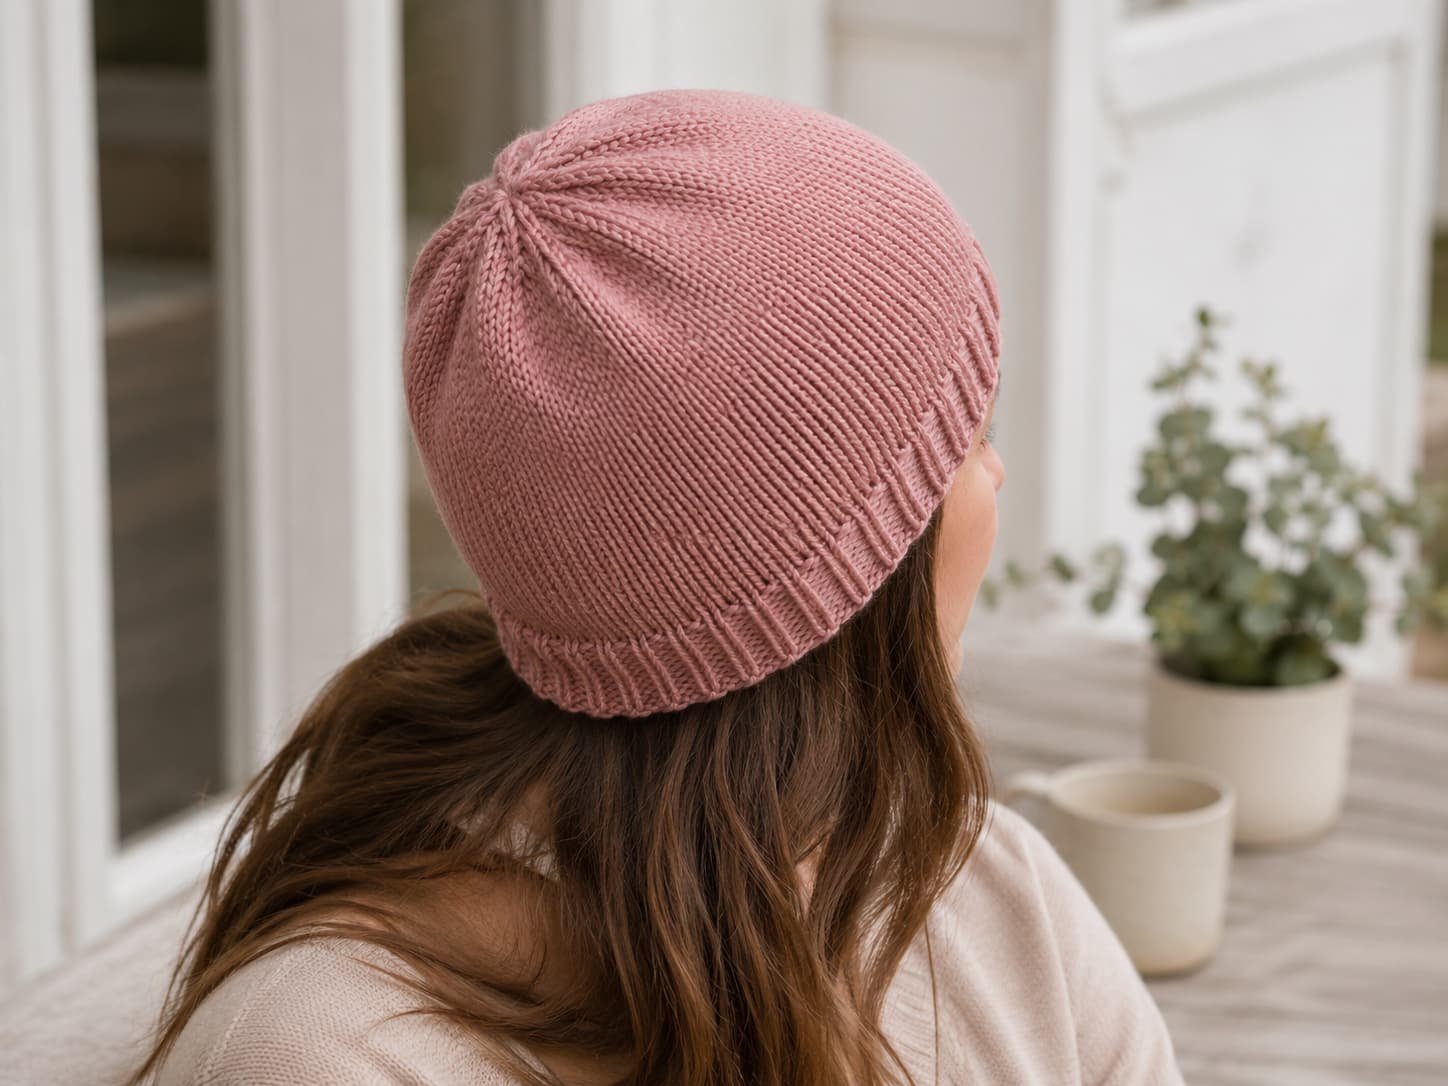
Dusty-rose stockinette beanie shown from the back and side, with a single-layer ribbed brim fitting closely around the head and a smooth rounded crown.
Choose size from measured head circumference, washed gauge, finished circumference, and preferred ease.

Tested-direction variations

Change one element and recheck the finished measurements

Folded brim

Work approximately 3–4 inches of ribbing, fold it outward, and verify the additional yarn and finished height with a sample.

Slouchier body

Add measured length before the crown. The exact amount changes silhouette and yarn use.

Simple stripes

Change color at the BOR and manage the round jog intentionally. Confirm color quantities separately.

Removable pom-pom

Use a secure removable attachment that does not distort the crown and follow care or child-safety requirements for the intended user.

Troubleshooting

Six errors to correct before the crown closes

Twisted join

The cast-on edge crosses the cable. Restart before continuing because the twist cannot be removed later.

Accidental yarn overs in ribbing

Move yarn between the tips, not over the needle, and recount the round.

Wrong body needle

Confirm the metric size after the brim transition so the body gauge does not change unexpectedly.

Uncomfortable short circular

Switch to DPNs or Magic Loop before stitches are stretched around the cable.

Missing decrease

Every decrease round removes exactly eight stitches. Use the checkpoint table.

Incorrect total length

Measure from the cast-on edge before starting the crown; do not add the brim twice.

Common questions

Easy knit hat pattern FAQ

1. Can I knit this hat on straight needles?

This pattern is written for circular knitting. A flat hat requires different edge stitches, crown shaping, and a seam, so it should be treated as a separate tested pattern rather than a direct conversion. For the seamless version, use a 16-inch circular for the brim and body, then DPNs or Magic Loop for the small crown.

2. How do I choose between the three sizes?

Measure the head around the widest point, above the eyebrows and ears. Compare that measurement with both the intended head range and the finished circumference. The pattern includes negative ease so the fabric stretches to stay on the head. When your gauge or preferred fit differs, make a washed swatch and choose by finished measurement.

3. Do I need to swatch in the round?

An in-the-round swatch is best because knit-only circular tension may differ from flat stockinette tension. Use DPNs, Magic Loop, or a circular speed-swatch method. A flat swatch can provide an initial estimate, but confirm stitch gauge in the hat before investing many inches.

4. Can I use a different yarn or needle size?

Yes, but matching Category 4 alone is not enough. The substitute must produce 18 stitches and 24 rounds per 4 inches after washing while creating an elastic, comfortable hat fabric. Change needle size to obtain gauge and recalculate yardage from a completed sample.

5. When should I switch from the 16-inch circular needle?

Switch when the stitches can no longer travel comfortably around the cable without stretching. This often happens during the crown, but the exact point depends on the needle, cable, and your hands. Move to matching DPNs or a long circular for Magic Loop before the work becomes difficult to manipulate.

6. Why does the crown use a plain round after every decrease round?

The alternating plain rounds make a longer, smoother crown than decreasing every round from the beginning. Each decrease round removes eight stitches, while the following knit round adds height without changing the count. The number of decrease pairs is graded by size so every size reaches 16 stitches before the final round.

7. How much time and yarn will the hat use?

A first hat may take roughly 4–7 hours and about 120–160 yards of smooth worsted-weight yarn, but these are planning estimates. Actual use changes with size, yarn construction, gauge, brim length, crown method, corrections, and maker speed. Record the exact data from the final physical samples before publishing fixed claims.

You made a shaped wearable

Keep the gauge steady and let eight decreases shape the crown

The project moves through a clear sequence: stretchy cast-on, untwisted join, elastic ribbing, stockinette body, repeated crown pairs, and a drawstring closure.

Record the yarn, needles, washed gauge, size, yardage, and completion time from the finished sample. Those notes make the next hat faster and make future pattern adjustments more reliable.

Happy knitting,
— Sophie

Free printable

Keep the crown checkpoints beside your needles