How to Block Knitting and Crochet Projects: Wet, Steam & Spray Methods
Choose a safe blocking method from the yarn label, shape the fabric without overstretching, and let the finished piece dry or cool completely before judging the result.
Written by Sophie Lane•Published •About 15 minutes to read
All skill levelsWet blockingSteam blockingSpray blocking
Treat blocking as measured finishing, not forced stretching
Blocking introduces controlled moisture, heat, or mist to finished fabric, then holds that fabric in a chosen shape while it dries or cools. It can relax uneven stitches, open lace, square motifs, align garment panels, and help edges lie flatter. It cannot replace accurate gauge, repair incorrect stitch counts, or guarantee that every fibre responds the same way.
The sample image system uses mineral blue for wet blocking, heather lilac for steam, pale eucalyptus for spray, and soft oatmeal for neutral comparison pieces. The colors are distinct enough for quick scanning but softened by warm oak, linen, and off-white paper so the article remains consistent with Knitsoul.
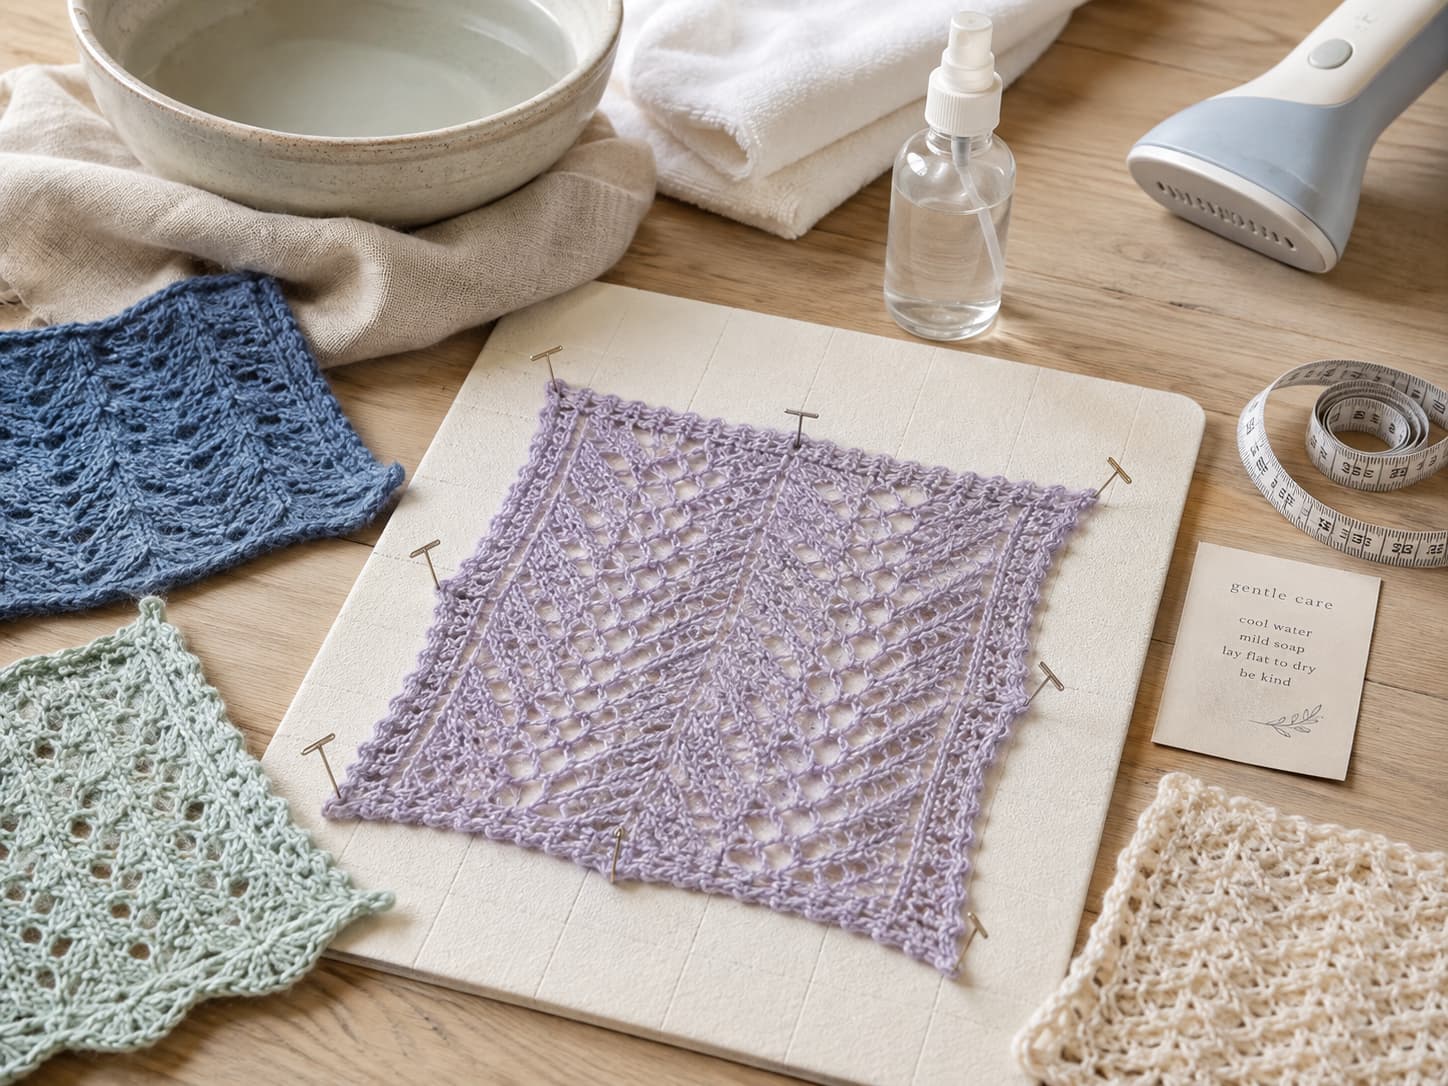
Image 01 · Blocking methods overviewSuggested file: knitsoul-how-to-block-knitting-crochet-mineral-blue-lilac-oatmeal.jpgReplace only this img src value with the full HTTPS WordPress Media URL.
A calm four-color palette distinguishes the methods while warm wood, linen, and matte tools keep the set recognizably Knitsoul.
First checkCare label
Fibre content alone is not enough; construction and finishing treatments also matter.
MethodsWet · steam · spray
Each method changes the amount of water or heat introduced.
Best toolA finished swatch
Test growth, colourfastness, texture, and recovery before the full project.
Active timeAbout 10–30 min
A planning range; project size and pinning complexity change the total.
Final checkDry or fully cool
Removing pins early can allow the fabric to spring back.
PaletteBlue · lilac · eucalyptus · oatmeal
One calm color per method keeps the teaching sequence easy to follow.
On this page
Realistic results
Know what blocking can improve—and what it cannot rescue
Stitch definition
Moisture can let fibres settle so minor tension changes look less obvious and cables or textured stitches become clearer.
Shape and dimensions
Measured pinning can square corners, align panels, and establish the finished dimensions allowed by the fabric.
Lace openness
Gentle tension can reveal eyelets and motifs that look compressed directly off the needles or hook.
Limits
Blocking does not add missing fabric, correct a wrong repeat, or make a severely small garment reliably fit.
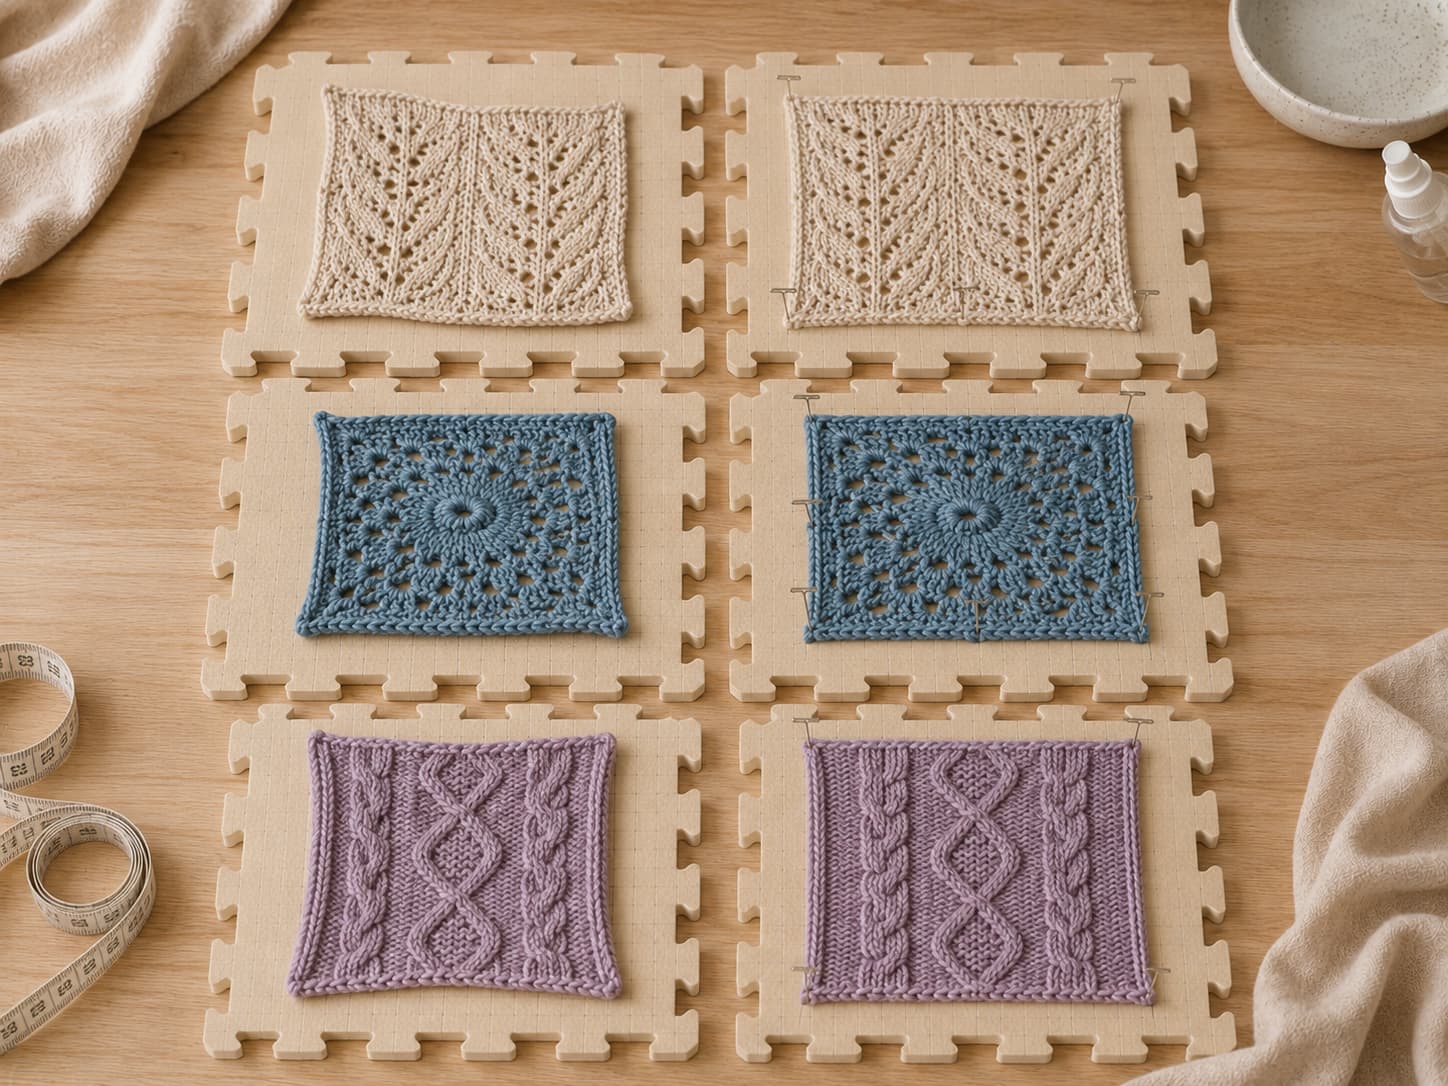
Image 02 · Before and after blockingSuggested file: knitsoul-before-after-blocking-swatches-oatmeal-blue-lilac.jpgReplace only this img src value with the full HTTPS WordPress Media URL.
Blocking refines stitch definition and shape; it cannot replace correct gauge, stitch counts, or construction.
Method comparison
Choose the gentlest process that creates the needed change
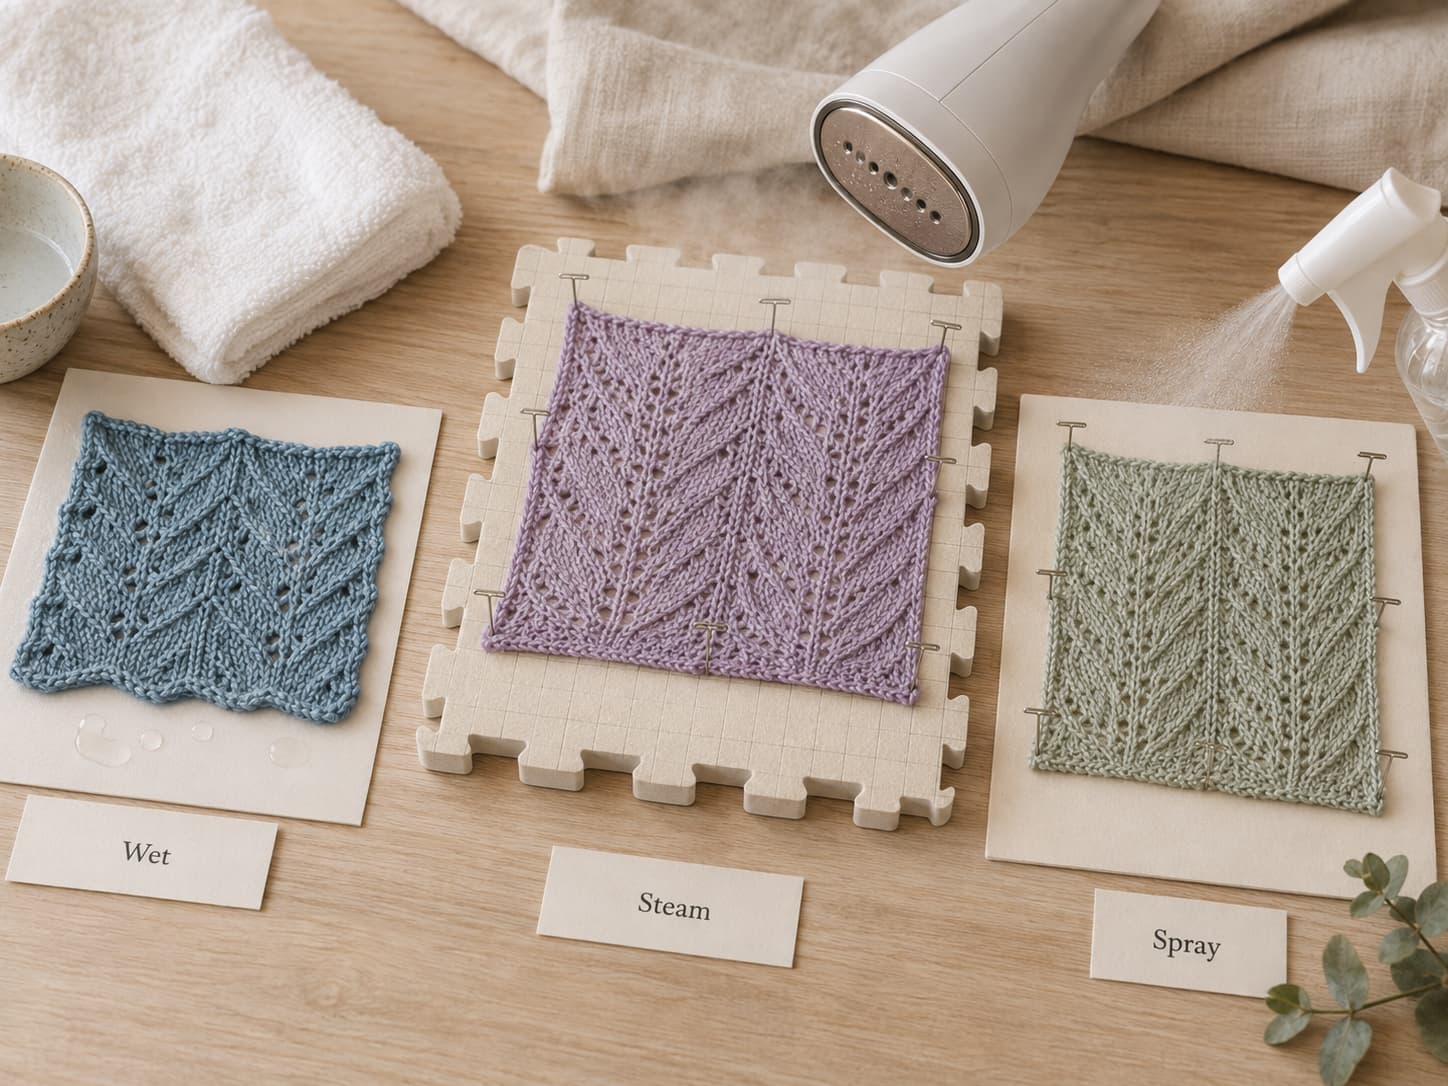
Image 03 · Wet, steam, and spray comparisonSuggested file: knitsoul-wet-steam-spray-blocking-comparison.jpgReplace only this img src value with the full HTTPS WordPress Media URL.
Use the gentlest method that produces the shaping you need, then verify the result on a swatch.
Method
Typical use
Main advantage
Main caution
Wet blocking
Washable wool, cotton, linen, many blends
Most complete relaxation and reshaping
Wet fabric is heavy; support it and follow care instructions
Steam blocking
Heat-tolerant acrylic or synthetic blends after testing
Fast, targeted shaping
Heat can permanently flatten or relax fibres
Spray blocking
Light corrections, delicate work, small motifs
Low moisture and easy control
May not create enough change for dense or heavily crumpled fabric
Fibre and care
Let the care label outrank generic fibre rules
Material
Good starting point
Check before proceeding
Untreated wool
Gentle wet blocking when the label permits
Agitation, temperature change, colour release, and growth
Superwash wool
Wet block a swatch first
Some fabrics grow considerably and need conservative shaping
Cotton or linen
Wet or spray blocking
Weight when wet, shrinkage, dye transfer, and edge stretch
Acrylic
Spray first; steam only after testing
Permanent flattening, glazing, loss of elasticity, or texture change
Silk or delicate blends
Follow the label; begin with a small swatch
Water spotting, colour movement, and loss of structure
Mixed fibres
Use the safest method for the most sensitive component
The blend may respond differently from either fibre alone
Tools and setup
Prepare a clean, measured surface before introducing water or heat
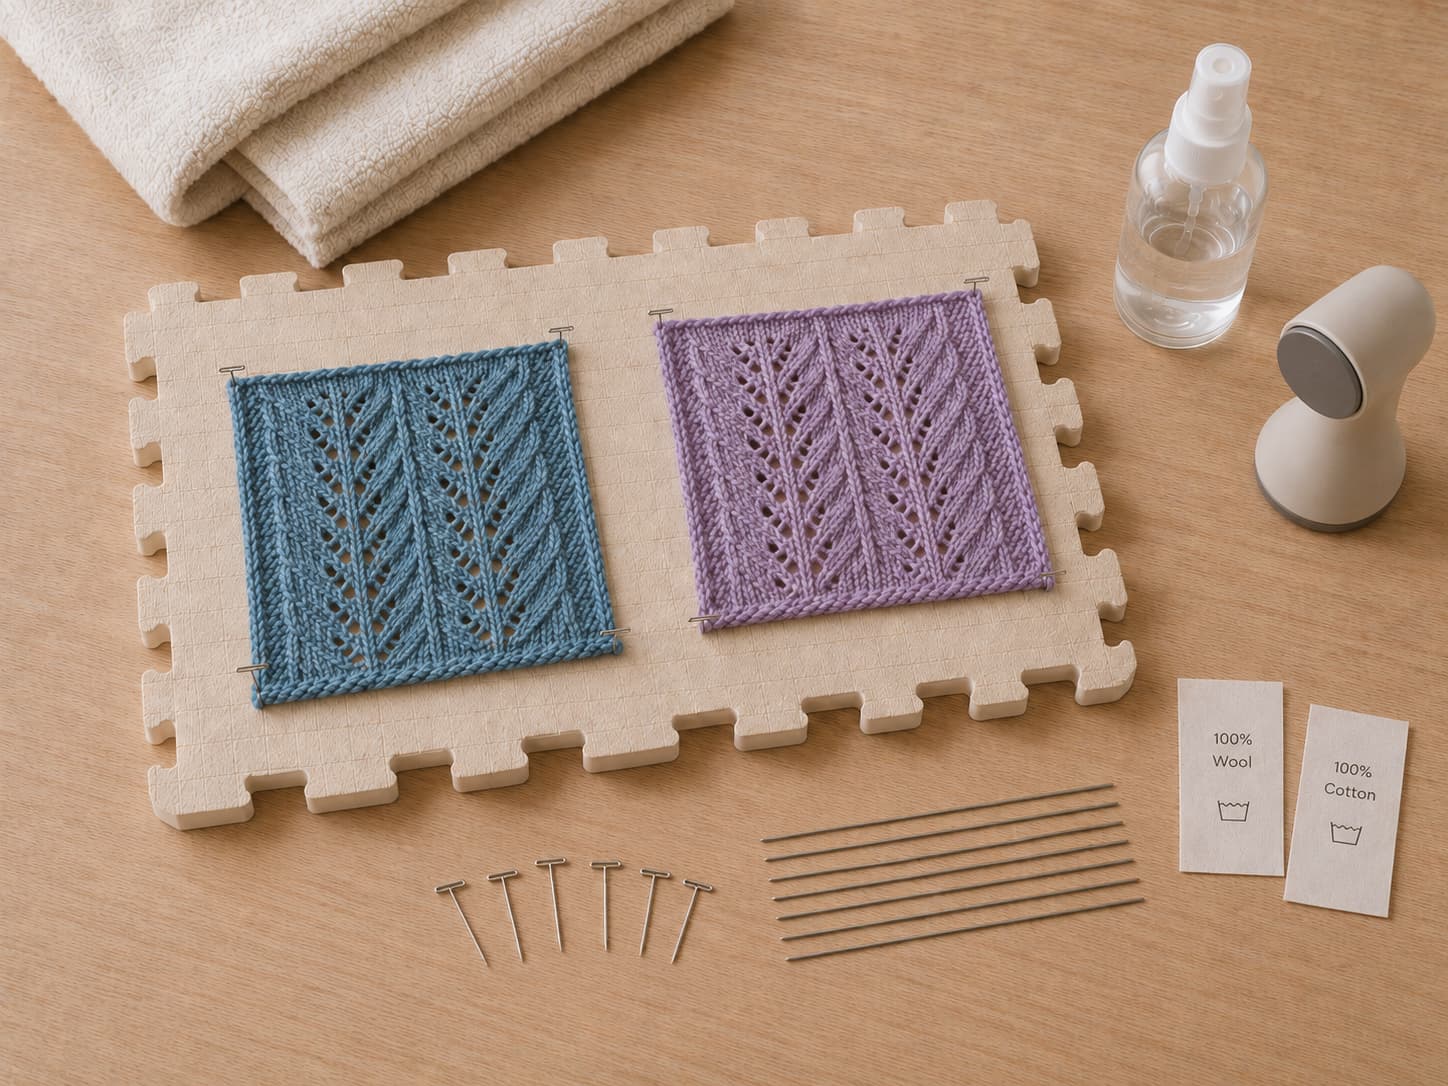
Image 04 · Blocking tools and care labelsSuggested file: knitsoul-blocking-tools-care-labels-mineral-blue-lilac.jpgReplace only this img src value with the full HTTPS WordPress Media URL.
Start with the yarn label and a washed swatch; tools support the method, but the care instructions decide what is safe.
Pin-safe surface
Blocking mats are convenient, but a clean towel over a protected pin-safe surface works for simple pieces.
Rust-resistant pins
Use pins intended for damp textile work and inspect them before they touch pale yarn.
Measurement tools
Keep the schematic, ruler, tape, and optional blocking wires within reach before shaping begins.
Moisture tools
Use clean towels, a basin, fine-mist bottle, or steamer according to the selected method.
Method 1
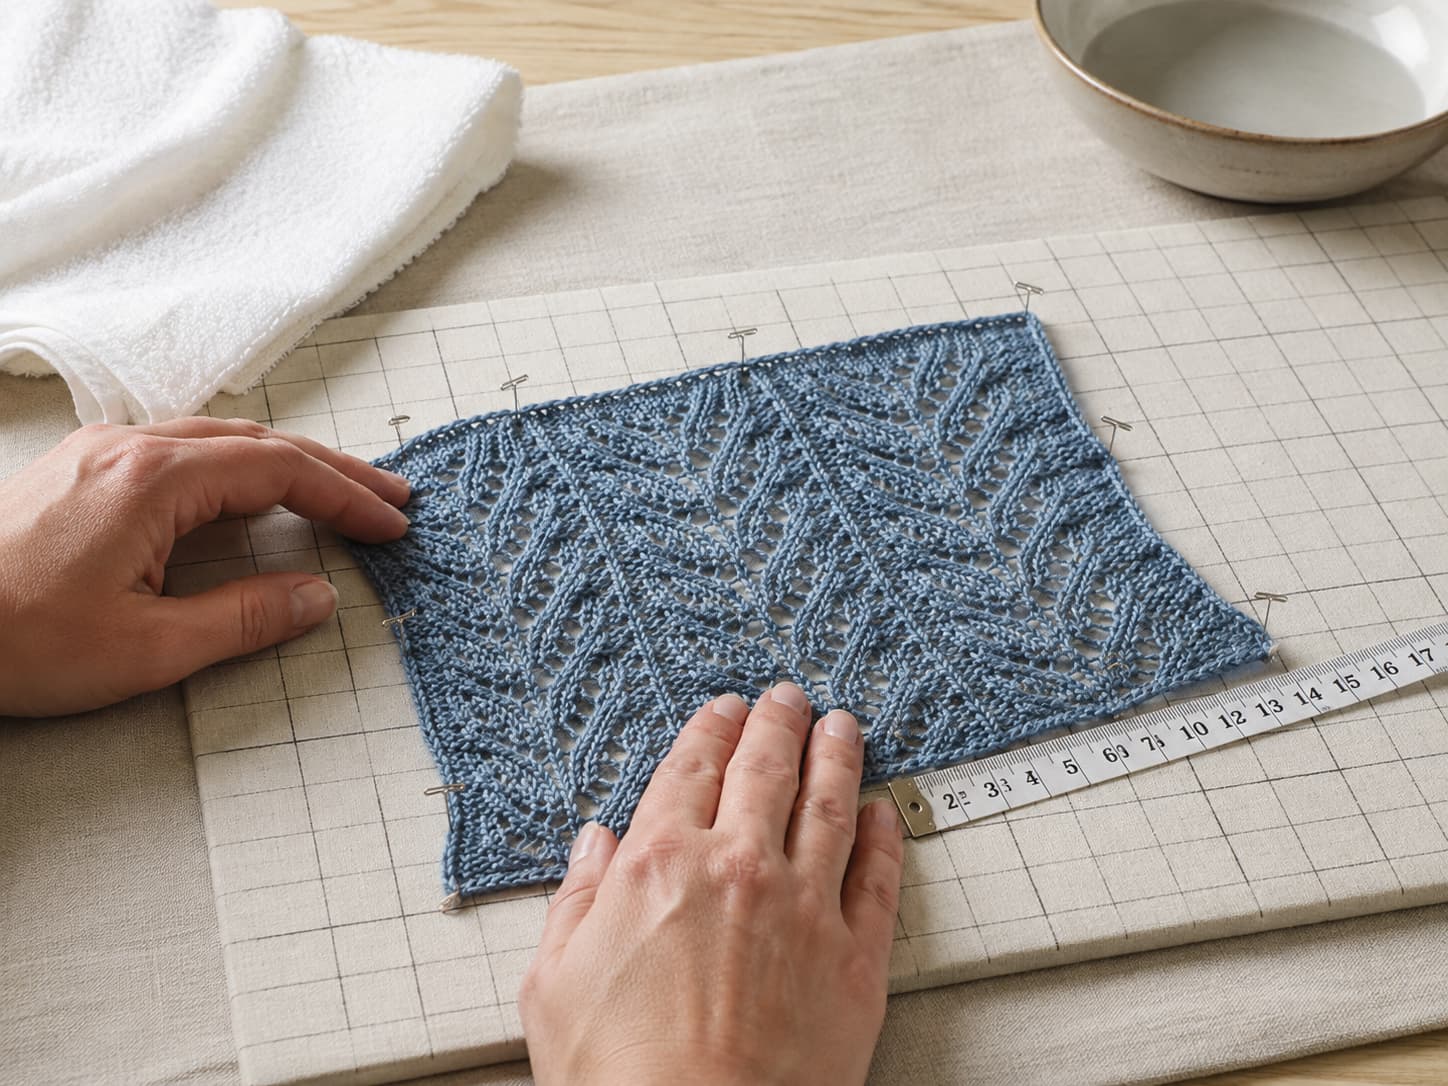
Wet block by supporting the fabric from basin to mat
Image 05 · Wet blocking stepsSuggested file: knitsoul-wet-blocking-knitting-crochet-mineral-blue.jpgReplace only this img src value with the full HTTPS WordPress Media URL.
Support wet fabric, remove water without wringing, and shape to measured dimensions rather than stretching aggressively.
1
Check and test. Read the care label, wash the swatch in the same way, and confirm that the dye and dimensions are stable enough for the project.
2
Wet gently. Use clean water and a suitable mild wash only when the label permits it. Lower the piece into the water without rubbing or twisting.
3
Remove water. Support the entire project while lifting. Press—do not wring—then roll it in a clean towel and repeat with a dry towel if needed.
4
Shape and measure. Place the piece on the prepared surface, smooth from the centre outward, and pin or wire to the pattern dimensions without thinning the fabric.
5
Dry completely. Keep the piece away from pets, children, direct heat, and heavy foot traffic. Remove the pins only when the thickest area is dry.
Method 2
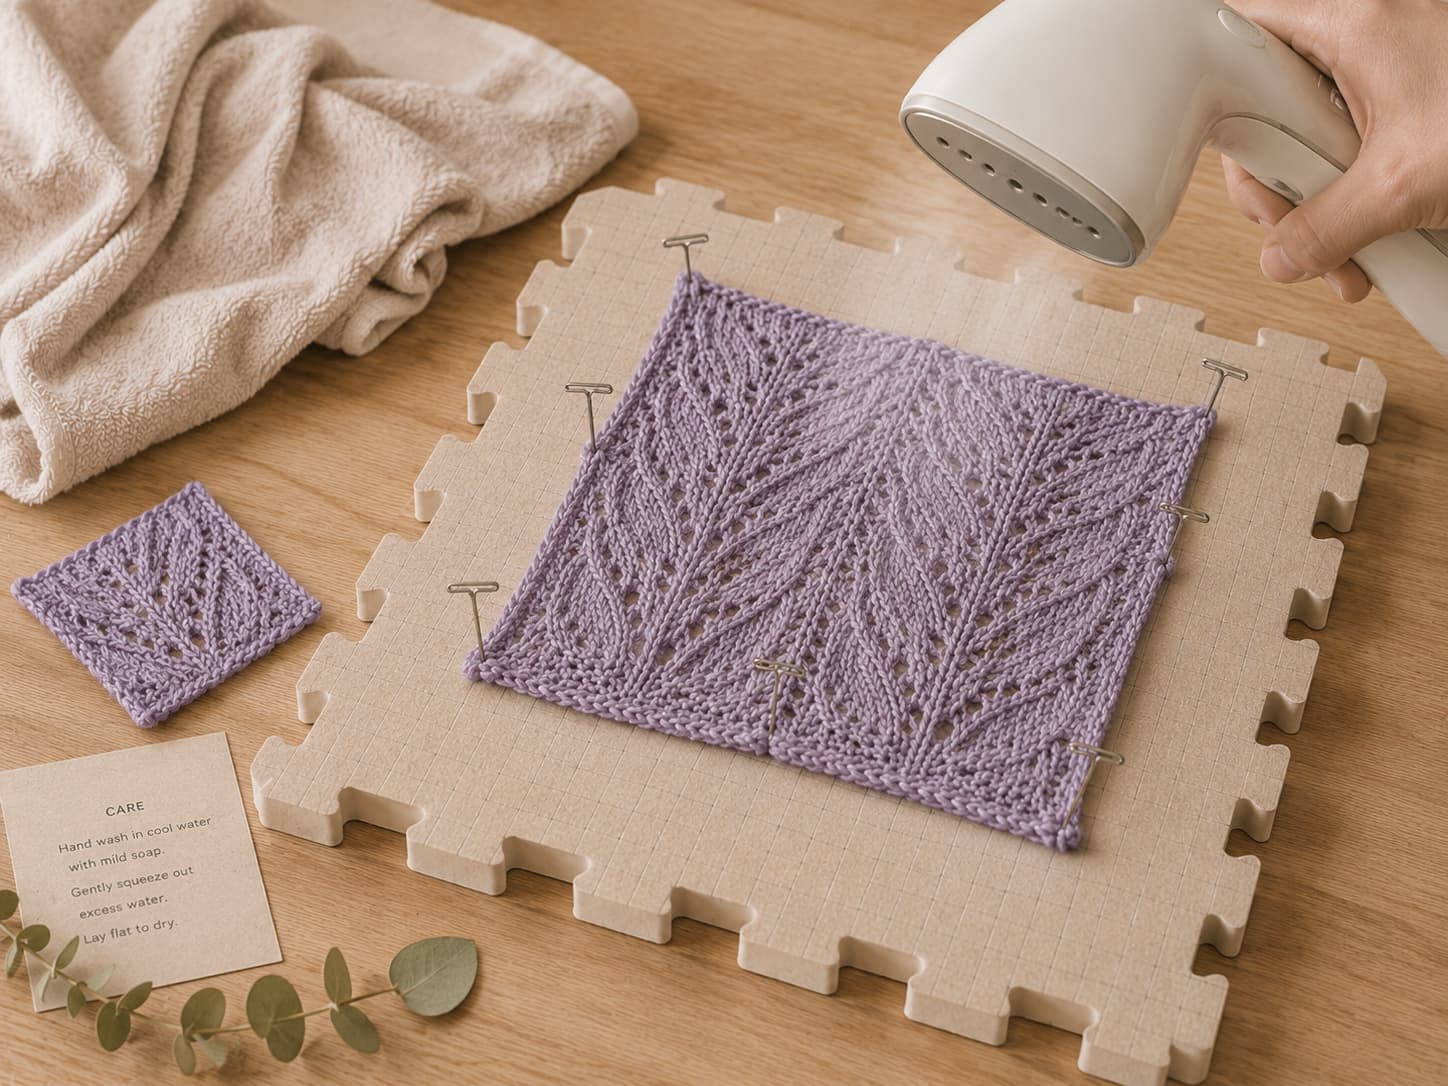
Steam in short passes with no contact between iron and yarn
Image 06 · Steam blocking with hover distanceSuggested file: knitsoul-steam-blocking-acrylic-heather-lilac.jpgReplace only this img src value with the full HTTPS WordPress Media URL.
Steam can permanently change synthetic fabric, so keep the heat source off the yarn and test the exact yarn first.
Test the exact yarn and fabric texture on a swatch.
Pin the dry project to the intended dimensions on a heat-safe setup.
Hold the appliance at the distance specified by its manufacturer and keep the soleplate off the yarn.
Apply brief, even passes rather than saturating one area with heat.
Stop immediately if the surface shines, flattens, smells unusual, or loses too much spring.
Leave the project pinned until it is fully cool and stable.
Method 3
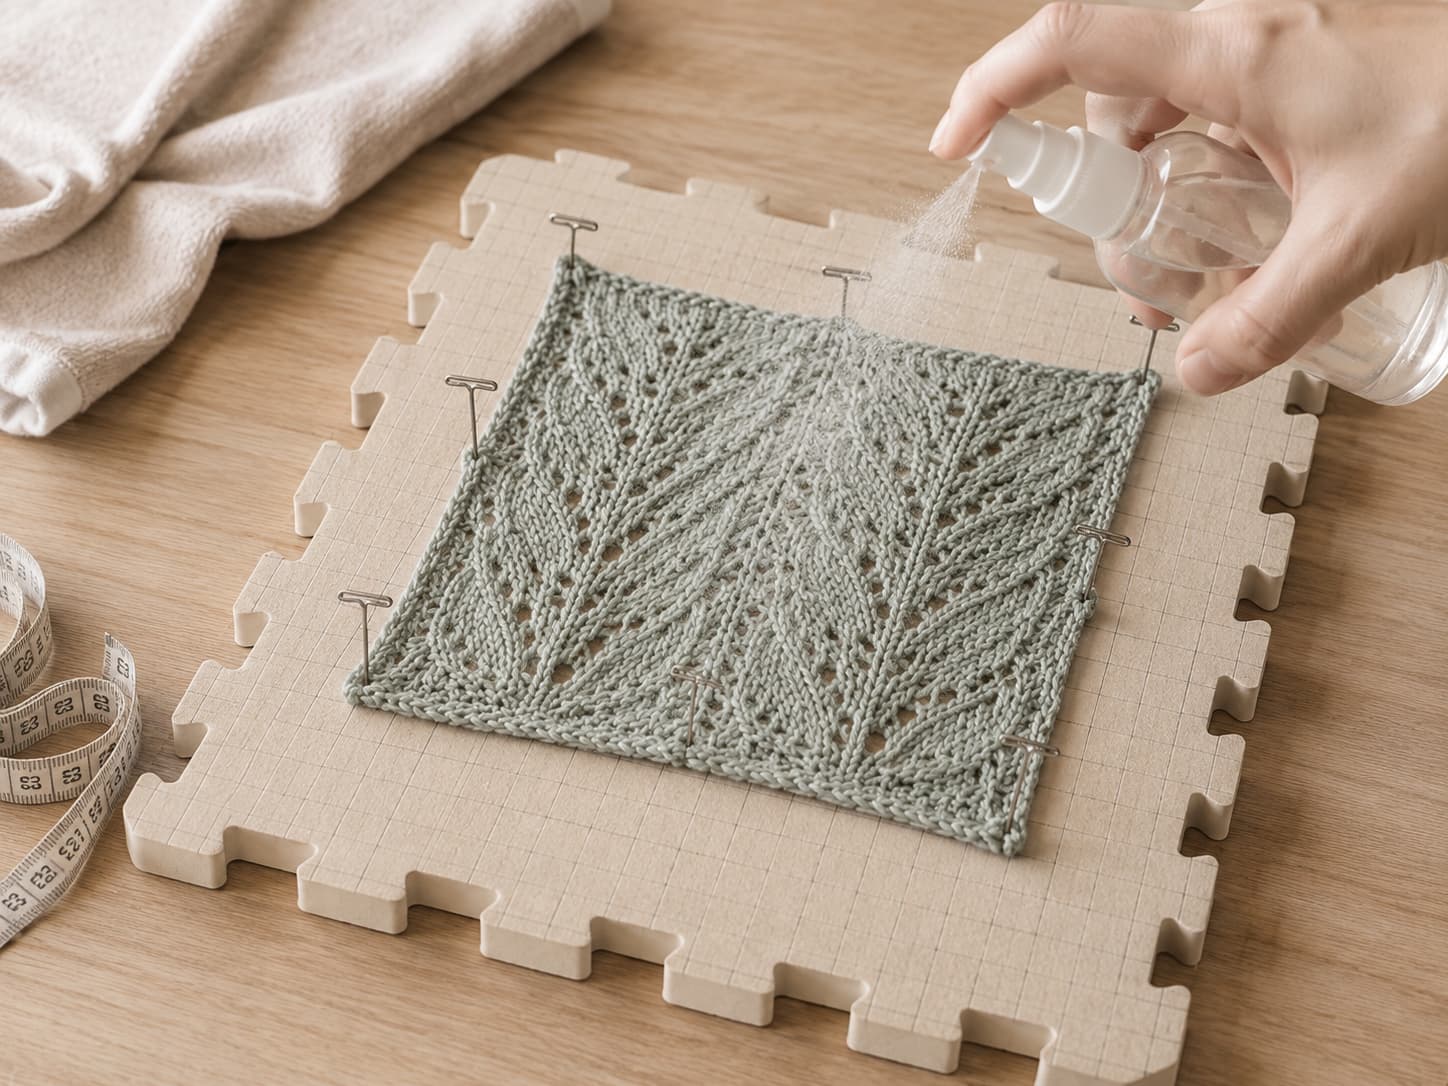
Spray block for small corrections and low-moisture shaping
Image 07 · Spray blocking a delicate swatchSuggested file: knitsoul-spray-blocking-delicate-eucalyptus-swatch.jpgReplace only this img src value with the full HTTPS WordPress Media URL.
A light mist is useful for small adjustments when a full soak or heat treatment is unnecessary.
Pin the dry piece to the desired shape.
Use clean water in a fine-mist bottle.
Mist from a distance until the surface is evenly damp, not dripping.
Adjust edges with clean hands and recheck the measurements.
Leave the piece untouched until fully dry.
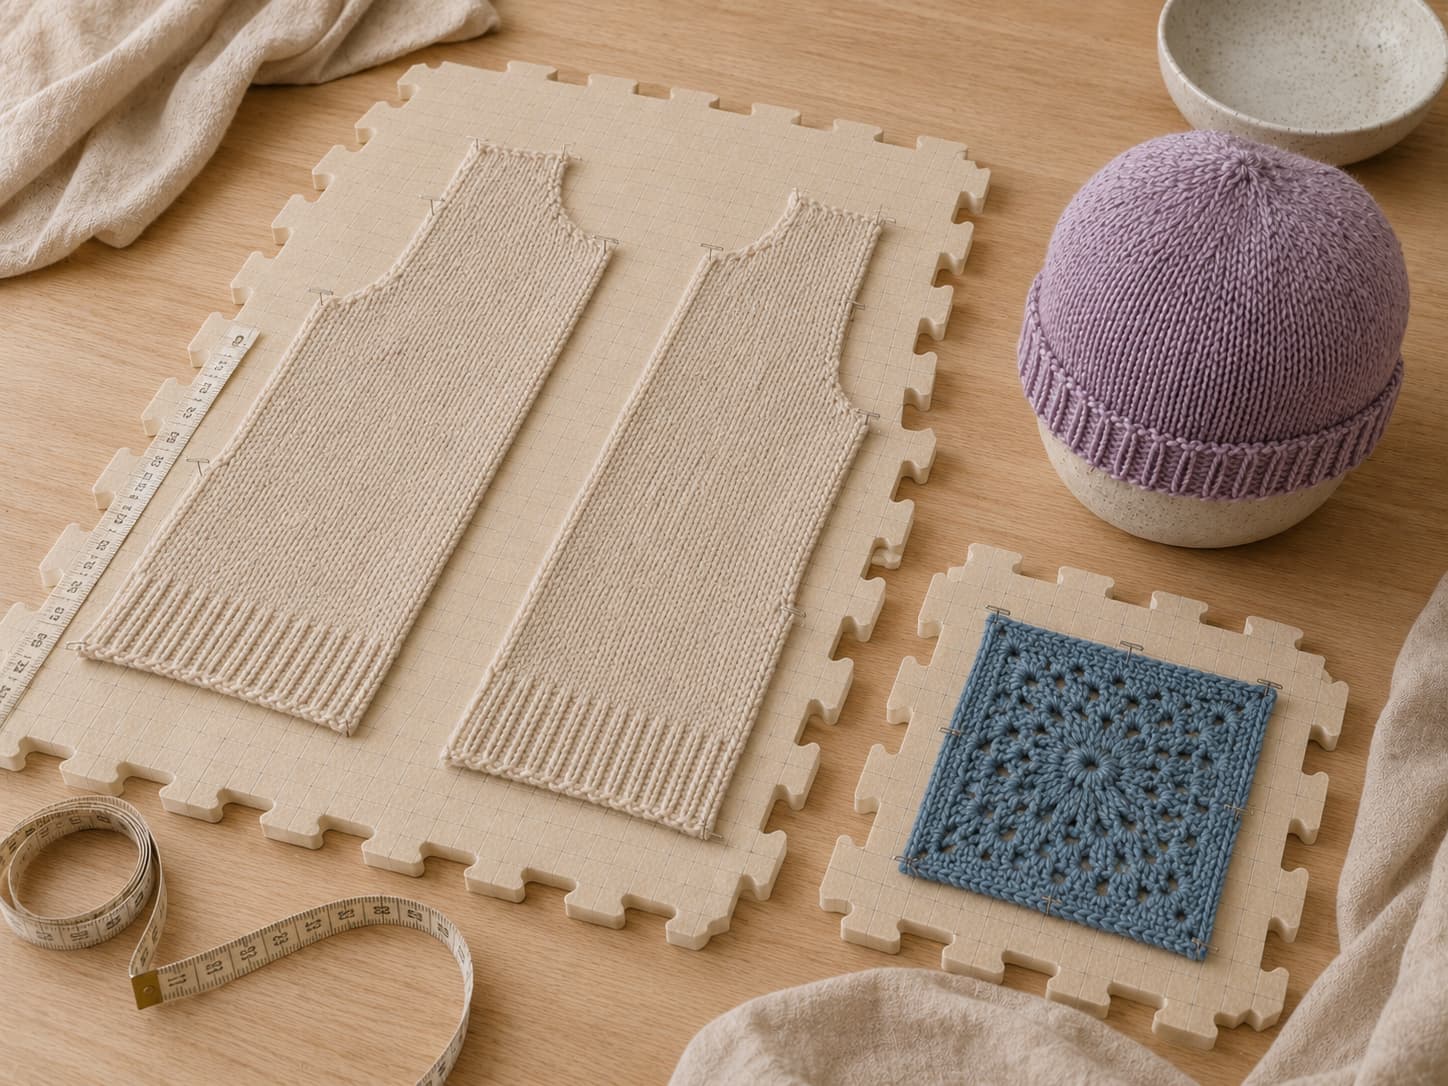
Project-specific shaping
Support each shape where its construction carries tension
Image 08 · Blocking common project shapesSuggested file: knitsoul-blocking-sweater-granny-square-hat-shapes.jpgReplace only this img src value with the full HTTPS WordPress Media URL.
Garments, motifs, and accessories need different support points, but all should be shaped from the centre outward.
Garments
Compare the body and sleeves with the schematic. Preserve ribbing recovery and support wet fabric before moving it.
Lace and shawls
Open the pattern evenly; use wires or many pins so points and straight edges share the tension.
Squares and panels
Match repeated pieces to one measured template, but do not force a wrong stitch count into shape.
Hats and accessories
Use a clean form with the correct circumference and avoid stretching brims that rely on elasticity.
Troubleshooting
Six blocking errors that can change shape, colour, or texture
Skipping the swatch
You lose the safest place to test growth, dye release, surface flattening, and recovery.
Wringing wet fabric
Twisting can stretch seams, distort motifs, and weaken a heavy wet garment.
Pinning beyond the schematic
Overstretching thins the fabric and does not create missing stitches or reliable fit.
Using direct iron contact
The soleplate can scorch natural fibres and melt or glaze synthetics.
Removing pins early
A damp core can allow the edges and dimensions to spring back.
Ignoring the care label
Generic fibre advice cannot account for every blend, dye, finish, or yarn construction.
Continue learning
Use blocking data to make the next project more predictable
1. Do I need to block every knitting or crochet project?
No. Lace, garments, joined motifs, gifts, and pieces with curling or uneven edges usually benefit most. Firm baskets, many amigurumi pieces, and items whose care label discourages moisture or heat may need little or no blocking. Judge the project function and the yarn label rather than applying one rule to everything.
2. Which blocking method should I choose first?
Begin with the yarn or garment care instructions and a finished swatch. Wet blocking gives the most complete reset for many washable natural fibres; spray blocking is a gentler shaping option; steam is reserved for fibres and blends that tolerate it and should always be tested because the change can be permanent.
3. Can blocking make a project a full size larger?
Blocking can settle stitches and adjust dimensions within the fabric’s natural range, but it cannot reliably correct a major gauge error, missing stitches, or a garment that is structurally too small. Compare the damp piece with the schematic and stop when the fabric begins to thin or distort.
4. How long should a blocked project stay pinned?
Leave it in place until the thickest area is fully dry or, after steaming, completely cool and stable. Drying time changes with fibre, thickness, room airflow, humidity, and how much water was used, so a fixed number of hours is less reliable than checking the actual fabric.
5. Can I put an iron directly on acrylic yarn?
No. Keep the soleplate off the yarn. Use a steamer or the steam function at a safe hover distance, follow the appliance instructions, and test a swatch first. Excess heat can flatten, glaze, or permanently relax synthetic fibres.
6. Do I need professional blocking mats?
No. Interlocking mats are convenient because they accept pins and provide grid lines, but a clean towel over a pin-safe surface can work for simple shapes. Whatever surface you use should be clean, colourfast, dry underneath, and protected from heat when steaming.
7. Should I include care information with a handmade gift?
Yes. Keep the yarn label or record its fibre content and care symbols. Include that information with the gift so the recipient knows how to wash, dry, reshape, and store the item without guessing.
Finish with evidence
Let the care label, swatch, and measurements decide the method
Blocking works best when the goal is specific: open the lace, square the motif, align a panel, or settle the stitches. Record the method and before-and-after measurements so the same yarn becomes easier to predict next time.