Beginner amigurumi tutorial + free practice pattern
How to Crochet Amigurumi for Beginners: Your First Stuffed Shape
Learn the magic ring, continuous spiral, increases, invisible decreases, dense-fabric checks, gradual stuffing, and a complete crochet ball pattern that teaches the foundation of many amigurumi designs.
Written by Sophie Lane•Published •About 14 minutes to read
Turn tight spiral rounds into a simple three-dimensional shape
Amigurumi is the practice of crocheting or knitting small stuffed forms, often animals, dolls, food, or decorative characters. Most beginner crochet amigurumi patterns rely mainly on single crochet, increases, decreases, and careful stuffing.
The key difference from a flat beginner project is construction. You work around a small center, usually in a continuous spiral, while increases make the piece wider and decreases bring it back inward. A locking marker shows where each round begins because there is no joined-round seam to guide you.
This tutorial uses a plain ball because it removes facial features, limbs, sewing, and complicated shaping. The finished sample is a practice shape, not a certified children's toy. It teaches the techniques needed before moving to a beginner animal or character pattern.
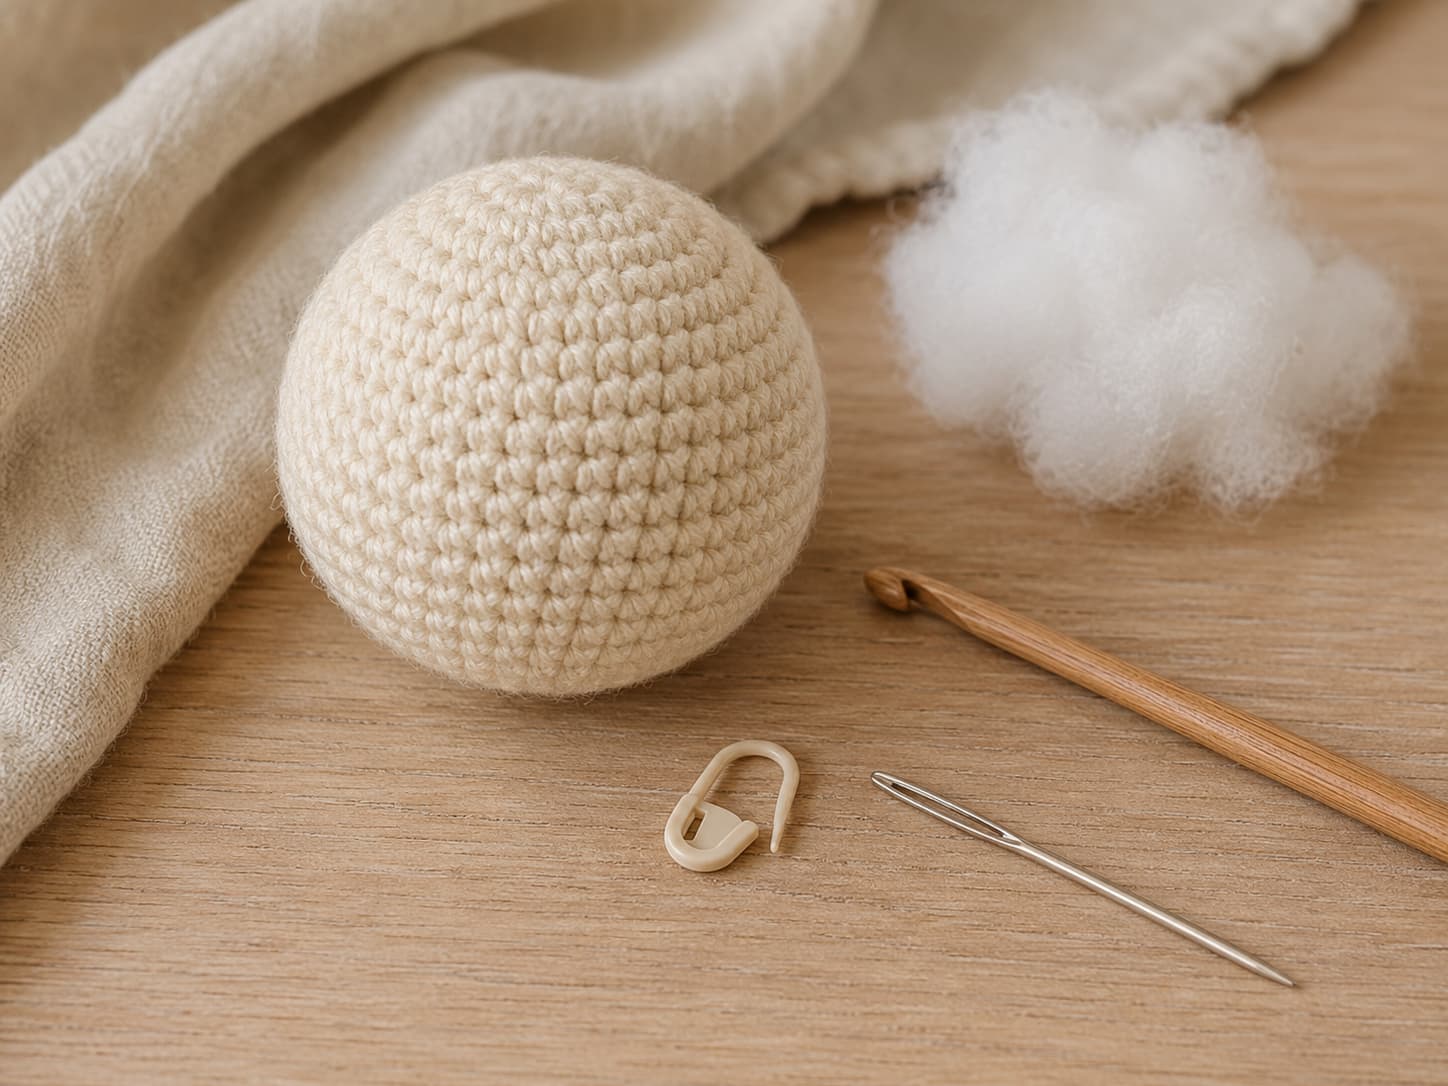
Image 01 · Finished amigurumi ball and toolsSuggested file: knitsoul-amigurumi-for-beginners-finished-ball-tools.jpgReplace PASTE_IMAGE_URL_01_HERE in the img src above
A small crochet ball introduces the magic ring, spiral rounds, increases, decreases, stuffing, and closing.
Skill levelEasy
Know chain and single crochet before starting.
Sample hookApprox. 3.5–4 mm
Choose the size that creates dense, flexible fabric.
YarnSmooth #4 yarn
A light solid shade makes tight stitches easier to see.
Finished sizeApprox. 2½–3 in
About 6.5–7.5 cm, depending on materials and stuffing.
Yarn estimateApprox. 15–25 yd
About 14–23 m; verify with the final sample.
First-project timeApprox. 60–120 min
Includes counting, corrections, stuffing, and finishing.
On this page
Construction basics
Amigurumi uses familiar stitches with different construction choices
Dense fabric
The hook is usually smaller than the yarn label's general recommendation. The goal is fabric that hides stuffing while remaining flexible enough to crochet without hand strain.
Continuous spiral
The next round begins directly after the previous one. This avoids a joined seam, but the start point becomes invisible without a marker.
Controlled shaping
Increases add stitches and widen the shape. Even rounds build height. Decreases remove stitches and close the form around the stuffing.
Gradual stuffing
Small pieces of fiberfill are added in stages. The goal is an even, squeezable form without stretched stitches or hard lumps.
Yarn-over or yarn-under single crochet?
Standard yarn-over single crochet creates familiar V-shaped stitches. Yarn-under single crochet often creates tighter X-shaped stitches and is popular in amigurumi. Both methods can work. Use one method consistently throughout the sample rather than switching in the middle, because stitch shape and gauge can change.
Materials
Choose a small toolkit that supports tight, visible stitches
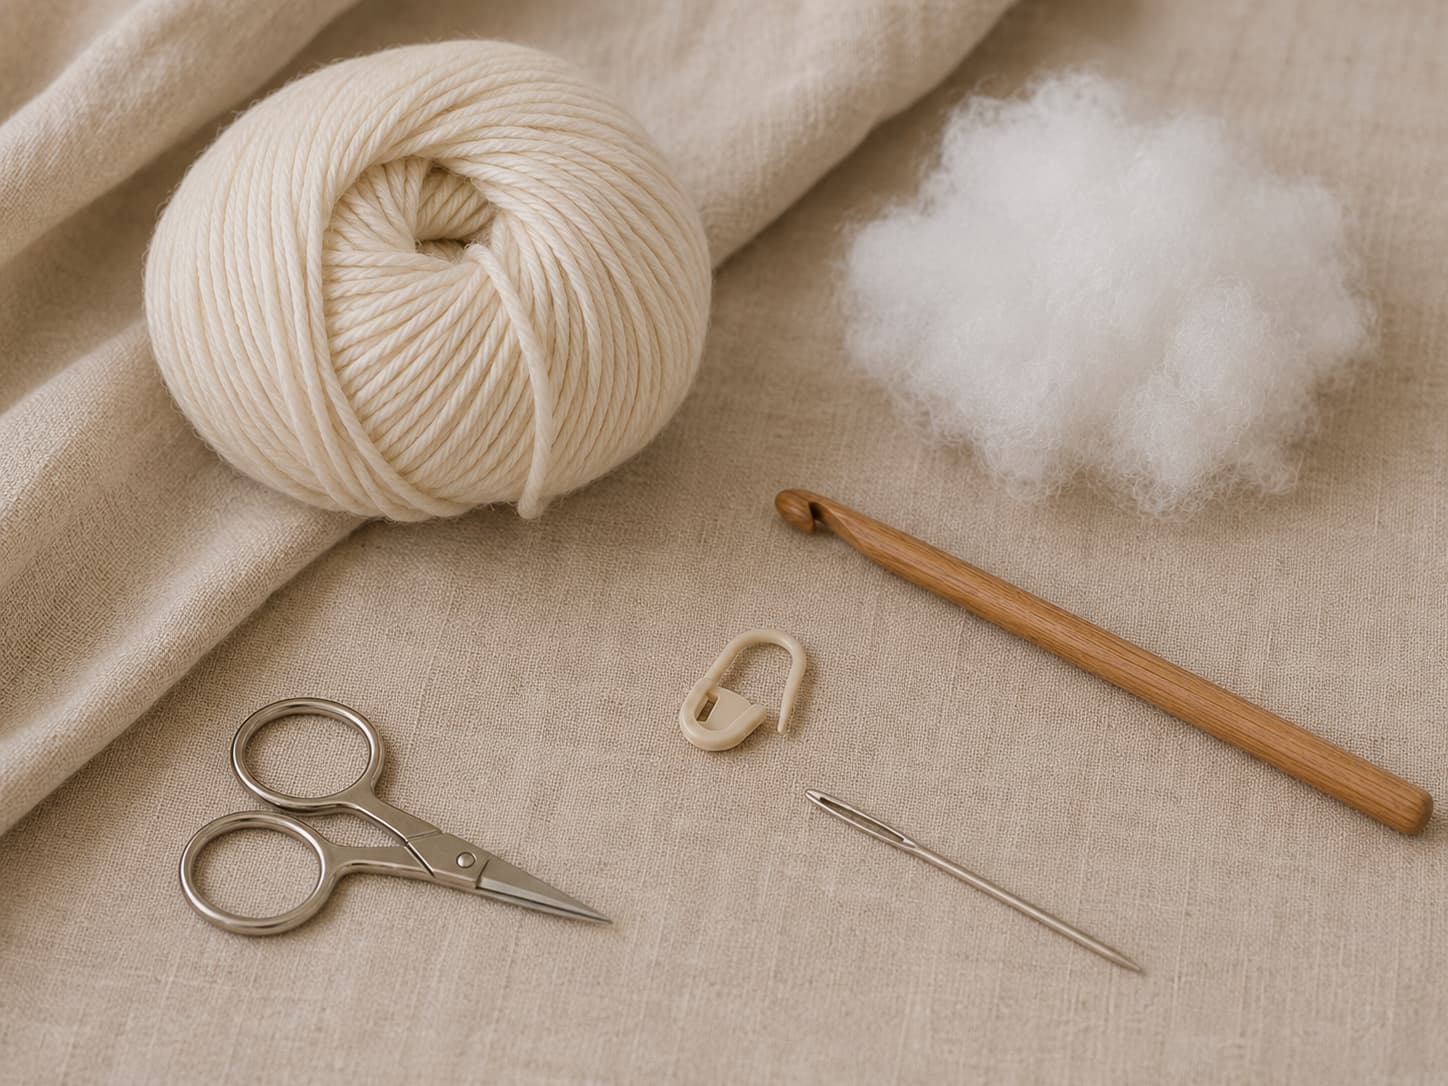
Image 02 · Amigurumi tools and materialsSuggested file: knitsoul-amigurumi-beginner-tools-and-materials.jpgReplace PASTE_IMAGE_URL_02_HERE in the img src above
Use a smooth yarn, a hook that creates dense fabric, and only the finishing tools needed for the first sample.
Smooth #4 yarn
Use approximately 15–25 yd (14–23 m) in a light solid shade. Acrylic, cotton, or a smooth blend can work. Avoid very dark, fuzzy, loosely plied, or novelty yarn while learning.
Small comfortable hook
Begin around 3.5–4 mm for the sample yarn, then adjust. Move down when stuffing shows through; move up when the hook cannot pass through stitches comfortably.
Locking stitch markers
Place one marker in the first stitch of every round. A second color can identify another landmark while learning.
Fiberfill, scissors, and tapestry needle
Use clean stuffing compatible with the intended washing method, sharp scissors, and a blunt needle for the starting tail and final drawstring closure.
Decorative practice piece
The plain ball requires no eyes, beads, bells, wire, magnets, pellets, or other internal or external components.
Item intended as a toy
Follow applicable local standards and assess yarn, stuffing, seams, embroidered details, attachments, washability, age grading, labeling, and small-parts risk.
Technique 1
Work in a continuous spiral without losing the round start
How to manage spiral rounds
Mark the first stitch. After making the first stitch of a round, place a locking marker through that stitch.
Finish the required stitch count. The last stitch is worked immediately before the marked stitch.
Count before continuing. Confirm the total, remove the marker, make the first stitch of the next round, and replace the marker.
Do not add a slip stitch or turning chain. Continue directly into the next round unless the pattern says otherwise.
Which side should face outward?
As the cup forms, it may curl with the reverse face outside. Gently push the center so the intended exterior faces outward. Standard single crochet usually shows compact V or X shapes on the exterior and horizontal bars more clearly on the interior.
Technique 2
Start with an adjustable ring and secure the center tail
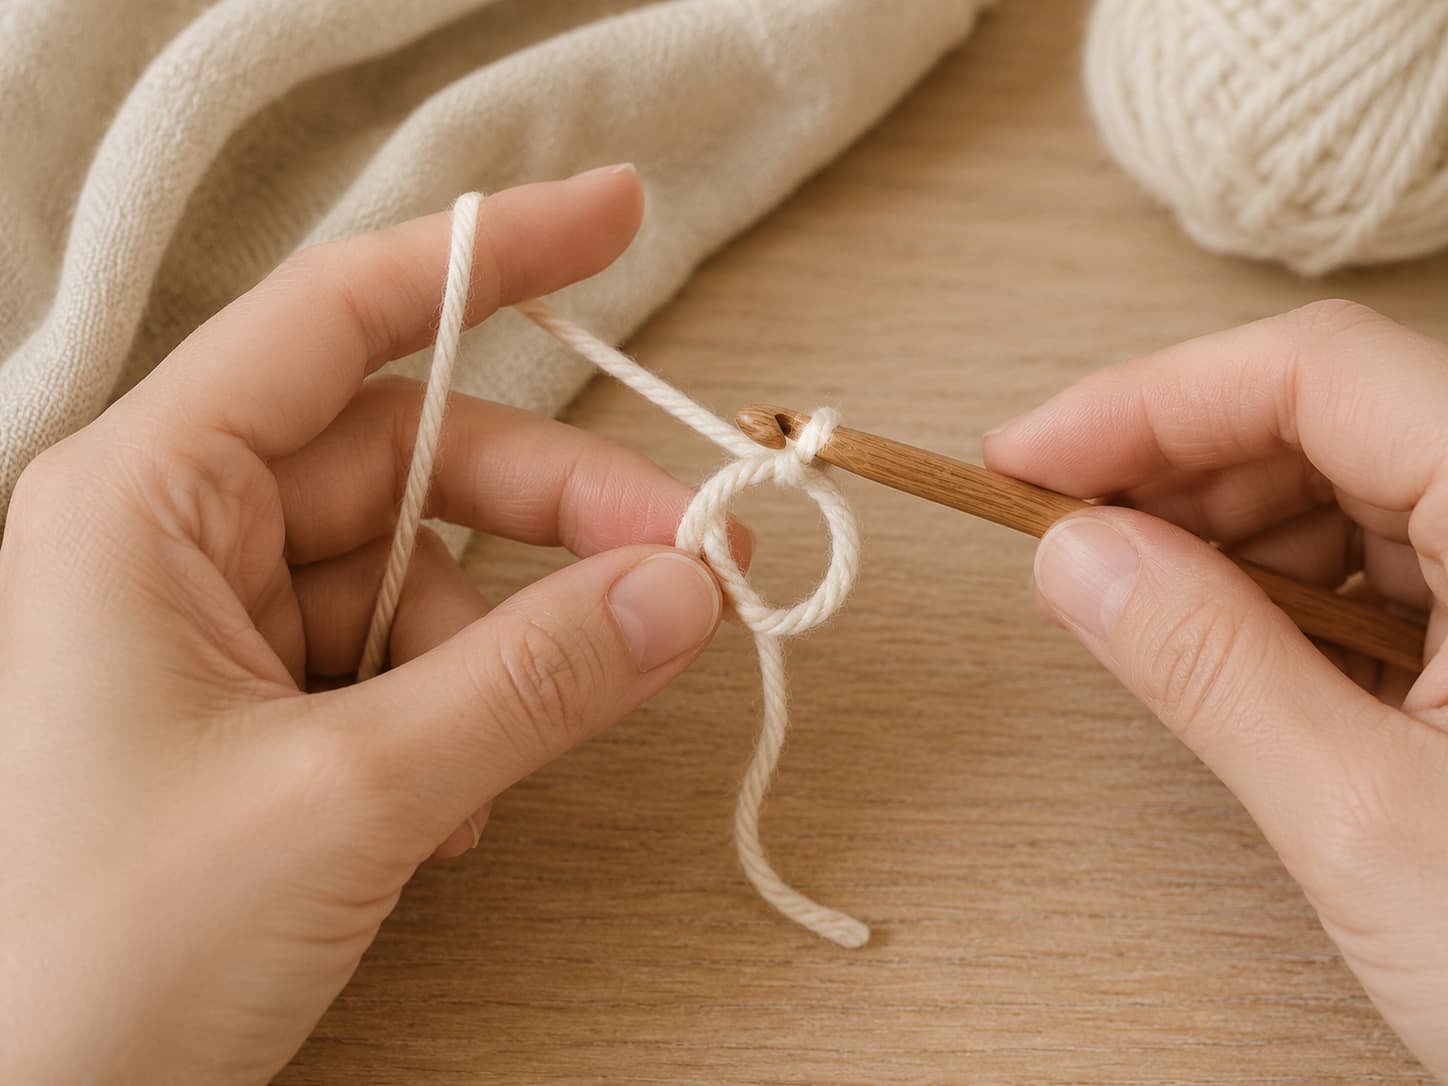
Image 03 · Magic ring close-upSuggested file: knitsoul-amigurumi-magic-ring-close-up.jpgReplace PASTE_IMAGE_URL_03_HERE in the img src above
The adjustable ring closes the center when its tail is pulled and woven in securely.
How to make the ring
Form an adjustable loop. Leave a 6–8 in (15–20 cm) tail.
Insert the hook through the loop. Pull up the working yarn and chain 1 to stabilise the ring; this chain does not count as a stitch.
Work 6 sc around the loop and tail. Count all six stitches before pulling the ring closed.
Pull the tail gradually. Close the center without distorting the stitches.
Weave the tail securely. Pass it through several reverse-side stitches, change direction, and trim only when it remains secure.
Technique 3
Use six evenly spaced increases to build the widest round
An increase means working 2 sc in one stitch. The sample begins with 6 stitches and adds 6 stitches in every increase round: 6, 12, 18, then 24 stitches.
Round 2
Inc in every stitch: 6 increases create 12 stitches.
Round 3
(Sc, inc) × 6: one regular stitch between increases creates 18 stitches.
Round 4
(2 sc, inc) × 6: two regular stitches between increases create 24 stitches.
Rounds 5–8
Sc around: four even rounds create height without changing width.
Technique 4
Shape the top with front-loop invisible decreases
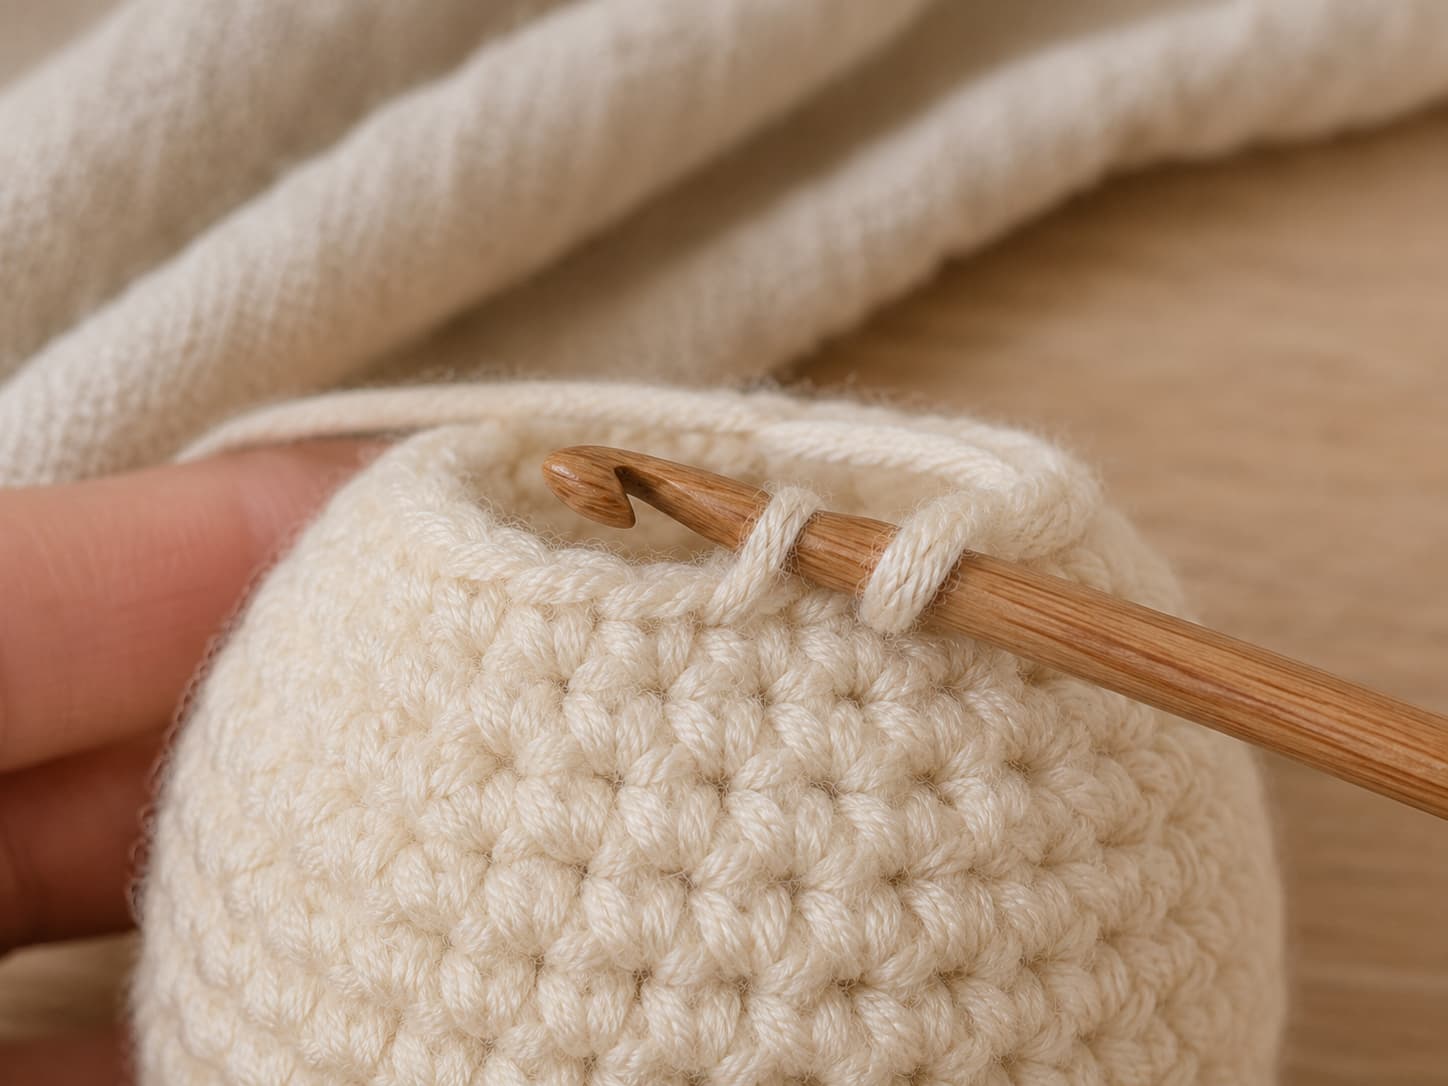
Image 04 · Invisible decrease close-upSuggested file: knitsoul-amigurumi-invisible-decrease-front-loops.jpgReplace PASTE_IMAGE_URL_04_HERE in the img src above
The invisible decrease joins the front loops of two stitches and keeps shaping less noticeable on the outside.
How to make an invisible decrease
Insert through the front loop of the next stitch. Do not yarn over.
Insert through the front loop of the following stitch. Two front loops are on the hook.
Yarn over and pull through both front loops. Two loops remain on the hook.
Yarn over and pull through both loops. The two original stitches become one.
Technique 5
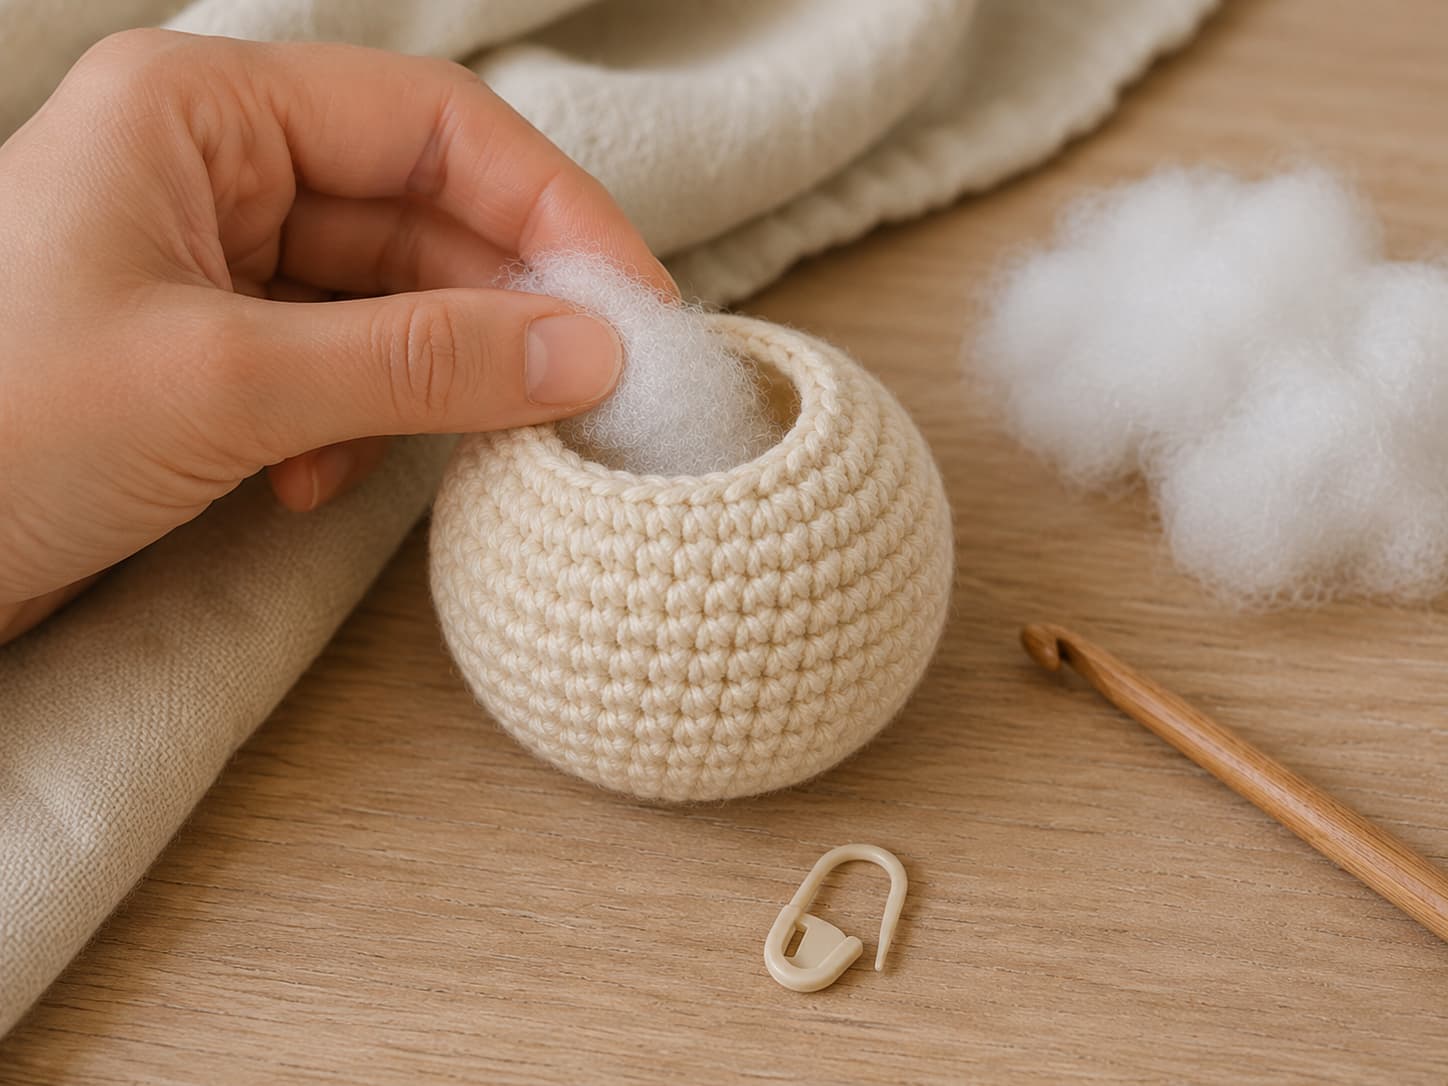
Add stuffing in stages and close without a hard lump
Image 05 · Stuffing the ball in progressSuggested file: knitsoul-amigurumi-ball-stuffing-in-progress.jpgReplace PASTE_IMAGE_URL_05_HERE in the img src above
Add small pieces of stuffing gradually and keep the round marker in place until all decreases are finished.
Stuffing and closing workflow
Begin after Round 9. Add small pieces around the lower and side areas rather than pushing one large wad into the center.
Continue after Round 10. Fill the upper curve while keeping the working loop and marker accessible.
Check the surface. The piece should feel firm but squeezable. Remove stuffing when stitches spread or fiber shows.
Work the final decrease round. Add only a small final amount through the six-stitch opening when needed.
Close through the front loops. Thread the finishing tail through all six loops, pull closed, secure, and draw the tail through the stuffed form before trimming.
Complete practice pattern
Simple Amigurumi Ball: full written instructions
Read the pattern once before beginning. Work in a continuous spiral, move the marker after every round, and confirm every stitch count before proceeding.
Knitsoul free practice pattern
Simple Amigurumi Ball
Skill levelEasy
ConstructionContinuous spiral
YarnApprox. 15–25 yd smooth #4 yarn
HookStarting range: 3.5–4 mm
Finished sizeApprox. 2½–3 in (6.5–7.5 cm)
First-project timeApprox. 60–120 minutes
U.S. abbreviations: mr = magic ring · sc = single crochet · inc = 2 sc in one stitch · inv dec = invisible decrease through the front loops of the next 2 stitches · st(s) = stitch(es) · (...) × 6 = repeat six times. Do not join rounds.
Rnd 10(Sc, inv dec) × 6. Add more stuffing and shape evenly.12 sts
Rnd 11Inv dec × 6. Add a small final amount of stuffing only when needed.6 sts
Finish: Fasten off with a 10–12 in (25–30 cm) tail. Thread it through the front loops of the remaining 6 stitches, pull the opening closed, secure the tail, pass it through the stuffed form, and trim it after the end disappears inside.
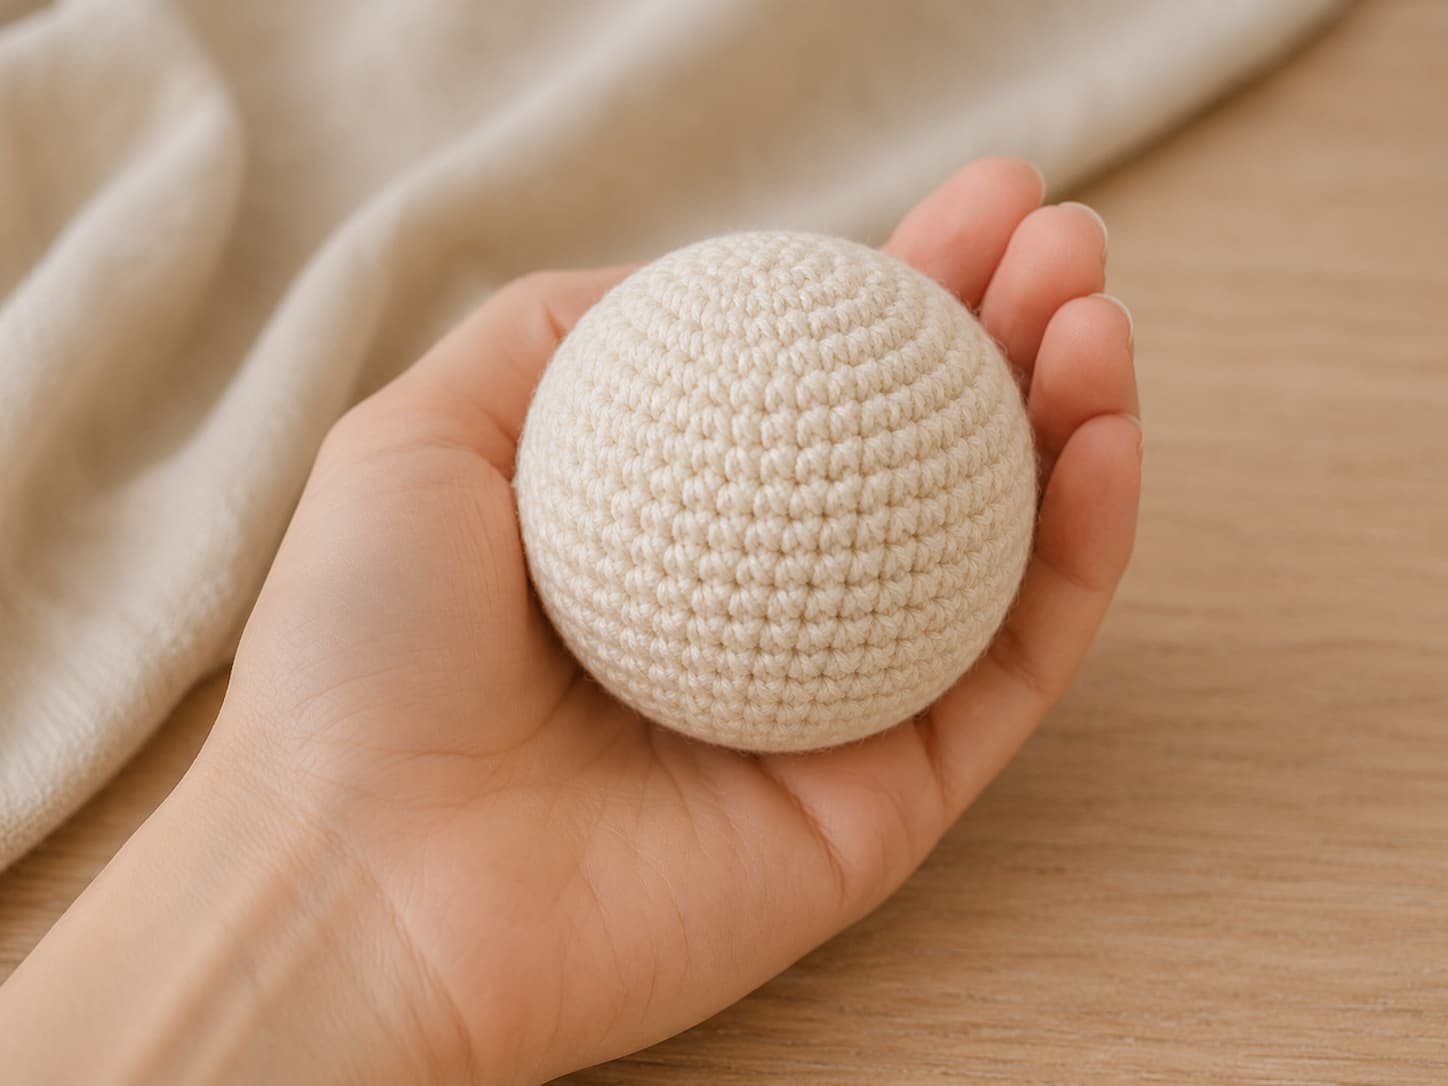
Image 06 · Finished ball in handSuggested file: knitsoul-finished-amigurumi-ball-in-hand.jpgReplace PASTE_IMAGE_URL_06_HERE in the img src above
The finished sample should feel firm but squeezable, with no stuffing visible through the stitches.
Build from the sphere
Change the proportions before adding faces, limbs, or sewing
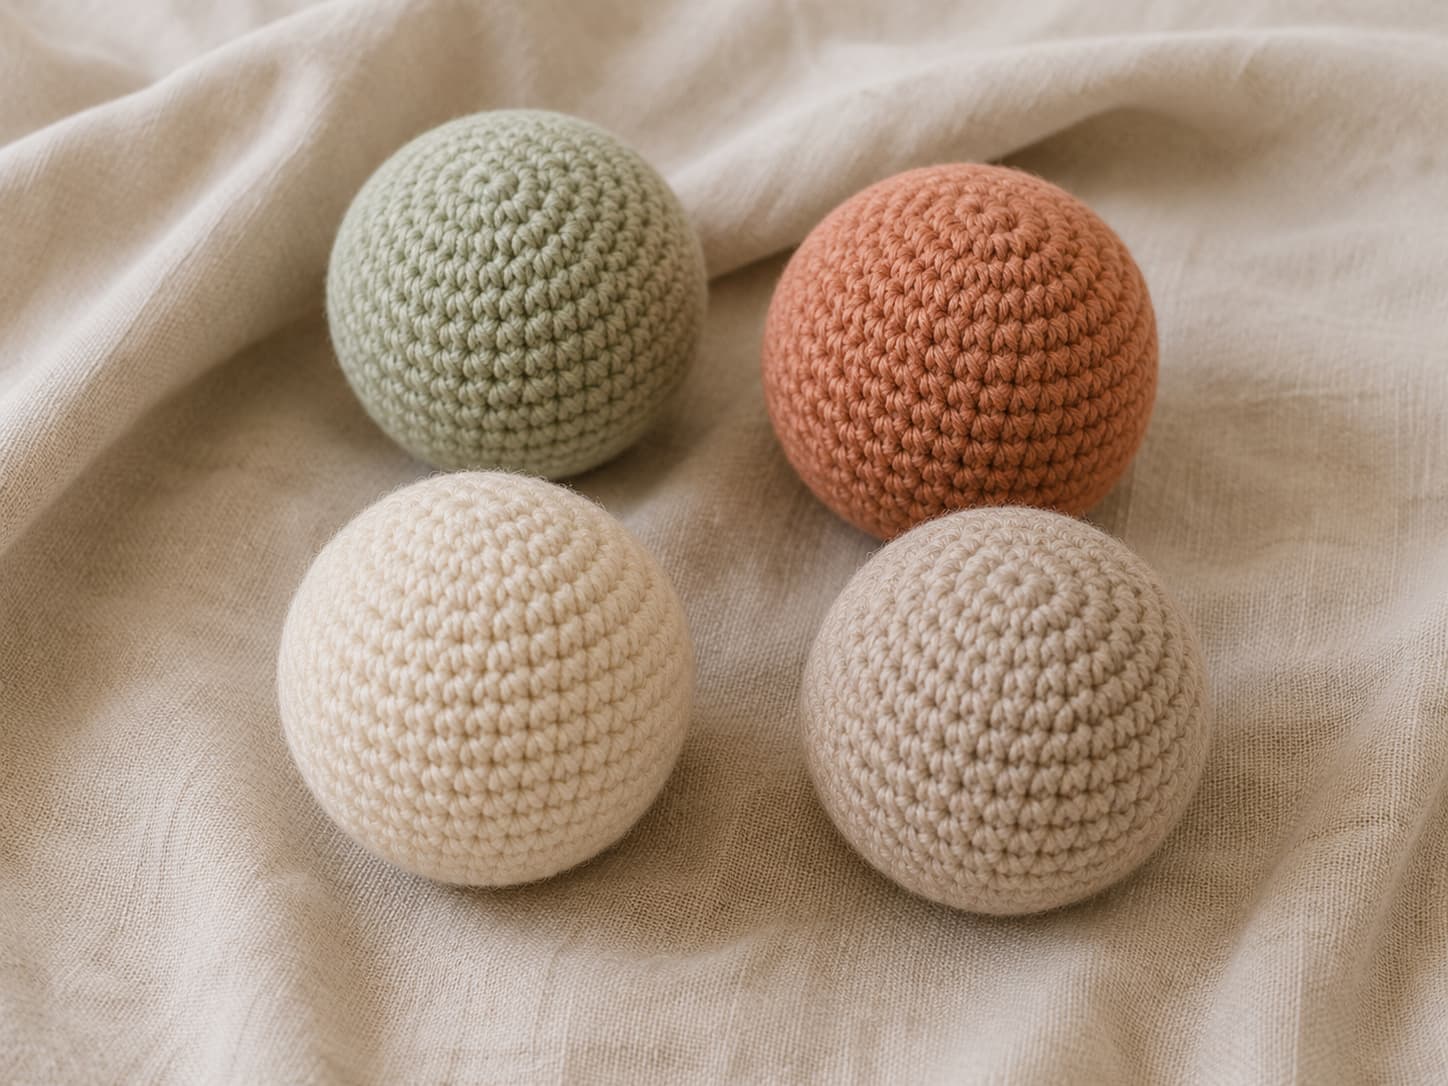
Image 07 · Finished ball variationsSuggested file: knitsoul-amigurumi-ball-color-and-size-variations.jpgReplace PASTE_IMAGE_URL_07_HERE in the img src above
Repeat the same shape in different colors before moving to animals, fruit, or character designs.
Solid color
Repeat the pattern in several light colors and compare gauge, shape, and stuffing before adding character details.
Two-color ball
Change color on the final yarn-over of the stitch before the planned change. Because the work is a spiral, the boundary will have a small step unless a jog-reduction method is used.
Oval body
Add more even rounds before decreasing. A longer middle changes the sphere into an oval body while preserving the same increase and decrease logic.
Larger sphere
Add (3 sc, inc) × 6 = 30 sts, work a tested number of even rounds, then mirror the shaping with (3 sc, inv dec) × 6 before continuing smaller decreases.
Troubleshooting
Six problems to correct before the opening becomes too small
Stuffing shows through
Test a smaller hook, use smoother yarn, or reduce stuffing. The fabric should remain dense without forcing the hook through every stitch.
The stitch count drifts
Keep the marker in the first stitch and count every round. Correct a missing or extra stitch before the next shaping round.
The ball has visible corners
Stacked increases can create a subtle hexagonal shape. Even stuffing may soften it. On larger tested patterns, increases may be staggered.
Decreases leave bumps or gaps
Confirm that the hook passes through the front loops of two consecutive stitches. Avoid pulling the decrease excessively tight.
The shape is lumpy
Remove the stuffing and reinsert it in small pieces, filling the lower curve and sides before the center.
The final hole will not close
Confirm that Round 11 reduced the opening to 6 stitches. Pass the finishing tail through all six front loops before drawing it shut.
Practice tips
Repeat the small shape until counting becomes automatic
Use short sessions. Tight crochet can fatigue the hands. Stop when the hook must be forced or discomfort persists.
Say the repeat quietly. “Two single crochet, increase” helps keep Round 4 organised.
Write down the last completed round. Do not rely on the shape alone after putting the project away.
Photograph the first three samples. Compare opening size, stitch density, diameter, and surface smoothness.
Change one variable at a time. Keep yarn and hook constant while learning, then test one different hook or stitch style.
Continue learning
Choose a first character with very little assembly
After making two or three consistent balls, choose an easy pattern that uses one main body shape and embroidered features. Avoid complicated colorwork, wire, movable joints, internal weights, or many separately sewn parts.
1.What crochet skills should I know before starting amigurumi?
You should be able to make a chain and a single crochet stitch. This guide teaches the adjustable ring, spiral-round tracking, increases, invisible decreases, stuffing, and closing. A small flat project first can help establish comfortable hook control and tension.
2.What hook size should I use for amigurumi?
Use a hook that produces dense fabric with your chosen yarn without forcing every stitch. For the sample #4 yarn, approximately 3.5–4 mm is a reasonable starting range. The yarn label is only a starting reference because amigurumi usually needs denser fabric than a draping project.
3.Why can I see stuffing through my stitches?
The hook may be too large, tension may be loose, the yarn may be unsuitable, or the piece may be overstuffed. Remove some stuffing first. When gaps remain in the unstuffed fabric, test a smaller hook while keeping the motion comfortable.
4.Do all amigurumi patterns use a magic ring?
No. An adjustable ring is common because it can close the center, but patterns may begin with a chain-2 start, a chain loop, an oval foundation, or another construction. Follow the starting instructions in the specific pattern.
5.Does “dec” always mean invisible decrease?
No. Some designers define dec as invisible decrease, while others mean a standard single-crochet decrease. Read the abbreviation list and special-stitch notes. In this ball pattern, inv dec is explicitly worked through the front loops of two stitches.
6.Can I use safety eyes on a toy for a baby or toddler?
Detachable or separable components can create small-parts concerns. For items intended for babies or toddlers, use securely embroidered features and follow the toy-safety, testing, age-grading, and labeling rules that apply where the item will be used or sold. A handmade pattern alone does not certify a finished toy as safe.
7.Why does my amigurumi lean or look uneven?
Check the round counts first, then remove and redistribute the stuffing. Spiral rounds naturally shift the round start slightly, but a strong lean usually comes from a missed increase or decrease, inconsistent tension, or uneven stuffing.
You are ready
Keep the marker moving and let the flat circle become a shape
Amigurumi becomes manageable when each task is separated: close the center, count the increases, work the even rounds, decrease carefully, add stuffing gradually, and close through the final six loops.
Make the first ball slowly and record the yarn, hook, size, and time. Repeat the same sample once more before adding a face or extra parts. Consistency in this small shape is the foundation for larger amigurumi projects.
Happy crocheting, — Sophie
Editorial references
Standards checked for this tutorial
Yarn-weight wording, hook sizing, U.S. crochet abbreviations, and project level were checked against Craft Yarn Council references. Child-product safety notes were reviewed against U.S. Consumer Product Safety Commission guidance on toys, stuffed toys, and small parts.