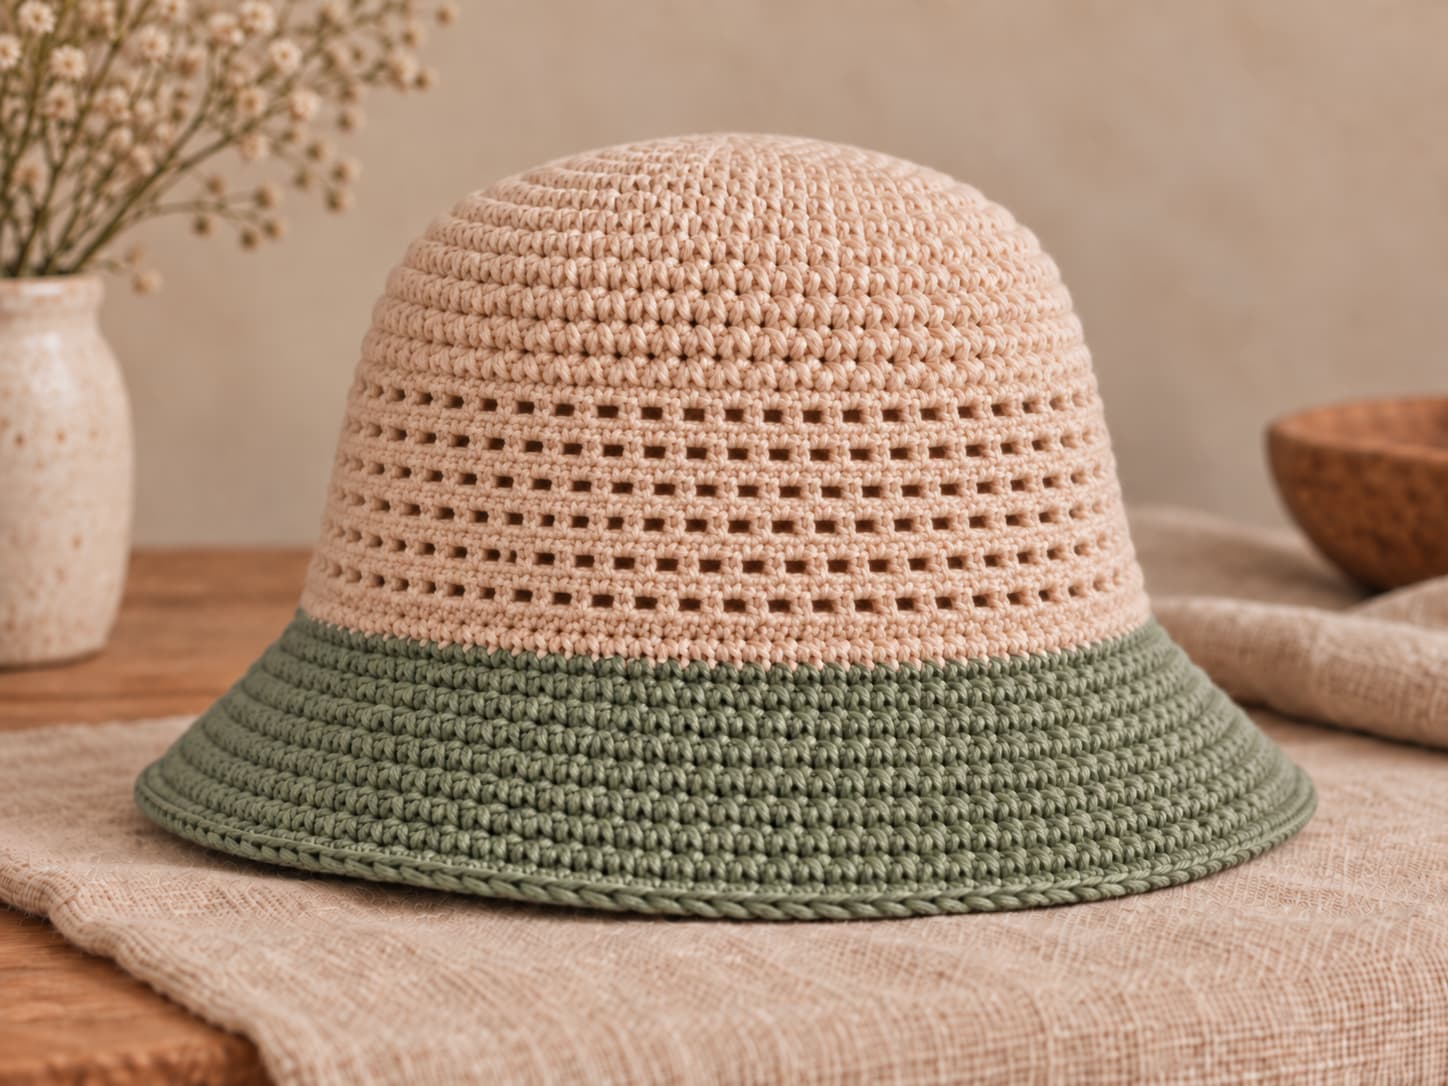
Crochet a top-down bucket hat with a simple two-round Dune Stitch, a structured oatmeal body, and a soft sage brim. The pattern uses joined rounds, clear stitch counts, and no seams.
Written by Sophie Lane•Published •About 12 minutes to read
EasyU.S. crochet termsTop-down in the roundAdult: 21–23 in
This crochet bucket hat is worked top-down in joined rounds, so there are no seams to sew. You begin with a flat single-crochet crown. Next, you work a two-round Dune Stitch repeat down the side. Finally, gradual increases create the sage brim.
The Dune Stitch alternates a mesh round with a solid single-crochet round. Because the openings are small, the fabric keeps enough structure for a wearable hat. At the same time, the subtle horizontal texture keeps the oatmeal body from looking flat.
The photographed sample uses warm oatmeal cotton for the crown and side, then soft sage for the brim. However, yarn choice can change the fit and drape. Make a washed swatch first, match the stated gauge, and try the hat on before you commit to the side section.
The finished Dune Stitch bucket hat combines a warm oatmeal body with a soft sage brim.
Skill levelEasy
Single crochet, chains, slip stitch, and simple increases.
Yarn150–200 yd total
Worsted-weight cotton or cotton blend.
Hook5.0 mm / US H-8
Or the size needed to match gauge.
Gauge14 sc × 16 rnds = 4 in
Measure the washed, blocked single-crochet swatch.
Finished fit21–23 in / 53–58.5 cm
One adult size in the source pattern.
Texture2-round Dune Stitch
One mesh round followed by one solid round.
On this page
Construction map
Build the hat in four clear stages
1. Crown
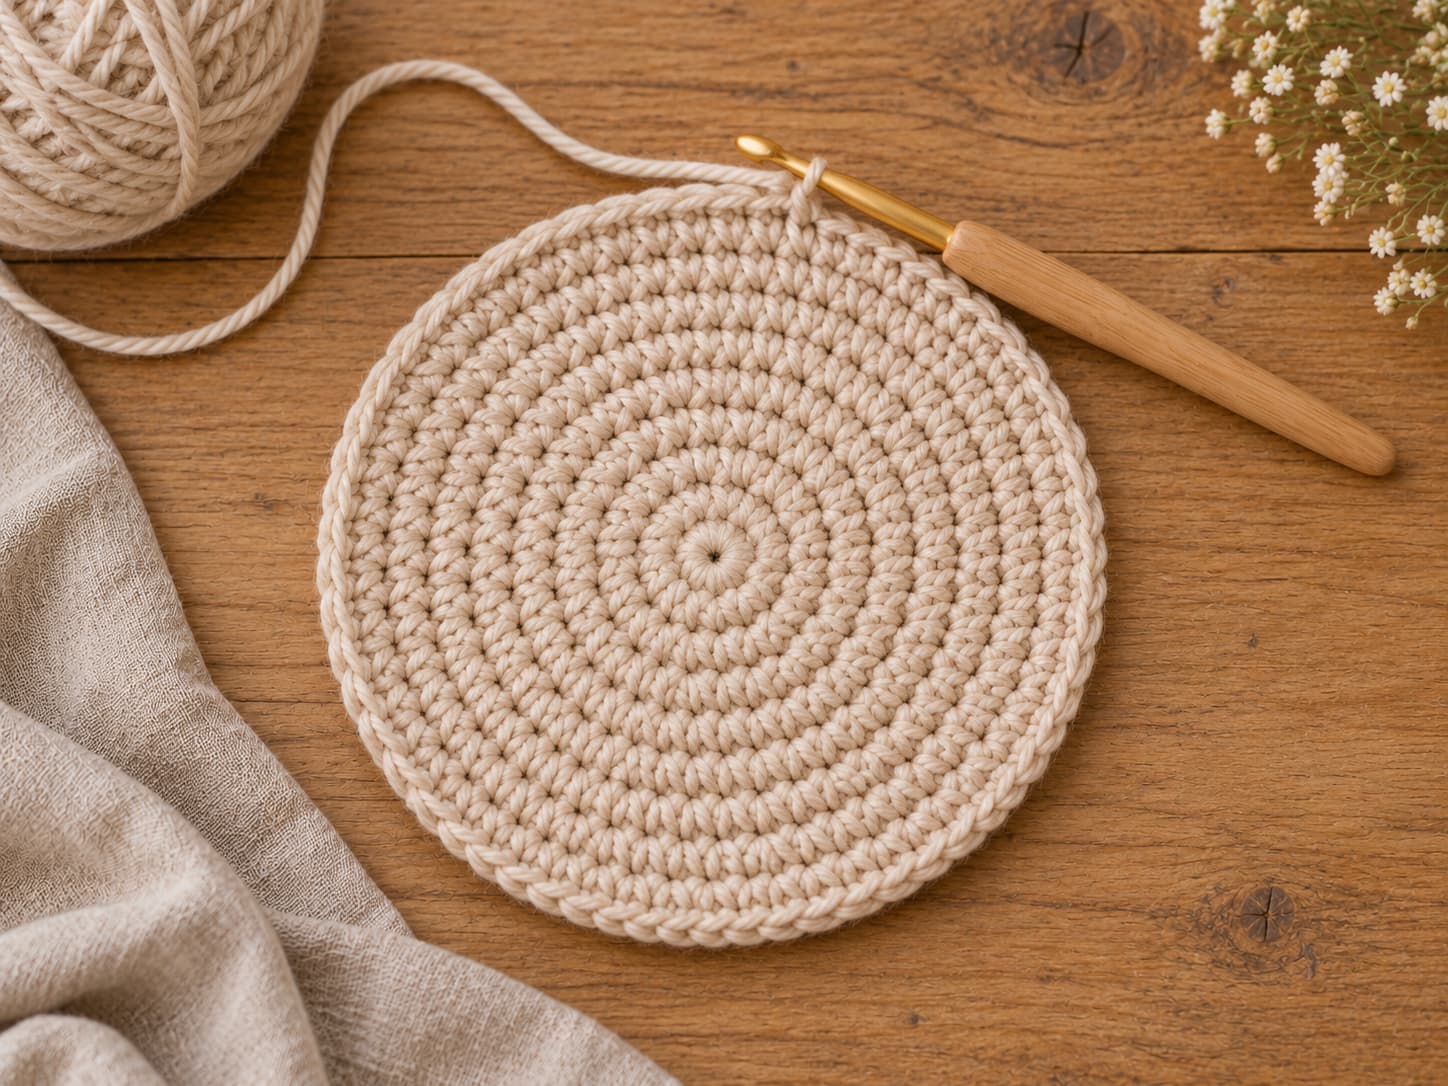
Start with 8 single crochet. Increase by 8 stitches per round until Round 10 reaches 80 stitches, then work two even rounds.
2. Side
Work 16 rounds of Dune Stitch. The stitch-position count stays at 80, so the side grows downward without extra shaping.
3. Sage brim
Switch colors at Round 29. Increase every other round so the brim widens gradually instead of ruffling all at once.
4. Blocking
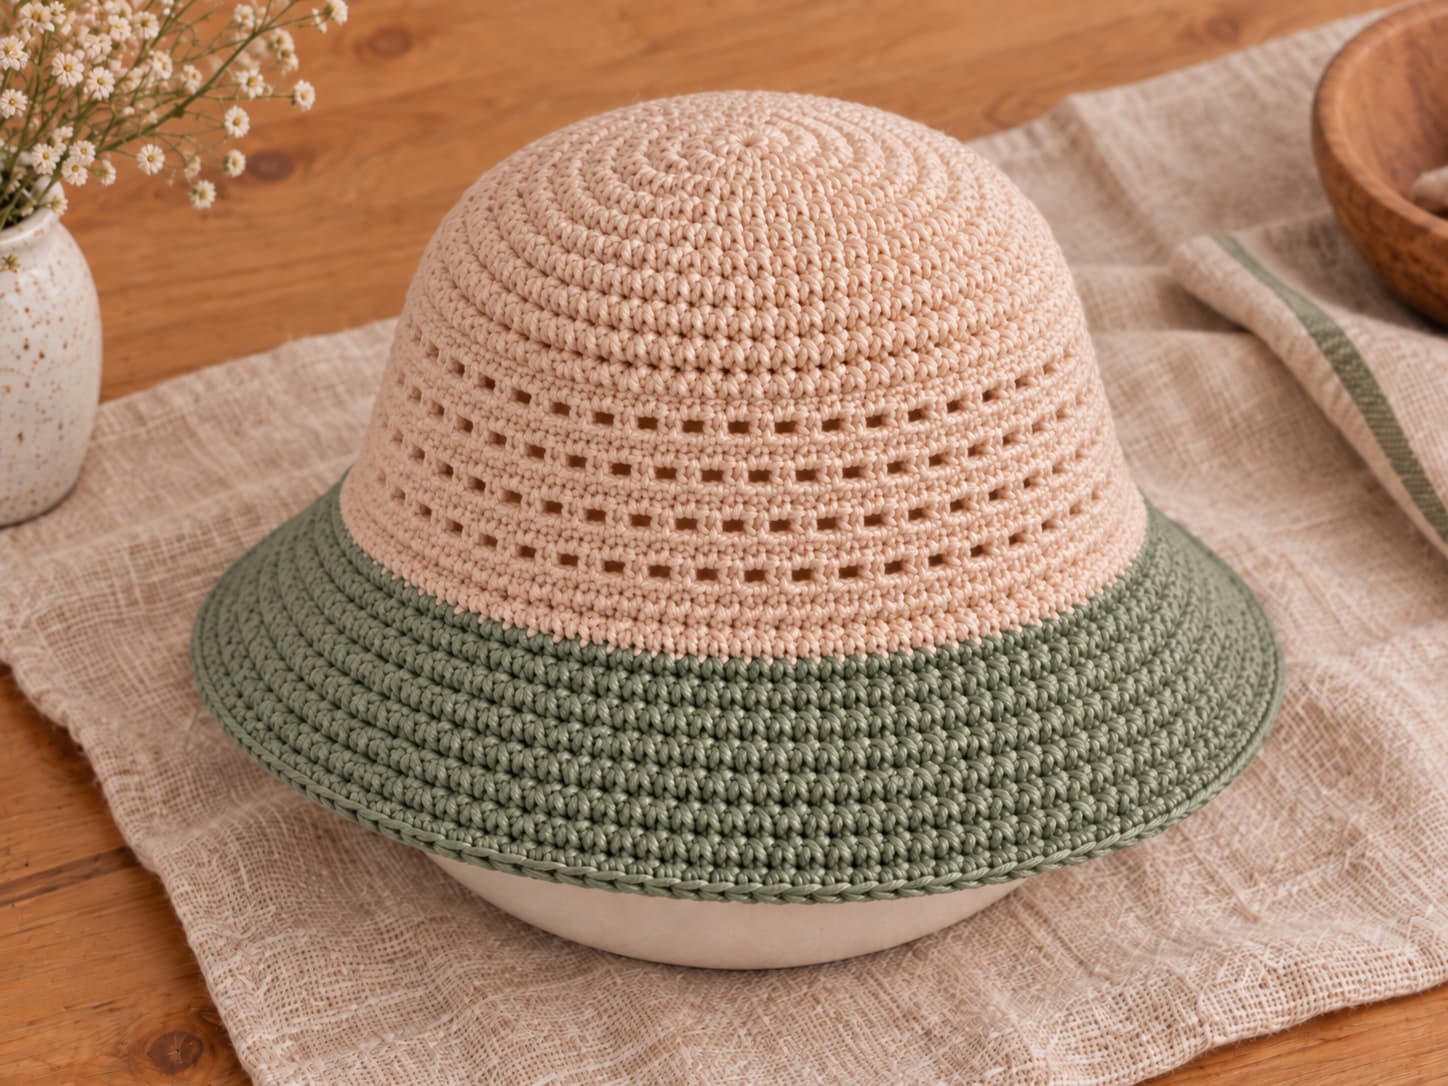
Finish the ends, then shape the damp hat over a bowl or suitable hat form according to the yarn-care instructions.
Materials and yarn
Choose yarn with enough structure to hold a bucket-hat shape
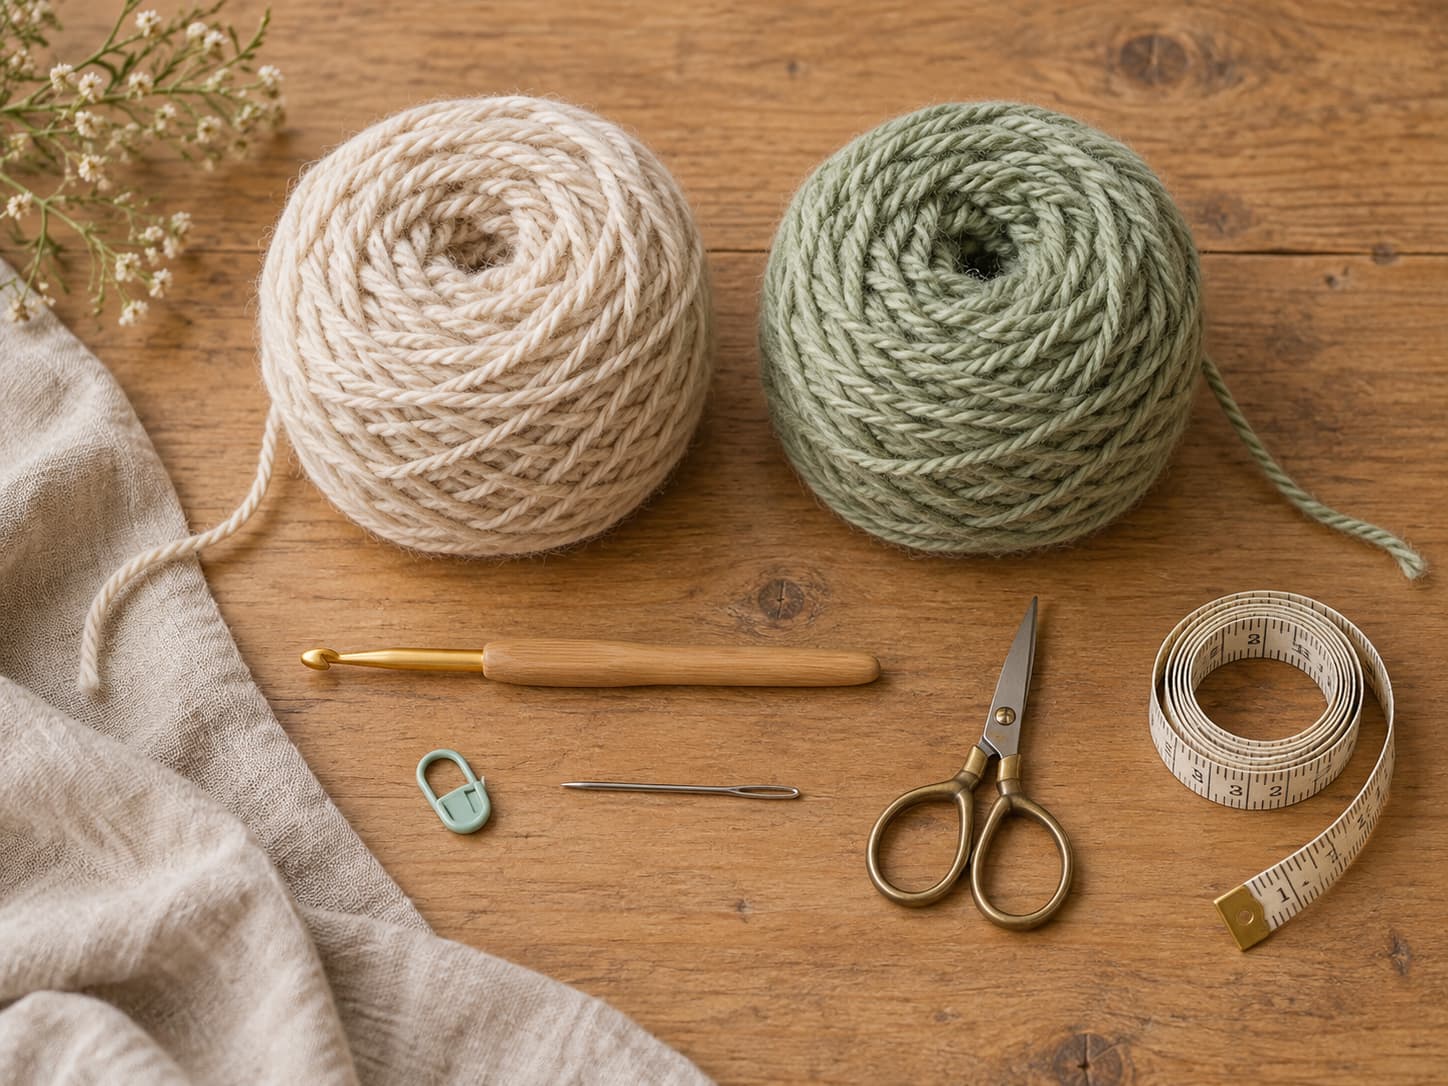
Prepare both yarn colors, the hook, and the finishing tools before you make the gauge swatch.
A smooth worsted cotton gives the stitches definition and helps the brim keep its shape. A cotton blend can feel softer. Meanwhile, a ribbon-style cotton creates a firmer, more summery look. In every case, check the current yarn label for yardage and care instructions before buying.
Yarn examples from the source pattern
The source draft suggests Lion Brand 24/7 Cotton, Lion Brand Coboo, and Hobbii Ribbon XL as possible directions. Treat those as starting points rather than fixed requirements. The most important checks are yarn weight, washed gauge, fabric feel, and enough yardage for both the hat and your swatch.
Sizing and gauge
Match gauge before the crown sets the final fit
Measurement
Source pattern target
Head circumference
21–23 in / 53–58.5 cm
Crown diameter
About 7¼ in / 18.5 cm flat
Hat depth
About 5½ in / 14 cm from crown to brim
Brim width
About 2 in / 5 cm
Brim circumference
About 26–28 in / 66–71 cm
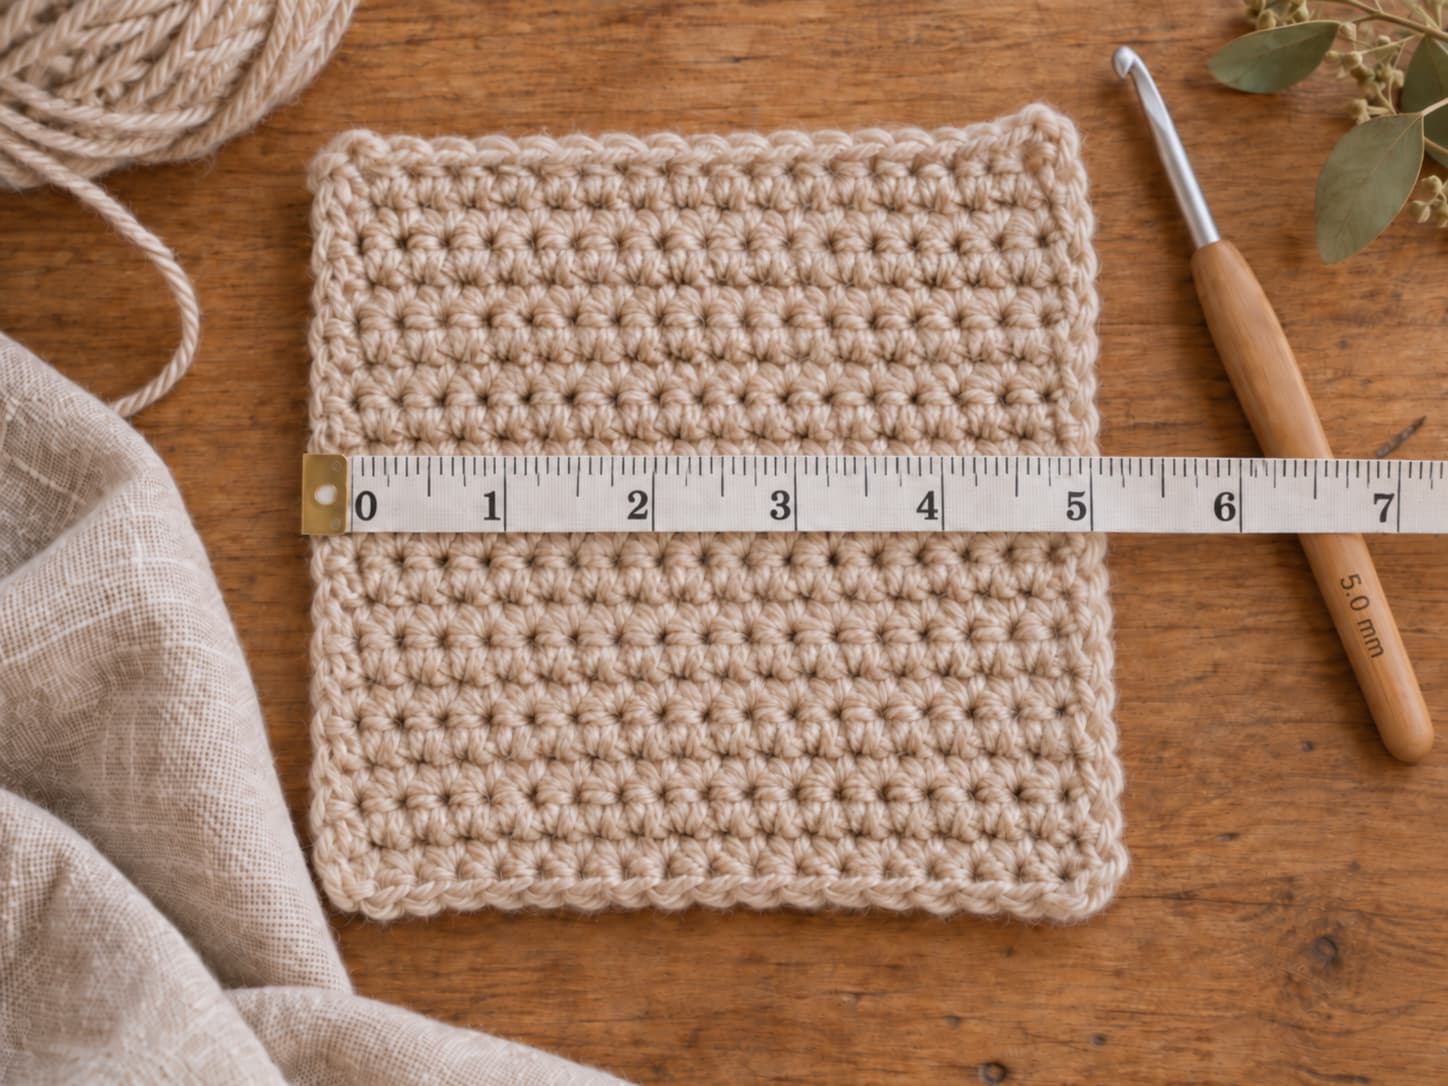
Gauge: 14 single crochet and 16 rounds = 4 inches / 10 cm after blocking with the 5.0 mm hook. If you count more than 14 stitches in 4 inches, try a larger hook. If you count fewer, try a smaller hook.
Make the swatch at least 6 inches square. First, crochet plain single crochet so the stitches are easy to count. Next, wash or wet the swatch only as allowed by the yarn label. Then dry it flat and measure across the center.
Measure the blocked single-crochet swatch across the center, not along the edge.
Dune Stitch
Alternate one mesh round with one solid round
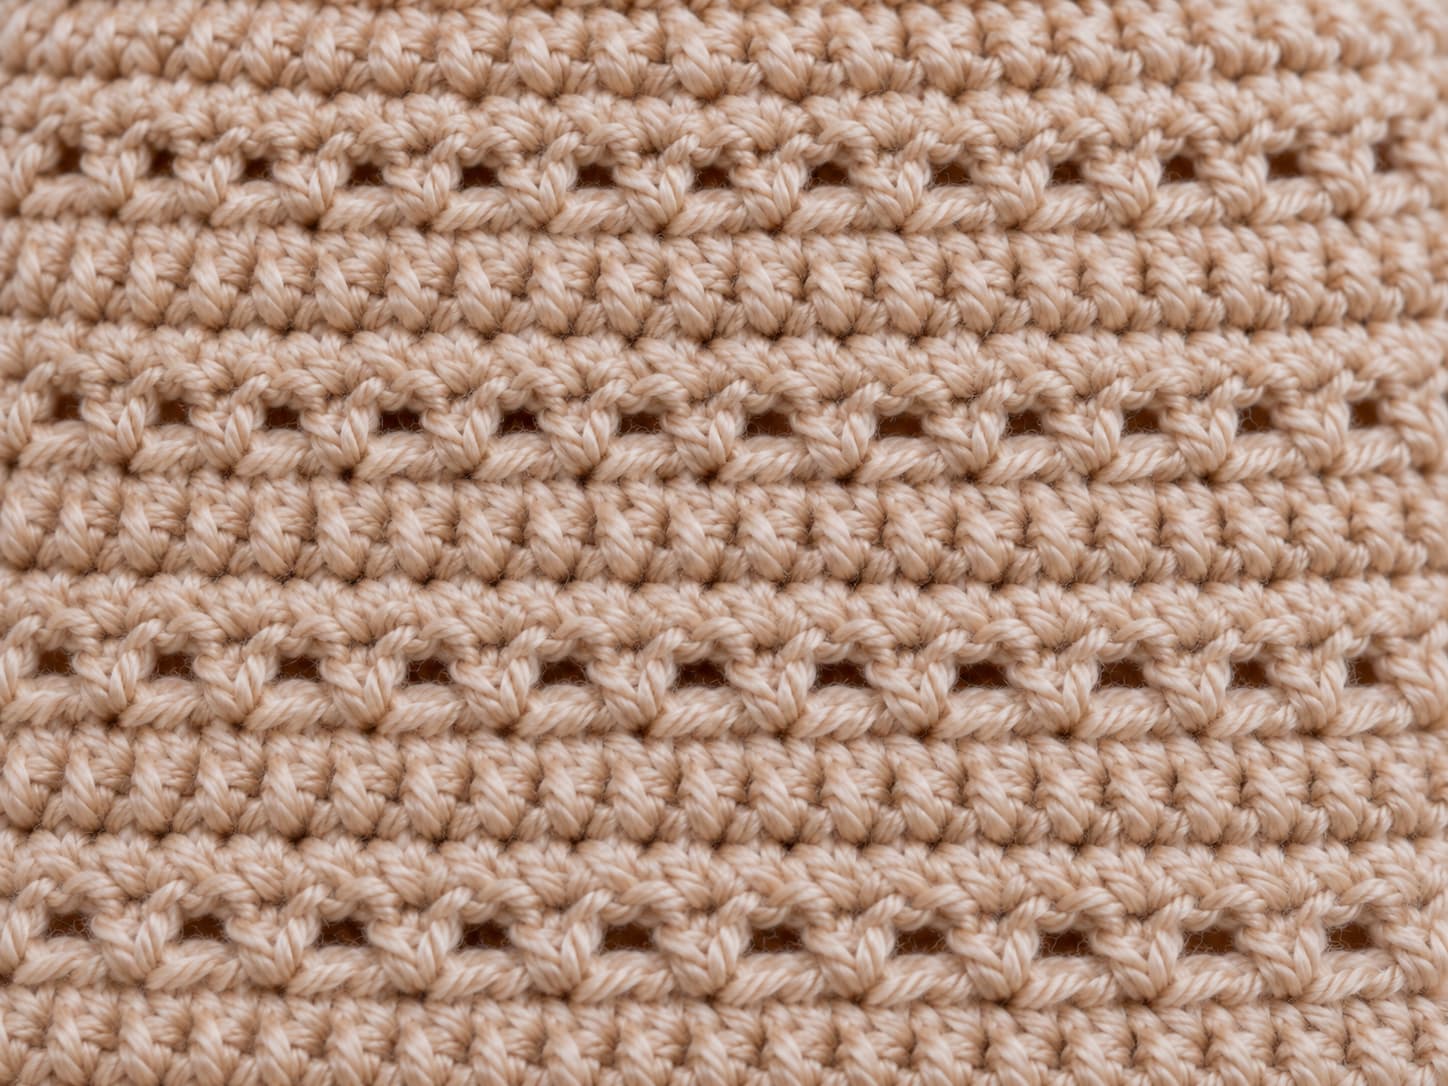
The Dune Stitch is a two-round repeat used on the side of this crochet bucket hat. The mesh round alternates one single crochet with one chain-one space. The following solid round works back into every single crochet and every chain-one space.
As a result, the side gets small openings without becoming overly lacy. The solid round also gives you a convenient stitch-count checkpoint. Once you learn the rhythm, the repeat becomes easy to recognize by touch as well as by sight.
Small chain-one spaces alternate with solid single-crochet rounds to create the Dune Stitch texture.
Dune Stitch repeat — 80 stitch positions:
Round A, mesh: Ch 1. [Sc in next st, ch 1, skip next st] 40 times. Join with a sl st to the first sc. You still have 80 stitch positions: 40 sc plus 40 ch-1 spaces.
Round B, solid: Ch 1. Work 1 sc in every sc and every ch-1 space around. Join with a sl st to the first sc. You should have 80 sc.
Repeat Rounds A–B. The beginning chain does not count as a stitch.
Complete free pattern
Crochet bucket hat pattern: complete written instructions
This pattern follows the one-size adult construction in the source draft. All rounds are joined with a slip stitch to the first single crochet. The beginning chain-one does not count as a stitch.
KnitSoul free pattern
Dune Stitch Bucket Hat
TermsU.S. crochet terms
ConstructionTop-down in joined rounds
Abbreviationsch, sc, sl st, st(s), rnd
Beginning chainDoes not count as a stitch
Pattern notes
Place a marker in the first single crochet of each round, then move it up as you work.
Count at the end of every crown increase round and every solid Dune Stitch round.
Try the hat on after Round 12 before starting the textured side.
Keep the slip-stitch join relaxed so the round edge does not pull inward.
Crown — Rounds 1–12
Rnd 1: With oatmeal yarn, make a magic ring. Ch 1, work 8 sc in the ring. Join. 8 sc.
Rnd 2: Ch 1, 2 sc in each st around. Join. 16 sc.
Rnd 3: Ch 1, [sc in next st, 2 sc in next st] 8 times. Join. 24 sc.
Rnd 4: Ch 1, [sc in next 2 sts, 2 sc in next st] 8 times. Join. 32 sc.
Rnd 5: Ch 1, [sc in next 3 sts, 2 sc in next st] 8 times. Join. 40 sc.
Rnd 6: Ch 1, [sc in next 4 sts, 2 sc in next st] 8 times. Join. 48 sc.
Rnd 7: Ch 1, [sc in next 5 sts, 2 sc in next st] 8 times. Join. 56 sc.
Rnd 8: Ch 1, [sc in next 6 sts, 2 sc in next st] 8 times. Join. 64 sc.
Rnd 9: Ch 1, [sc in next 7 sts, 2 sc in next st] 8 times. Join. 72 sc.
Rnd 10: Ch 1, [sc in next 8 sts, 2 sc in next st] 8 times. Join. 80 sc.
Rnds 11–12: Ch 1, sc in each st around. Join. 80 sc.
After Round 10, the crown should be a flat circle with evenly distributed increases.
Side — Rounds 13–28
Work 16 rounds, or 8 complete Dune Stitch repeats. Keep 80 stitch positions throughout.
Rnd 13, mesh: Ch 1. [Sc in next st, ch 1, skip next st] 40 times. Join. 40 sc + 40 ch-1 spaces.
Rnd 14, solid: Ch 1. Sc in every sc and every ch-1 space around. Join. 80 sc.
Rnds 15–28: Repeat Rnds 13–14 seven more times. After Round 28, the source pattern targets about 4 inches of side depth from the crown transition. 80 sc.
The Dune Stitch side should stay even while the small mesh rounds create subtle horizontal texture.
Brim — Rounds 29–36
Switch to sage yarn. Increase every other round so the brim flares gradually.
Rnd 29: Ch 1, [sc in next 9 sts, 2 sc in next st] 8 times. Join. 88 sc.
Rnd 30: Ch 1, sc in each st around. Join. 88 sc.
Rnd 31: Ch 1, [sc in next 10 sts, 2 sc in next st] 8 times. Join. 96 sc.
Rnd 32: Ch 1, sc in each st around. Join. 96 sc.
Rnd 33: Ch 1, [sc in next 11 sts, 2 sc in next st] 8 times. Join. 104 sc.
Rnd 34: Ch 1, sc in each st around. Join. 104 sc.
Rnd 35: Ch 1, [sc in next 12 sts, 2 sc in next st] 8 times. Join. 112 sc.
Rnd 36: Ch 1, sc in each st around. Join. Fasten off. 112 sc.
Optional drawstring
Cut about 30 inches of sage yarn. Using a tapestry needle, weave it through the visible chain-one openings from Round 27, just above the brim transition. Tie the ends securely and tuck the knot inside the hat. Then adjust gently rather than pulling the fabric into gathers.
Finishing and blocking
Shape the crochet bucket hat so the crown and brim settle evenly
Weave in the ends. Secure the oatmeal and sage tails through nearby stitches, then trim only after they feel stable.
Follow the yarn-care label. Wet or wash the hat only in a way that suits the fiber you actually used.
Choose the form. Use a bowl or hat form close to the intended head size.
Shape the crown and side. Smooth the damp fabric over the form without stretching it wider than your measured target.
Arrange the brim. Let it flare outward naturally and correct any obvious waves before the fabric dries.
Dry completely. Remove the hat only after the shape has set.
Block the damp hat over a form close to the intended size, then let the brim settle into its finished flare.
Troubleshooting
Fix six problems before they change the finished fit
Gauge is off
Wash and measure the swatch again. Then change hook size before restarting the crown.
Crown will not lie flat
Check every increase round against the stated count. A missed or extra increase can distort the circle.
Center ring stays open
Pull the magic-ring tail firmly, then secure it through nearby stitches before trimming.
Dune Stitch count drifts
On each solid round, work into every single crochet and every ch-1 space. Count 80 sc before the next mesh round.
Join line looks heavy
Join to the first single crochet, not the beginning chain. Also keep the joining slip stitch relaxed and consistent.
Brim waves or cups
First verify the increase-round counts. Then correct the affected rounds before blocking instead of forcing the fabric flat.
Practice tips and variations
Change the color or brim while keeping the construction familiar
Single-color version
Use oatmeal for the entire crochet bucket hat. The Dune Stitch provides texture even without a contrasting brim.
Wider brim
The source pattern suggests four extra brim rounds, continuing the same alternating increase-and-even-round logic. Swatch and test the flare before treating the extension as final.
Smaller size
The source draft suggests stopping the crown at 72 stitches for a smaller version. Because fit depends on gauge and fiber, verify the crown circumference before continuing.
Ribbon-style yarn
A ribbon cotton can create a firmer summer look. However, it may change the gauge substantially, so treat it as a separate swatch rather than a direct yarn swap.
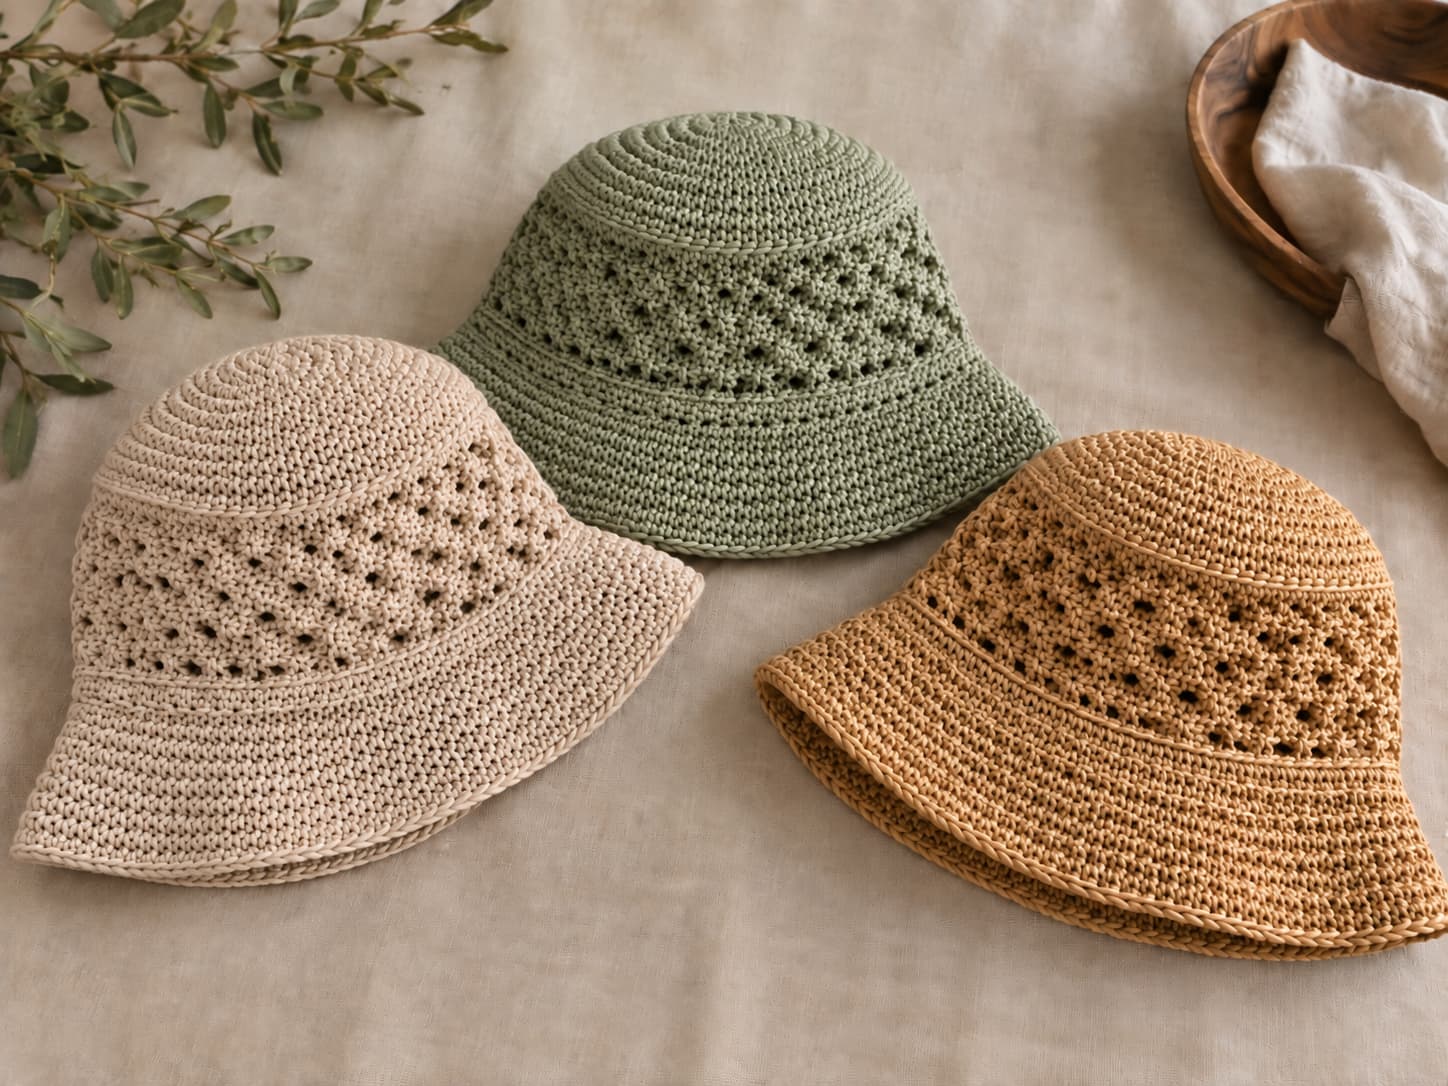
Color and fiber changes can give the same bucket-hat construction a different seasonal feel.
Mark the first stitch. Move the marker at the start of every round.
Count before the next mesh round. The solid Dune Stitch rounds are your easiest checkpoints.
Try on early. Round 12 is the best place to catch a fit problem before the side grows longer.
Keep the brim increases even. Spread them around the round instead of clustering them in one area.
Reshape after washing. Cotton can relax with use, so return the hat to its intended form while it dries.
Continue learning
Use these in-the-round skills in your next wearable
Yes. The pattern uses a magic ring, single crochet, chain-one spaces, slip stitch, and regular increases. Practice the crown and one Dune Stitch repeat first if working in joined rounds is new to you.
2. How long does the hat take to make?
The source draft uses 4–6 hours as a planning estimate, plus drying time after blocking. Actual time varies with experience, yarn, tension, and how often you stop to check the stitch count.
3. How much yarn do I need?
The source pattern estimates about 120–150 yards of oatmeal yarn and 30–50 yards of sage yarn. Keep extra yarn for the swatch, the optional drawstring, and normal variation in tension.
4. Can I use a different yarn?
Yes, but make a new swatch. A softer yarn can create more drape, while a firmer cotton or ribbon-style yarn can create more structure. Match the stated gauge before using the original stitch counts.
5. How do I adjust the size?
The source draft suggests changing the final crown increase count, then carrying that count through the side before recalculating the brim. Because fit depends on your actual gauge, measure the crown and try it on before continuing.
6. May I sell finished hats made from this pattern?
The source pattern permits sales of finished physical hats while reserving the written pattern and images. If you list finished items online, credit KnitSoul as the pattern source.
A simple wearable
Finish a crochet bucket hat with clean shape and subtle texture
This crochet bucket hat turns a small group of beginner techniques into a practical wearable. First, match the single-crochet gauge. Next, keep the crown increases even and count every solid Dune Stitch round. Finally, shape the sage brim and block the hat so the crown, side, and brim settle into one clean silhouette.
If the fit starts to drift, correct it early. The Round 12 try-on and the 80-stitch solid rounds give you reliable checkpoints before the project becomes difficult to undo.
Happy crocheting, — Sophie
Free printable
Keep the crown counts and Dune Stitch repeat beside your project