Easy Crochet Beanie: Ridgeline Stitch Hat for Beginners
Make a top-down crochet beanie with a simple two-round Ridgeline texture, two adult sizes, and a folded cream cuff. Clear stitch counts and fit checkpoints keep the pattern beginner-friendly from crown to finish.
Written by Sophie Lane•Published •About 12 minutes to read
EasyU.S. crochet termsTop-down in joined roundsTwo adult sizes
Build your first easy crochet beanie from the crown down
This easy crochet beanie is worked top-down in joined rounds with a shaped single-crochet crown, a two-round textured body, and a folded contrast cuff. The Ridgeline Stitch alternates one back-loop-only round with one standard single-crochet round. As a result, the unused front loops form clean horizontal ridges across the hat.
Because the hat grows from the crown, you can check the diameter and fit before committing to the body length. Then the stitch count stays steady while you repeat the texture. Finally, six cream back-loop-only rounds create a folded cuff with matching horizontal ridges.
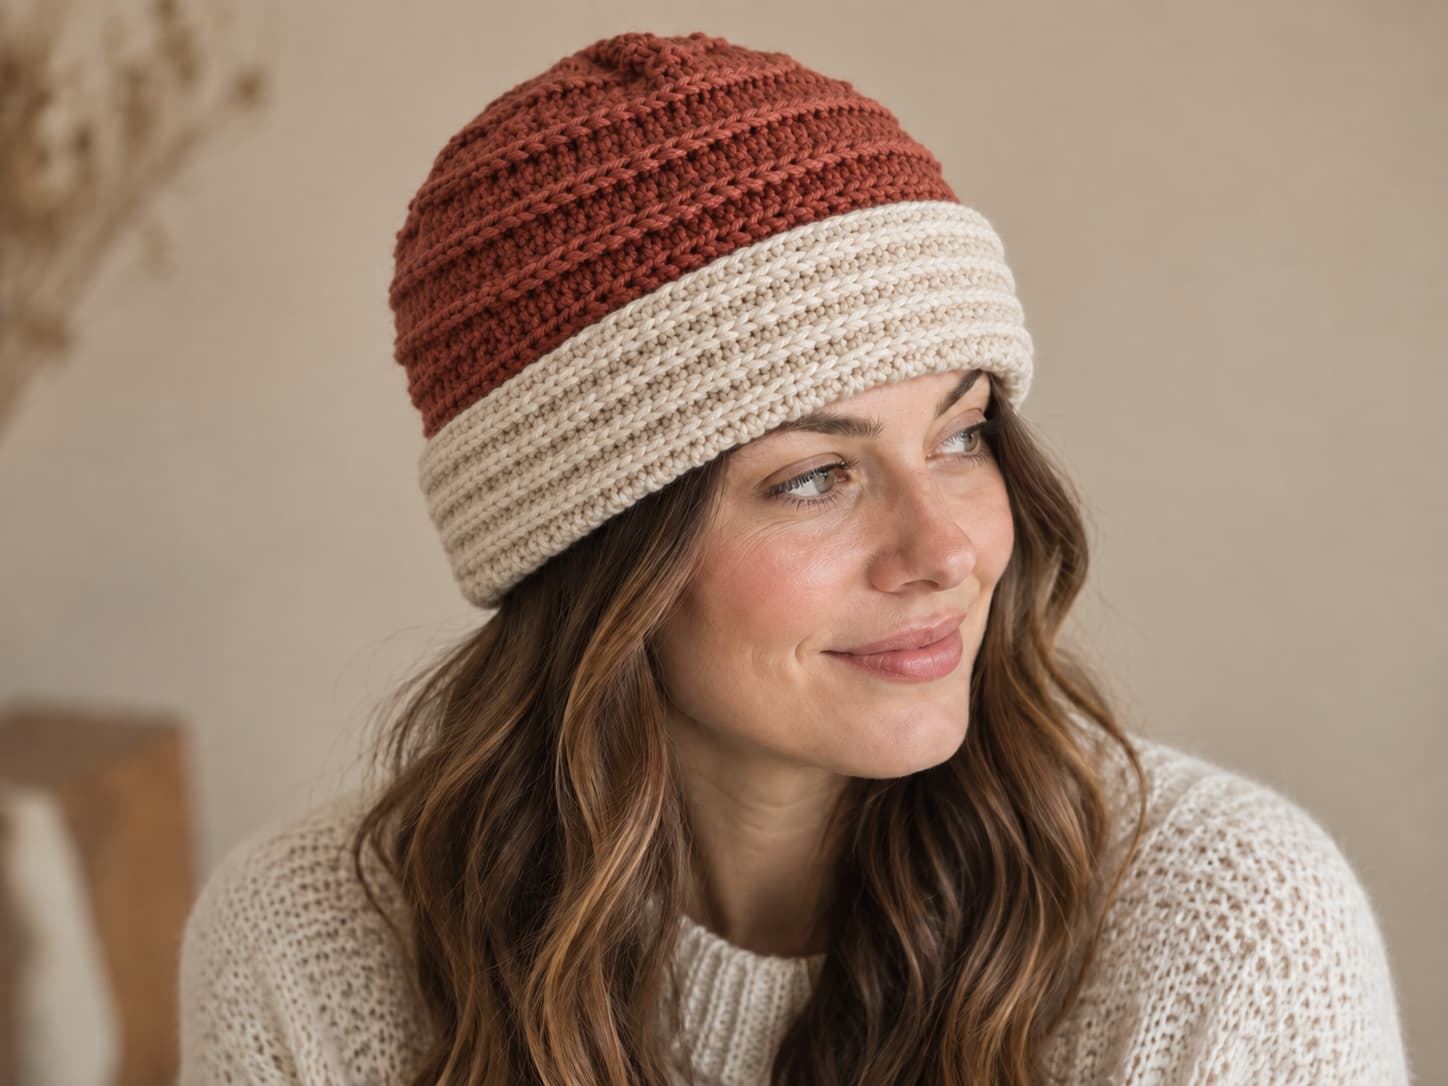
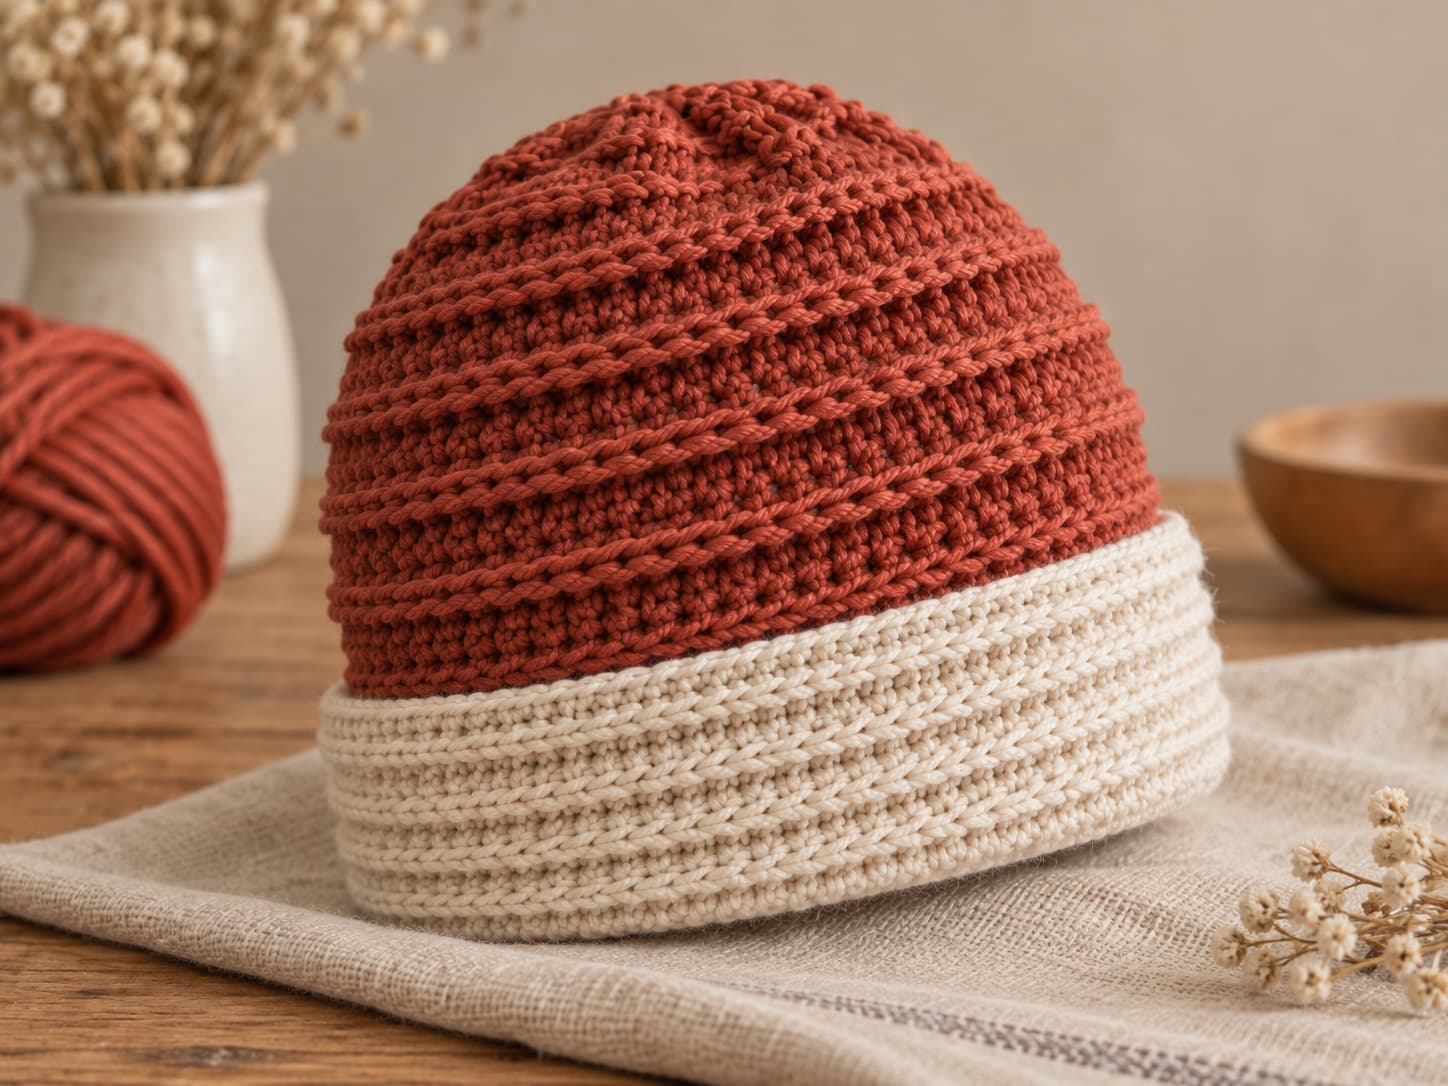
The photographed color plan uses muted rust for the crown and body with soft cream at the cuff. Choose a smooth CYC #4 worsted yarn that lets you see each loop clearly, and use the yarn-care label to guide washing and blocking.
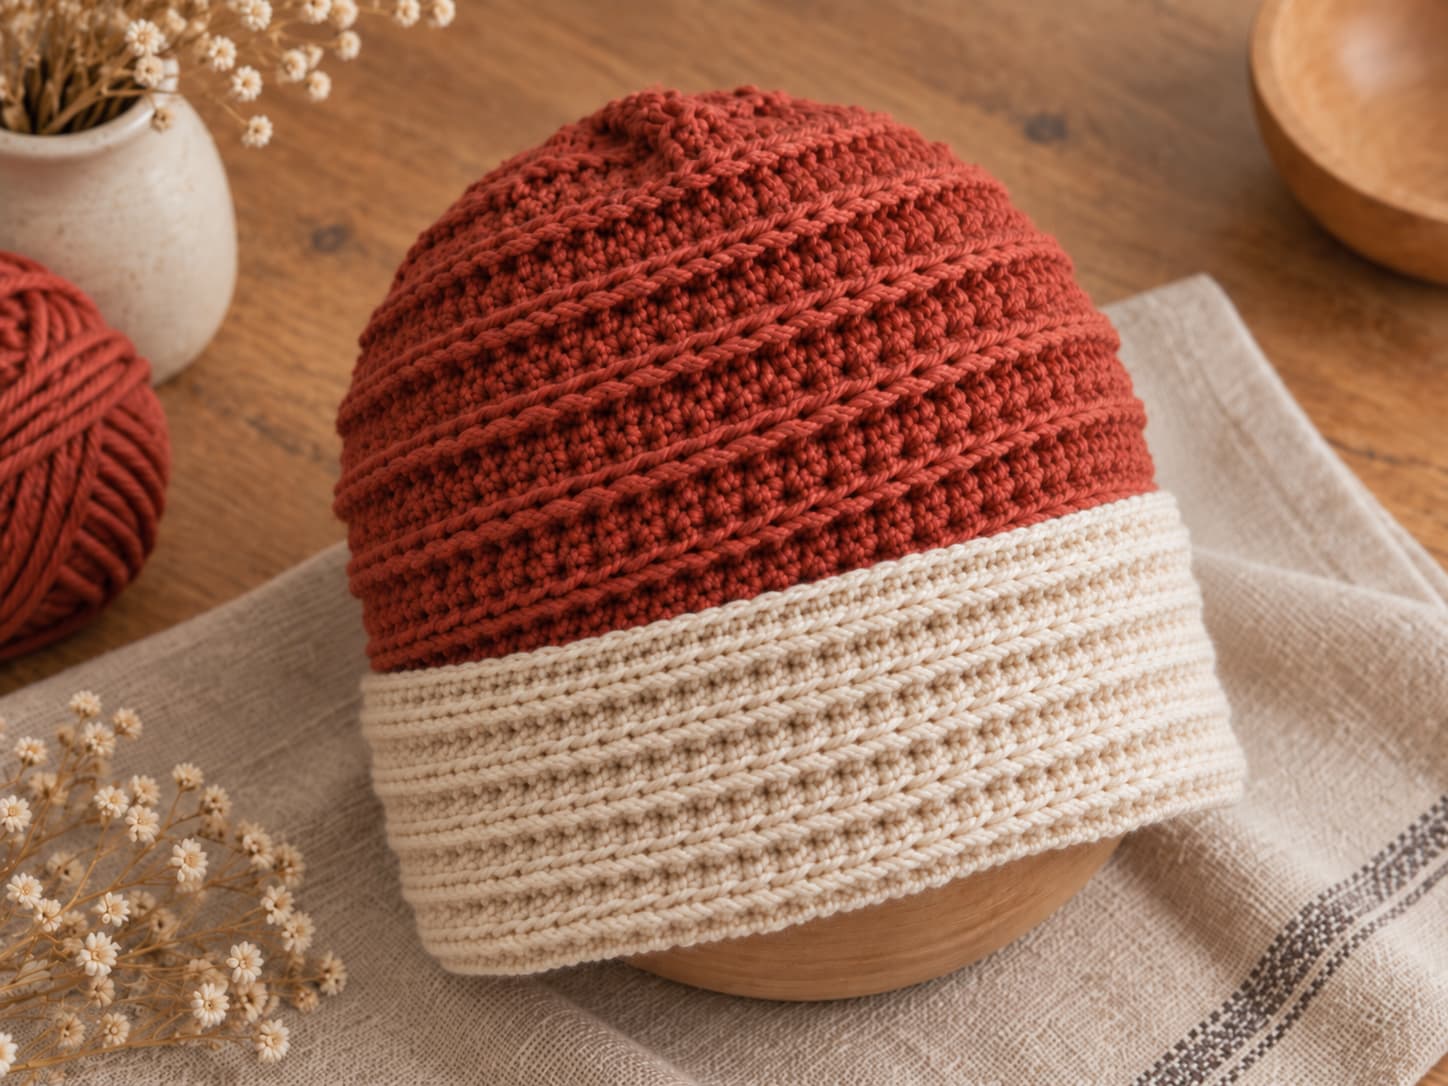
The finished beanie pairs horizontal Ridgeline texture with a simple folded cream cuff.
Skill levelEasy
Magic ring, single crochet, BLO single crochet, slip stitch, and increases.
YarnAbout 150–200 yd total
Smooth CYC #4 worsted yarn; acrylic or wool-acrylic are practical options.
Hooks5.0 mm + optional 4.0 mm
Use the smaller hook only if the cuff remains comfortable.
Gauge14 sts × 16 rows = 4 in
Measure a washed Ridgeline Stitch swatch across the center.
SizesAdult S/M and L/XL
Use the crown measurement and try-on check together.
Texture2-round Ridgeline repeat
One BLO ridge round followed by one smooth round.
On this page
Construction map
Make the hat in four clear stages
Crown
Begin with 6 single crochet and increase evenly in joined rounds. Stop at 66 stitches for S/M or 72 stitches for L/XL.
Body
Keep the stitch count steady while alternating a BLO ridge round with a standard single-crochet round.
Cuff
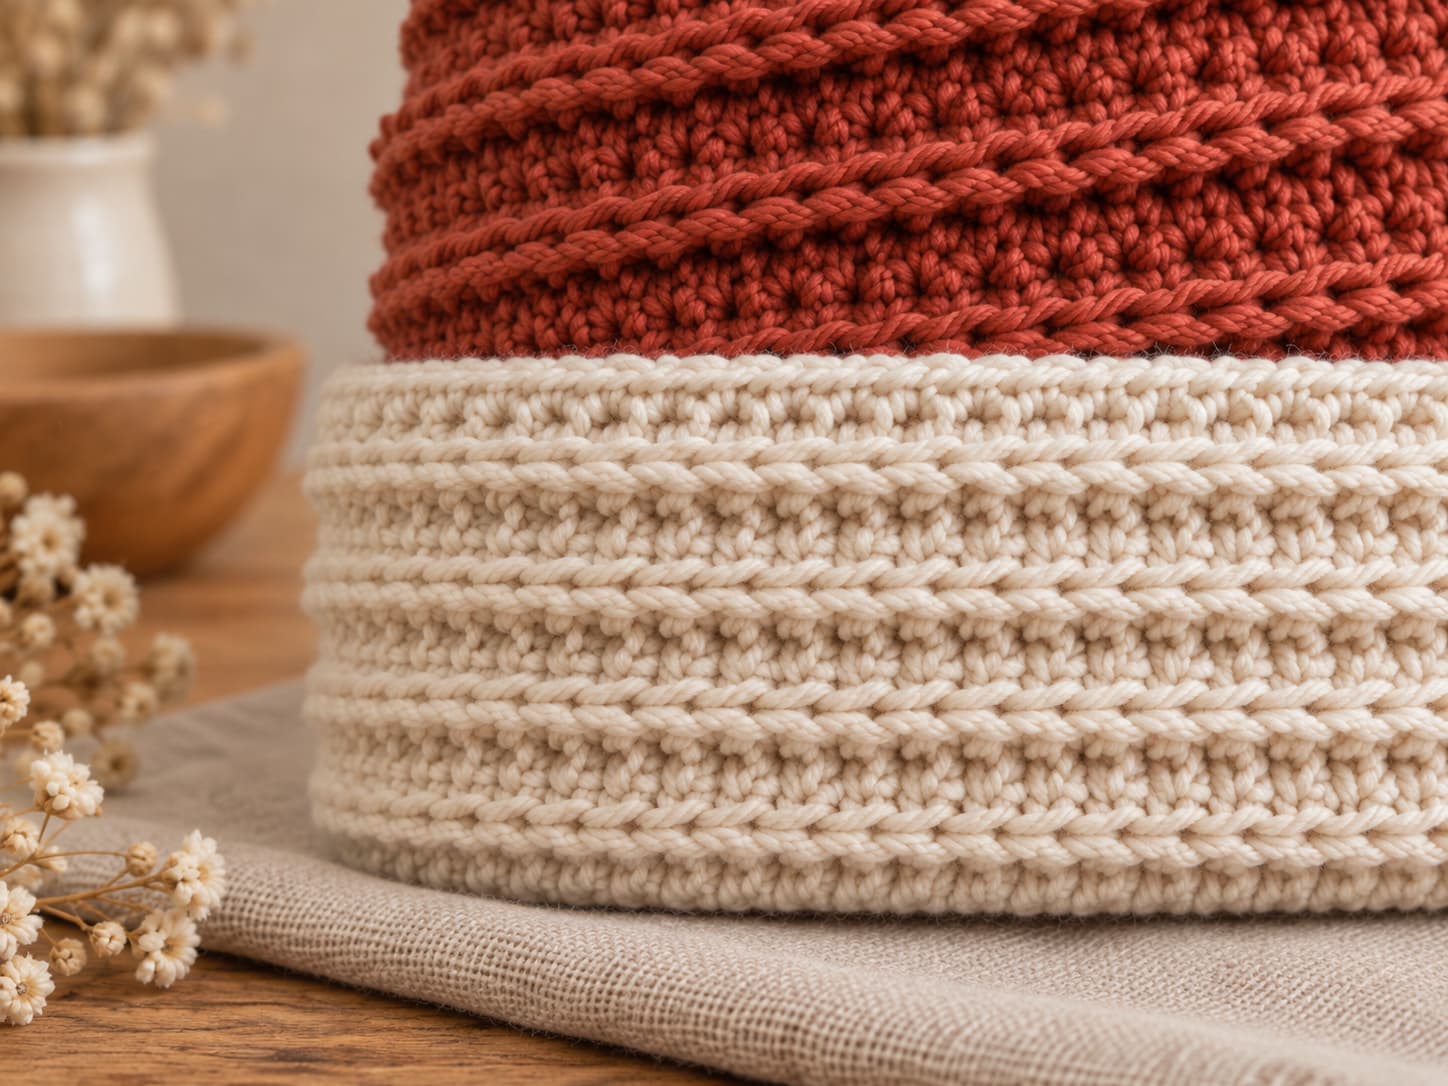
Change to cream and work six BLO rounds. These rounds create horizontal ridges that remain visible after the cuff is folded.
Finish
Weave in the yarn tails, wash or wet-block only as the yarn label allows, reshape without over-stretching, and fold the cuff after drying.
Materials and yarn
Choose yarn with clear stitch definition and comfortable stretch
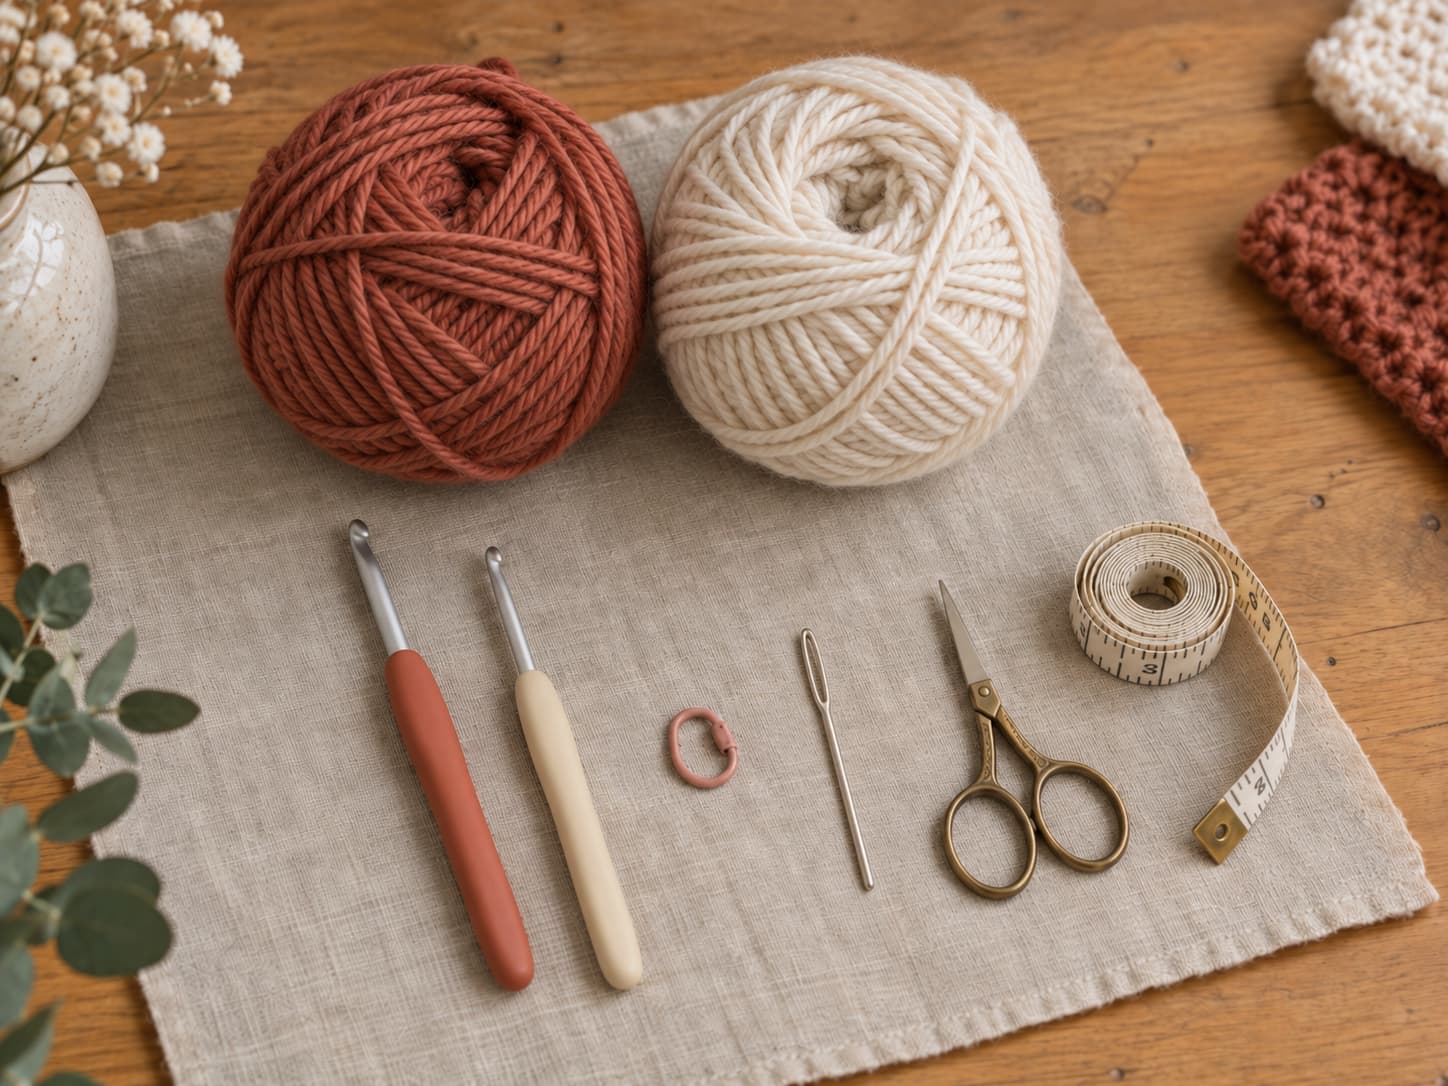
Prepare the yarn, hook, marker, measuring tape, and finishing tools before making the gauge swatch.
Item
Specification
Use
Body yarn
About 120–150 yd / 110–137 m worsted
Crown and Ridgeline body.
Cuff yarn
About 30–50 yd / 27–46 m worsted
Folded contrast cuff.
Main hook
5.0 mm / US H-8
Use this unless another size is needed to match gauge.
Cuff hook
4.0 mm / US G-6, optional
Use only if the smaller hook still produces a comfortable cuff.
For an easy crochet beanie, a smooth worsted acrylic is easy to count and practical for a first hat. A wool-acrylic blend can add warmth and resilience. A cotton-acrylic blend can feel cooler and more structured, although it may behave differently at the same hook size.
Whichever fiber you choose, make the swatch with the exact yarn you plan to use. Then follow that yarn's care label when washing and shaping the finished beanie.
Sizing and gauge
Swatch your easy crochet beanie first, then use the crown as your fit checkpoint
Measurement
Adult S/M
Adult L/XL
Head circumference
21–22 in / 53–56 cm
22–23 in / 56–58.5 cm
Written crown count
66 sc
72 sc
Crown checkpoint
About 6 in / 15 cm across
About 6½ in / 16.5 cm across
Target depth
About 8½ in / 21.5 cm
About 9 in / 23 cm
Folded cuff
About 1½ in / 4 cm
About 1½ in / 4 cm
Fit note: At 14 stitches per 4 inches, the written 66- and 72-stitch circumferences are approximately 18.9 and 20.6 inches before wear. That gives the hat intentional negative ease for the listed adult head sizes. Because yarn stretch varies, use the crown checkpoint and a try-on check together rather than relying on stitch count alone.
Gauge: 14 stitches and 16 rows = 4 inches / 10 cm in a washed Ridgeline Stitch swatch with the 5.0 mm hook. Stitch gauge is the most important measurement for circumference. If you have more than 14 stitches in 4 inches, try a larger hook. If you have fewer, try a smaller hook.
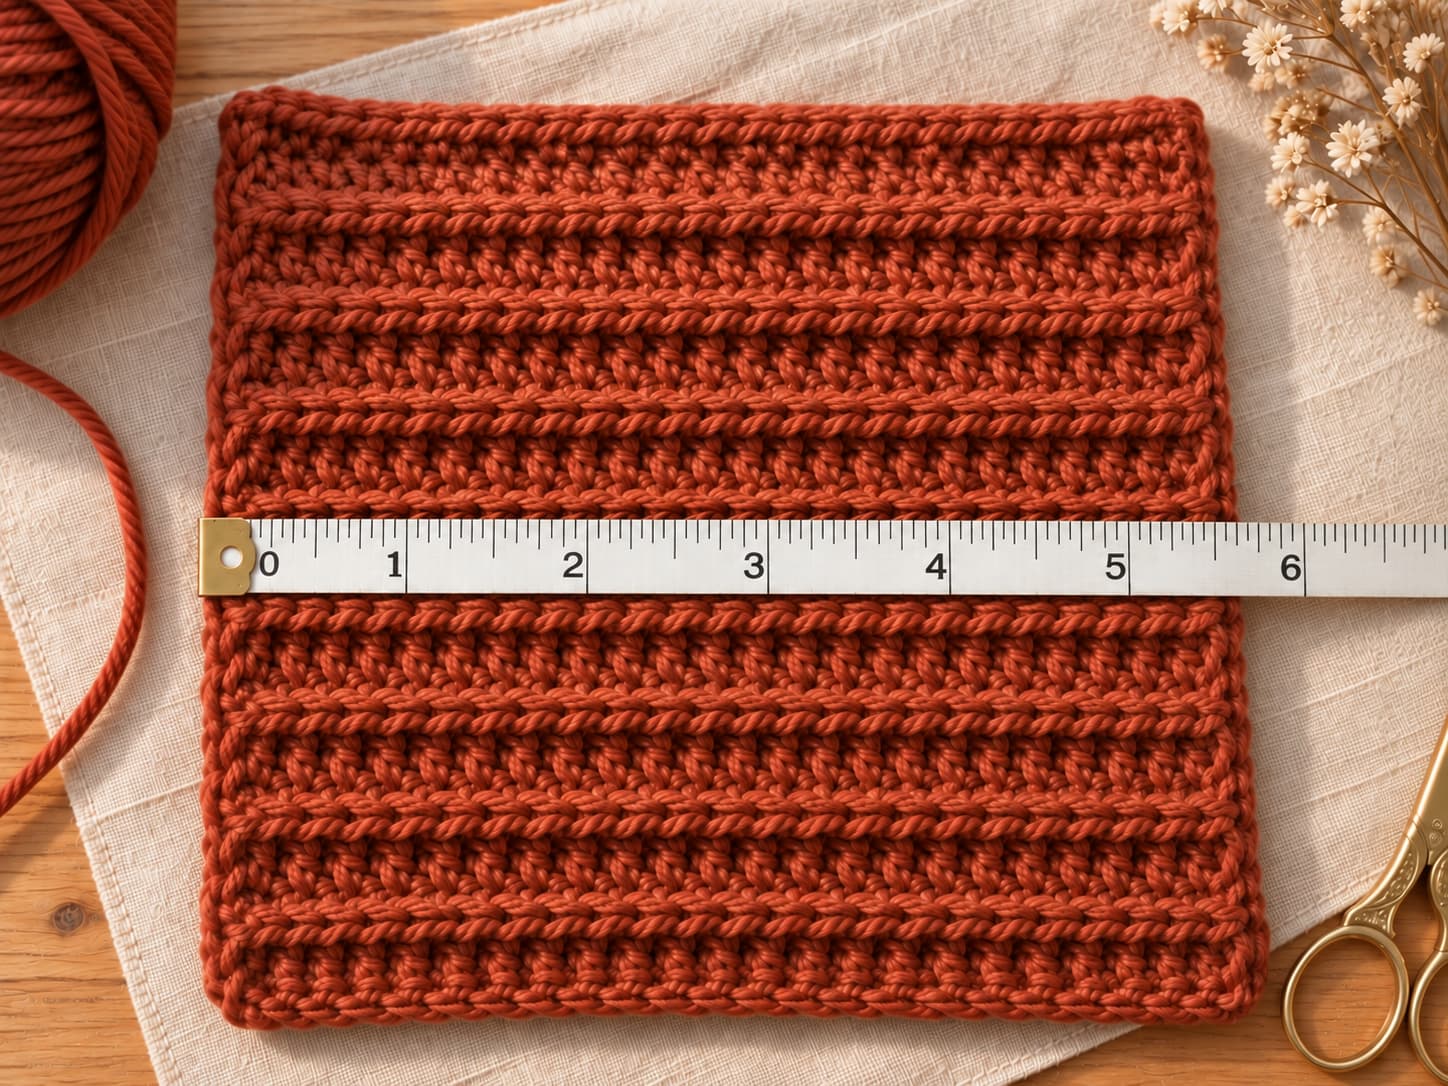
Make the swatch at least 6 inches square. Work the same two-row sequence used for the hat: one BLO row, then one regular single-crochet row. Next, wash or wet the swatch only as the yarn label allows. Dry it in the recommended way. Then measure across the center, aligning the tape's 0 mark with the left edge of a complete stitch before reading the 4-inch point.
Measure a washed Ridgeline swatch across the center rather than along the edge.
Ridgeline Stitch
Alternate a BLO round with a smooth single-crochet round
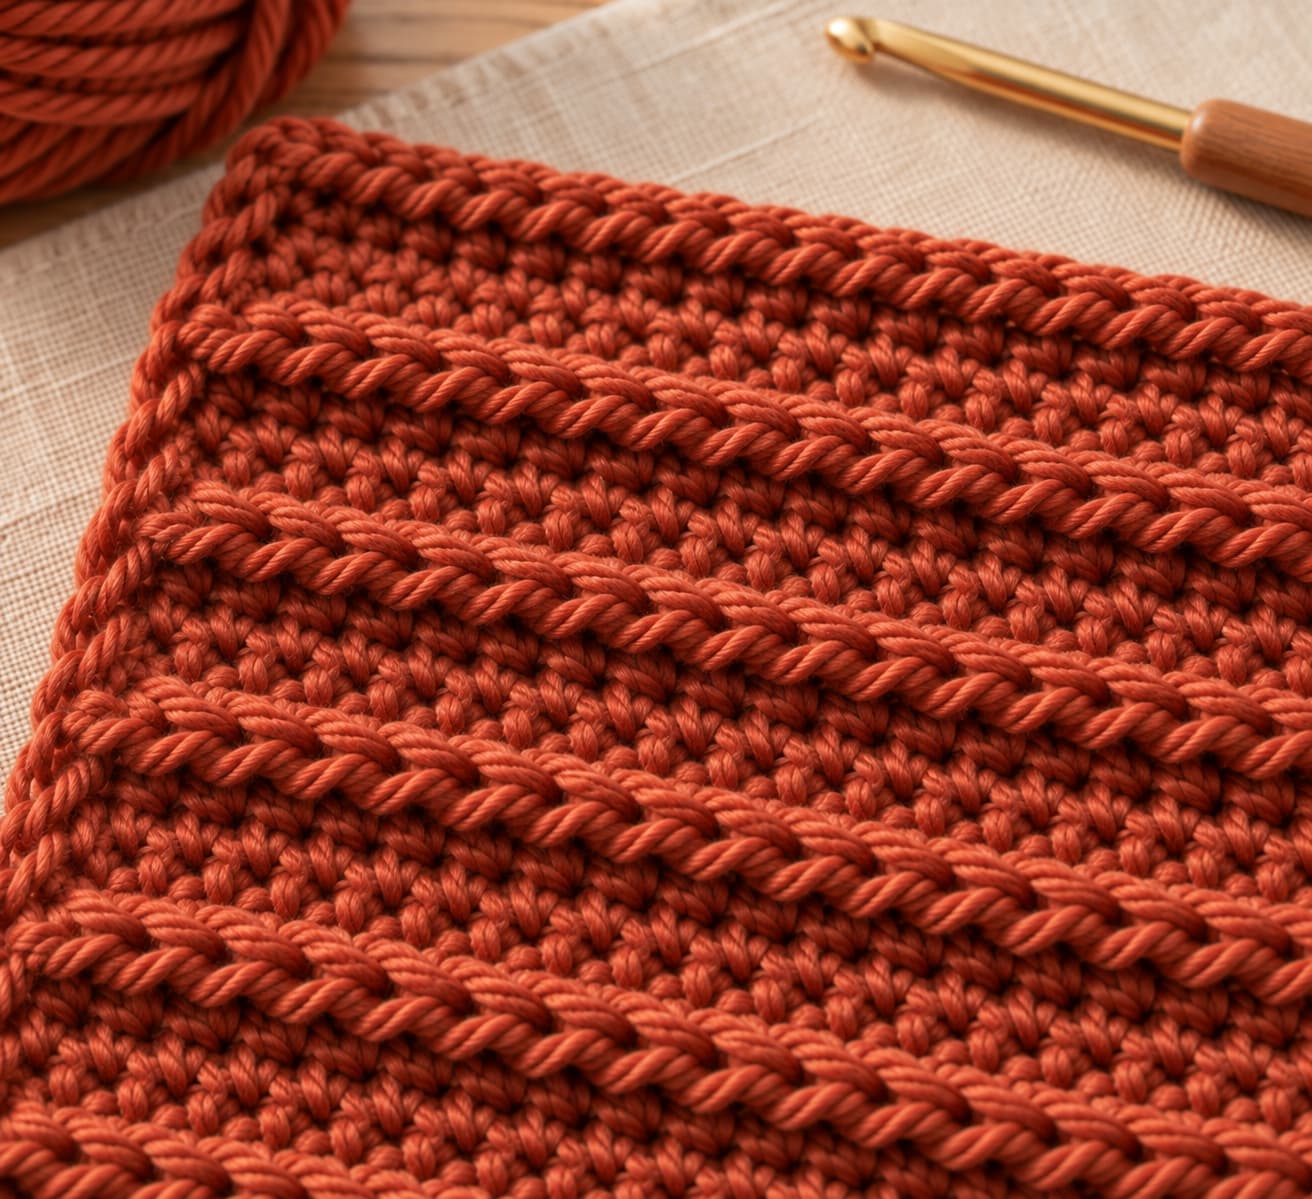
The easy crochet beanie uses the Ridgeline Stitch, a two-round texture. On Repeat A, work every stitch through the back loop only. The unused front loops remain visible as a horizontal ridge. On Repeat B, work through both loops to create a smoother band between ridges.
The pattern is easy to read once the first ridge appears. Before joining each round, check that the stitch count has not changed and that every stitch in the ridge round was worked through the back loop only.
The unworked front loops from the BLO round form the raised horizontal ridge.
Ridgeline Stitch repeat — any stitch count:
Repeat A · Ridge round: Ch 1. Sc in the back loop only of every stitch around. Join with a sl st to the first sc. Keep the same stitch count.
Repeat B · Smooth round: Ch 1. Sc through both loops of every stitch around. Join with a sl st to the first sc. Keep the same stitch count.
Repeat A–B for the body. The beginning chain does not count as a stitch.
Complete free pattern
Easy crochet beanie pattern: written instructions
The pattern is written for Adult S/M first, with Adult L/XL in parentheses where the counts differ. All rounds are joined to the first single crochet with a slip stitch. The beginning chain-one does not count as a stitch.
KnitSoul free pattern
Ridgeline Stitch Beanie
TermsU.S. crochet terms
ConstructionTop-down in joined rounds
Abbreviationsch, sc, sl st, st(s), rnd, BLO
Beginning chainDoes not count as a stitch
Pattern notes
Place a marker in the first single crochet of every round and move it up as you work.
Count at the end of each crown increase round before joining.
Use Repeat A and Repeat B as written; do not rely on global odd/even round numbers.
Try the crown on before working the full body length.
Crown
Rnd 1: With rust yarn, make a magic ring. Ch 1, work 6 sc in the ring. Join. 6 sc.
Rnd 2: Ch 1, 2 sc in each st around. Join. 12 sc.
Rnd 3: Ch 1, [sc in next st, 2 sc in next st] 6 times. Join. 18 sc.
Rnd 4: Ch 1, [sc in next 2 sts, 2 sc in next st] 6 times. Join. 24 sc.
Rnd 5: Ch 1, [sc in next 3 sts, 2 sc in next st] 6 times. Join. 30 sc.
Rnd 6: Ch 1, [sc in next 4 sts, 2 sc in next st] 6 times. Join. 36 sc.
Rnd 7: Ch 1, [sc in next 5 sts, 2 sc in next st] 6 times. Join. 42 sc.
Rnd 8: Ch 1, [sc in next 6 sts, 2 sc in next st] 6 times. Join. 48 sc.
Rnd 9: Ch 1, [sc in next 7 sts, 2 sc in next st] 6 times. Join. 54 sc.
Rnd 10: Ch 1, [sc in next 8 sts, 2 sc in next st] 6 times. Join. 60 sc.
Rnd 11: Ch 1, [sc in next 9 sts, 2 sc in next st] 6 times. Join. 66 sc. S/M stops increasing here.
Rnd 12 · L/XL only: Ch 1, [sc in next 10 sts, 2 sc in next st] 6 times. Join. 72 sc.
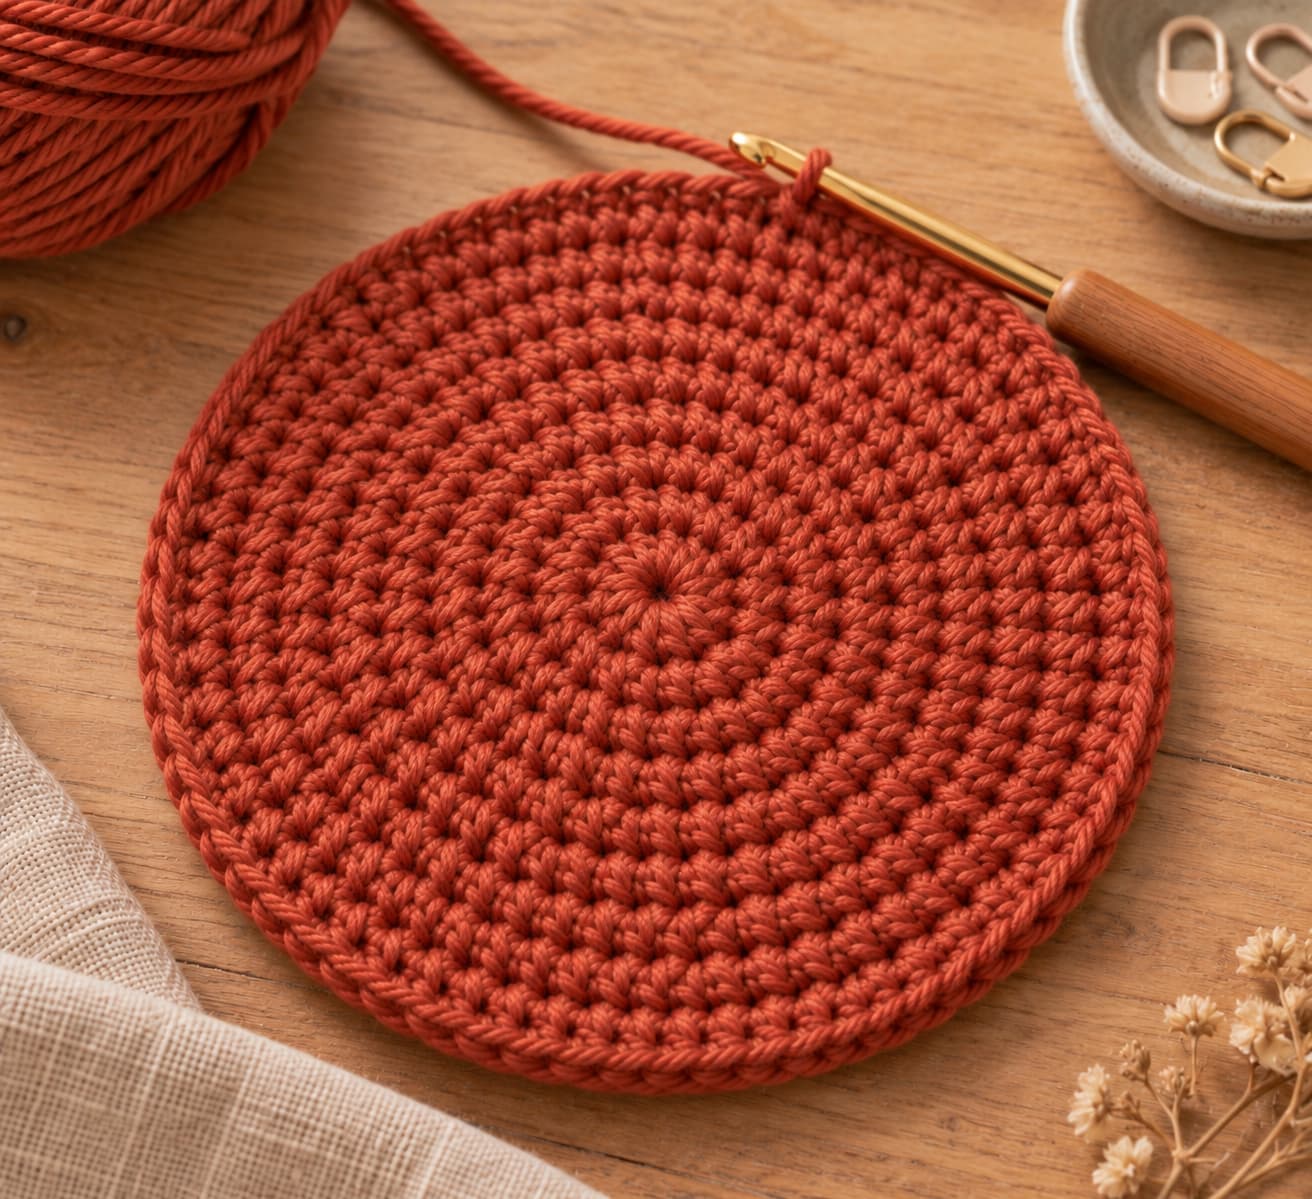
The crown should stay flat and the increases should remain evenly distributed around the circle.
Body · Ridgeline Stitch
S/M: Keep 66 sc. Work 16 body rounds, or 8 complete Repeat A–B pairs.
L/XL: Keep 72 sc. Work 17 body rounds: 8 complete Repeat A–B pairs, then one final Repeat A ridge round.
Repeat A: Ch 1, sc BLO in every st around. Join. 66 (72) sc.
Repeat B: Ch 1, sc through both loops in every st around. Join. 66 (72) sc.
As a fit check, the body section should measure about 4 inches for S/M or 4¼ inches for L/XL from the crown transition before the cuff is added. Use the intended wearer's fit as the final check.
The body should show regular horizontal ridges with an even join line and no accidental stitch increases.
Folded cuff · 6 rounds
Switch to cream yarn. Continue with the 5.0 mm hook, or use the optional 4.0 mm hook only if the cuff remains comfortable and does not pull inward.
Cuff Rnd 1: Ch 1, sc BLO in every st around. Join. 66 (72) sc.
Cuff Rnds 2–6: Repeat Cuff Rnd 1 five more times. After Round 6, fasten off. 66 (72) sc.
After blocking and drying, fold the cream section upward. The BLO rounds create horizontal ridges across the folded cuff.
Back-loop-only rounds create horizontal ridges in the cream cuff; fold only after the hat is dry.
Finishing and blocking
Finish the easy crochet beanie without stretching it out of size
Weave in the ends. Keep each tail in the matching color area. For a detailed finishing method, use How to Weave in Ends.
Follow the yarn-care label. Wash, soak, or dampen the hat only in a way that is suitable for the fiber you used.
Reshape gently. Lay the beanie flat or place it over a smooth form that is no larger than the intended finished circumference.
Do not force extra width. Smooth the crown and join line, but avoid stretching the fabric to correct a sizing problem.
Dry completely. Once dry, fold the cream cuff upward and check that the hat sits comfortably without pulling.
Shape the damp hat gently on a smooth form with the cream cuff left unfolded; fold the cuff only after the hat is completely dry.
Troubleshooting
Fix six problems before they change your easy crochet beanie
Gauge is off
Wash and measure the swatch again. Then change hook size before restarting the crown instead of trying to stretch the finished hat.
Crown will not lie flat
Check every increase round against the written stitch count. A missed or extra increase can distort the circle.
A ridge disappears
You probably worked through both loops on Repeat A. Undo that round and work through the back loop only.
Join line looks heavy
Join to the first single crochet rather than the beginning chain, and keep the slip stitch relaxed and consistent.
Cuff pulls inward
The cuff hook may be too small or the BLO tension may be too tight. Return to the main hook or relax the tension.
Hat is too long
Remove body rounds before working the cuff. A folded cuff adds visible depth, so check the fit before the final section.
Practice tips and variations
Customize the easy crochet beanie while keeping the construction familiar
Single-color version
Use the same yarn for the body and cuff. The Ridgeline texture still separates the folded edge from the rest of the hat.
Slouchier fit
Add complete Ridgeline A–B pairs before starting the cuff. Try the hat on between repeats so the extra length remains intentional.
Pom-pom finish
Add a removable pom-pom after the hat is complete. A removable attachment makes washing and reshaping easier.
Different size
Use head circumference, washed gauge, and a measured crown target together. Recalculate rather than copying an untested child or oversized stitch count.
Move the marker every round. It keeps the join line from drifting unnoticed.
Check each ridge immediately. A visible front-loop bar should run across every stitch in a BLO round.
Measure before the cuff. Body length is easier to correct before the contrast yarn is added.
Change colors cleanly. Complete the final pull-through of the last rust stitch with cream so the transition stays neat.
Reshape after washing. Lay the hat flat or use a correctly sized smooth form instead of hanging it while wet.
Yes. The pattern uses a magic ring, single crochet, back-loop-only single crochet, slip stitch, and simple crown increases. Practice the two-round Ridgeline repeat on a swatch first if back-loop-only crochet is new to you.
2. How much yarn do I need for an easy crochet beanie?
Plan on about 120–150 yards of the body color and 30–50 yards of the cuff color. Keep extra yarn for your swatch and for normal variation in tension.
3. Should I swatch in plain single crochet or Ridgeline Stitch?
Swatch in the same two-row Ridgeline sequence used in the hat so both the stitch width and the fabric behavior match the project more closely. Wash or wet the swatch as allowed by the yarn label before measuring.
4. Why does the cuff have horizontal ridges instead of vertical ribs?
The cuff is worked in back-loop-only single crochet around the hat, so the unused front loops form horizontal ridges. A true vertical crochet rib is usually made in rows worked perpendicular to the hat edge.
5. How do I adjust the size?
Use the measured head circumference, your washed gauge, and the crown-diameter checkpoint together. If the written size is not close to the intended wearer, recalculate and swatch rather than relying on an untested stitch-count shortcut.
6. May I sell finished beanies made from this pattern?
You may sell finished physical beanies made from this pattern. Do not copy, redistribute, or sell the written pattern or images. When listing finished items online, credit KnitSoul as the pattern source.
A simple wearable
Finish an easy crochet beanie with clean texture and a comfortable cuff
This easy crochet beanie turns a small group of beginner techniques into a useful cold-weather project. Match the gauge first, keep the crown increases even, and check every BLO ridge before moving on. Then use the body length and try-on checkpoints to control the fit.
Once the cuff is complete, weave in the ends and reshape the hat gently according to the yarn-care label. Fold the cream section only after the fabric is dry, and your Ridgeline Beanie is ready to wear.
Happy crocheting, — Sophie
Free printable
Keep the crown counts and Ridgeline repeat beside your project