C2C Crochet for Beginners: Corner-to-Corner Complete Guide
Learn C2C crochet one block at a time. First, make an 8×8 practice square. Next, master increase and decrease rows. Then read a chart, change colors, and try the KnitSoul Seedling Tile.
Written by Sophie Lane•Published •About 14 minutes to read
Easy+U.S. crochet termsDiagonal block construction8×8 practice square
C2C crochet builds fabric diagonally, from one corner to the other. Instead of long horizontal rows, you work small blocks. Then you join them across each diagonal. In this guide, each block has a chain-3 space and three double crochets.
A square starts with increases. Each new diagonal has one more block. Once the square reaches its full width, you begin decreasing. As a result, each following row has one fewer block. This simple method works for squares, blankets, and charted pictures.
First, practice with one color. That way, you can learn the construction without handling extra yarn. Afterward, the Seedling Tile shows how to add simple colorwork.
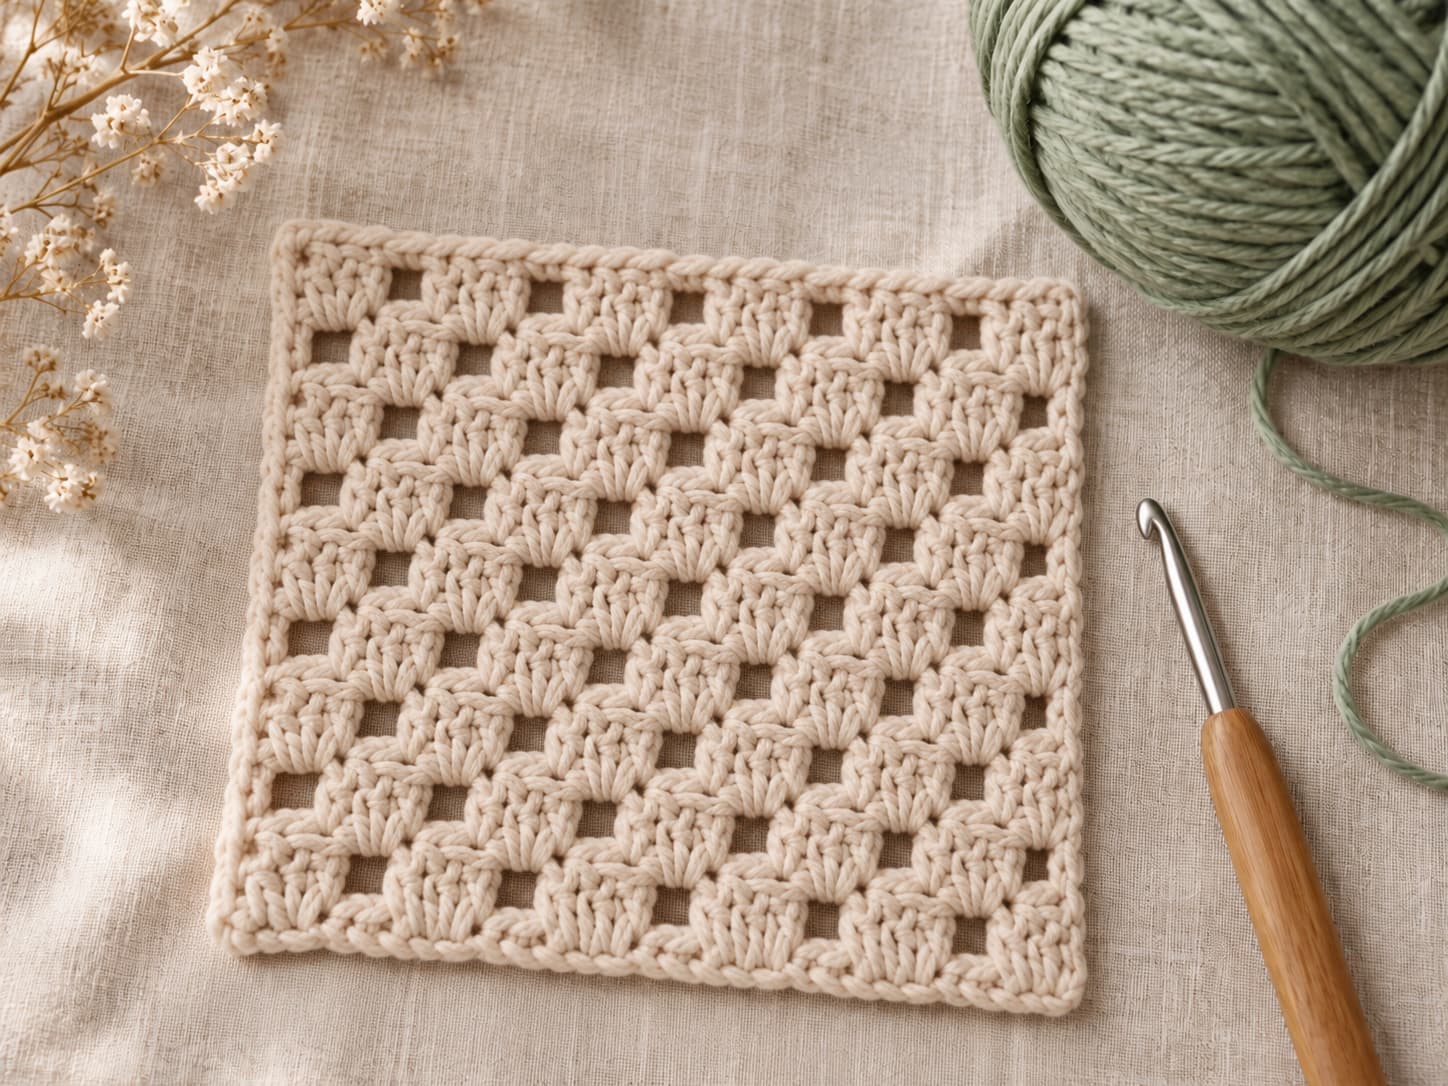
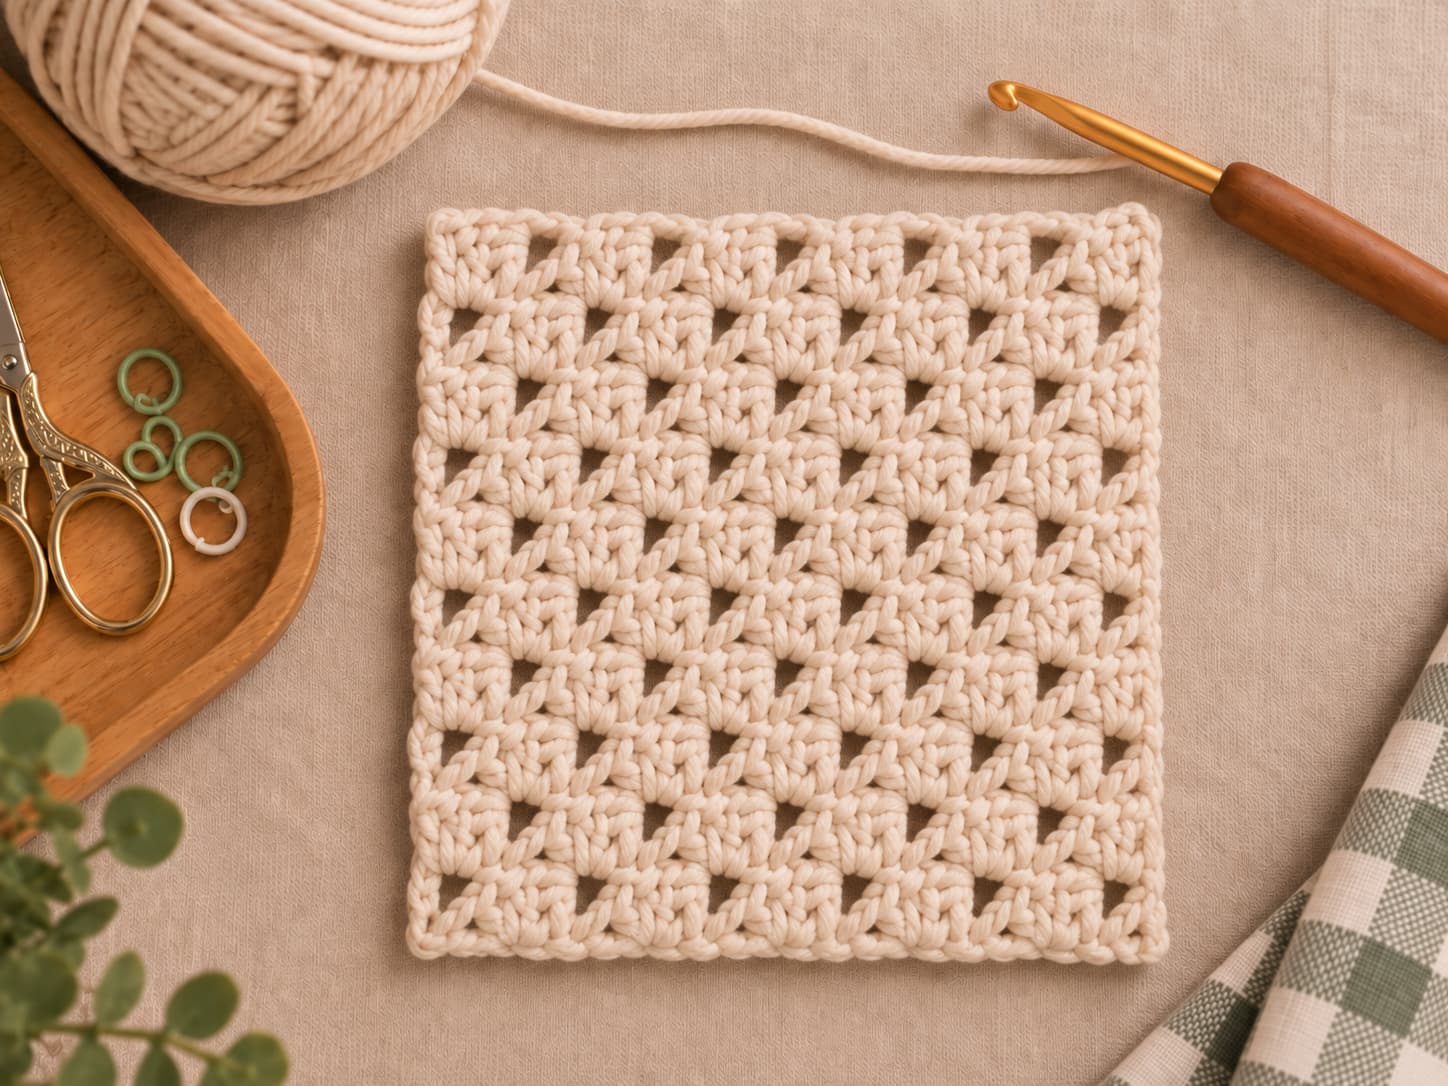
A small solid-color square makes the increase-to-decrease construction easy to see before you add charted colorwork.
Skill levelEasy+
Chains, slip stitches, double crochet, turning, and counting blocks.
ConstructionCorner to corner
Increase diagonally, reach full width, then decrease diagonally.
Standard blockch-3 space + 3 dc
The same block repeats across every diagonal row.
Practice project8×8 blocks
A compact square for learning increases and decreases.
Suggested yarnSmooth light #4 yarn
Choose a color that makes block boundaries easy to see.
Colorwork next stepSeedling Tile
A simple original KnitSoul motif for practicing a second color.
On this page
Foundation
How corner-to-corner crochet builds a diagonal grid
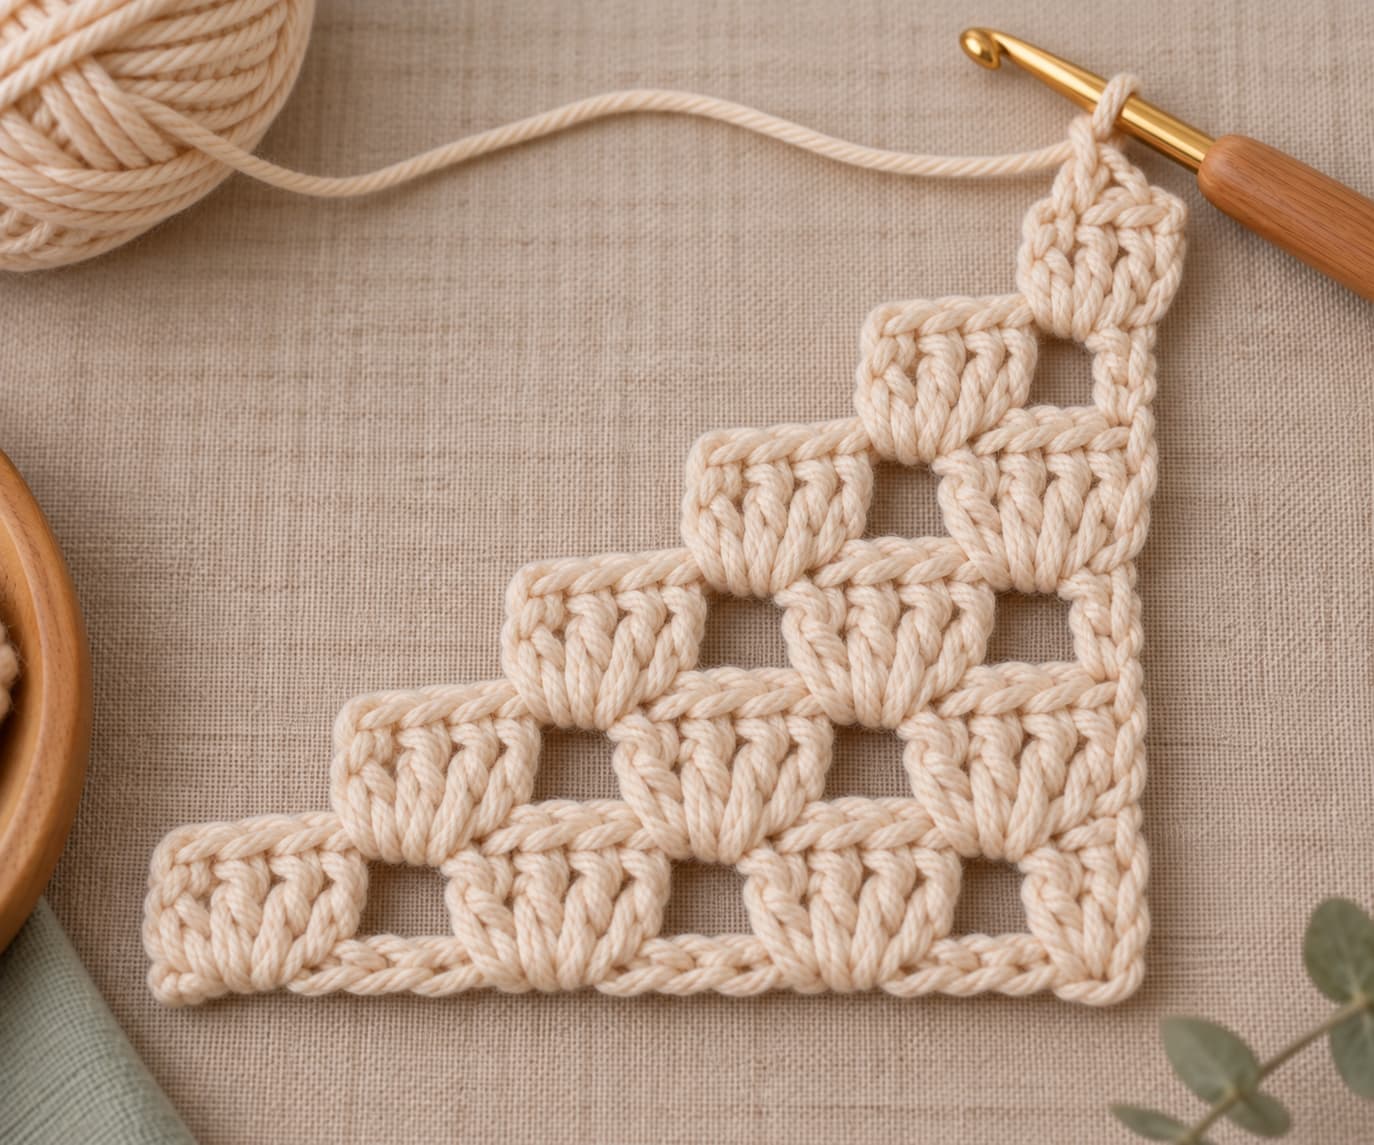
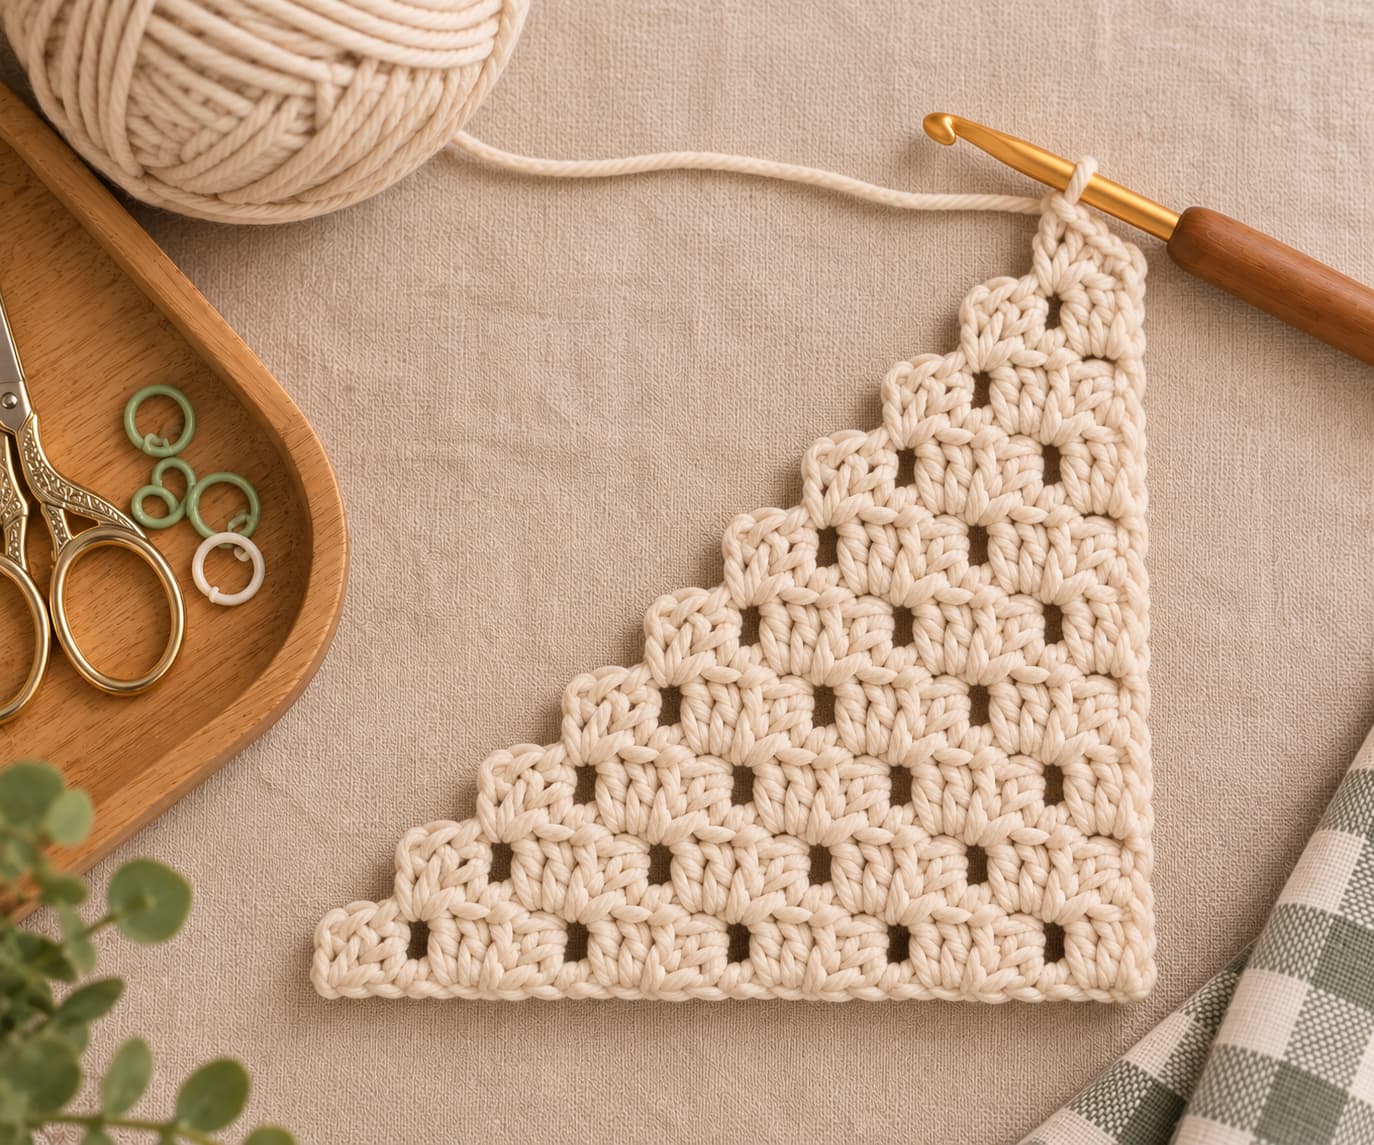
In C2C crochet, you work diagonals of small blocks. The first diagonal has one block. The next has two, and the third has three. Keep adding one block per row until you reach the planned width.
A C2C square grows and then shrinks. First, increase to the widest diagonal. Then remove one block from each new row. Each block can also stand for one square on a chart. Therefore, C2C works well for pixel designs and picture blankets.
You need three basic stitches: chain, slip stitch, and double crochet. If you know those stitches, focus on joining the blocks. Next, learn when to switch from increasing to decreasing.
What one standard C2C block contains
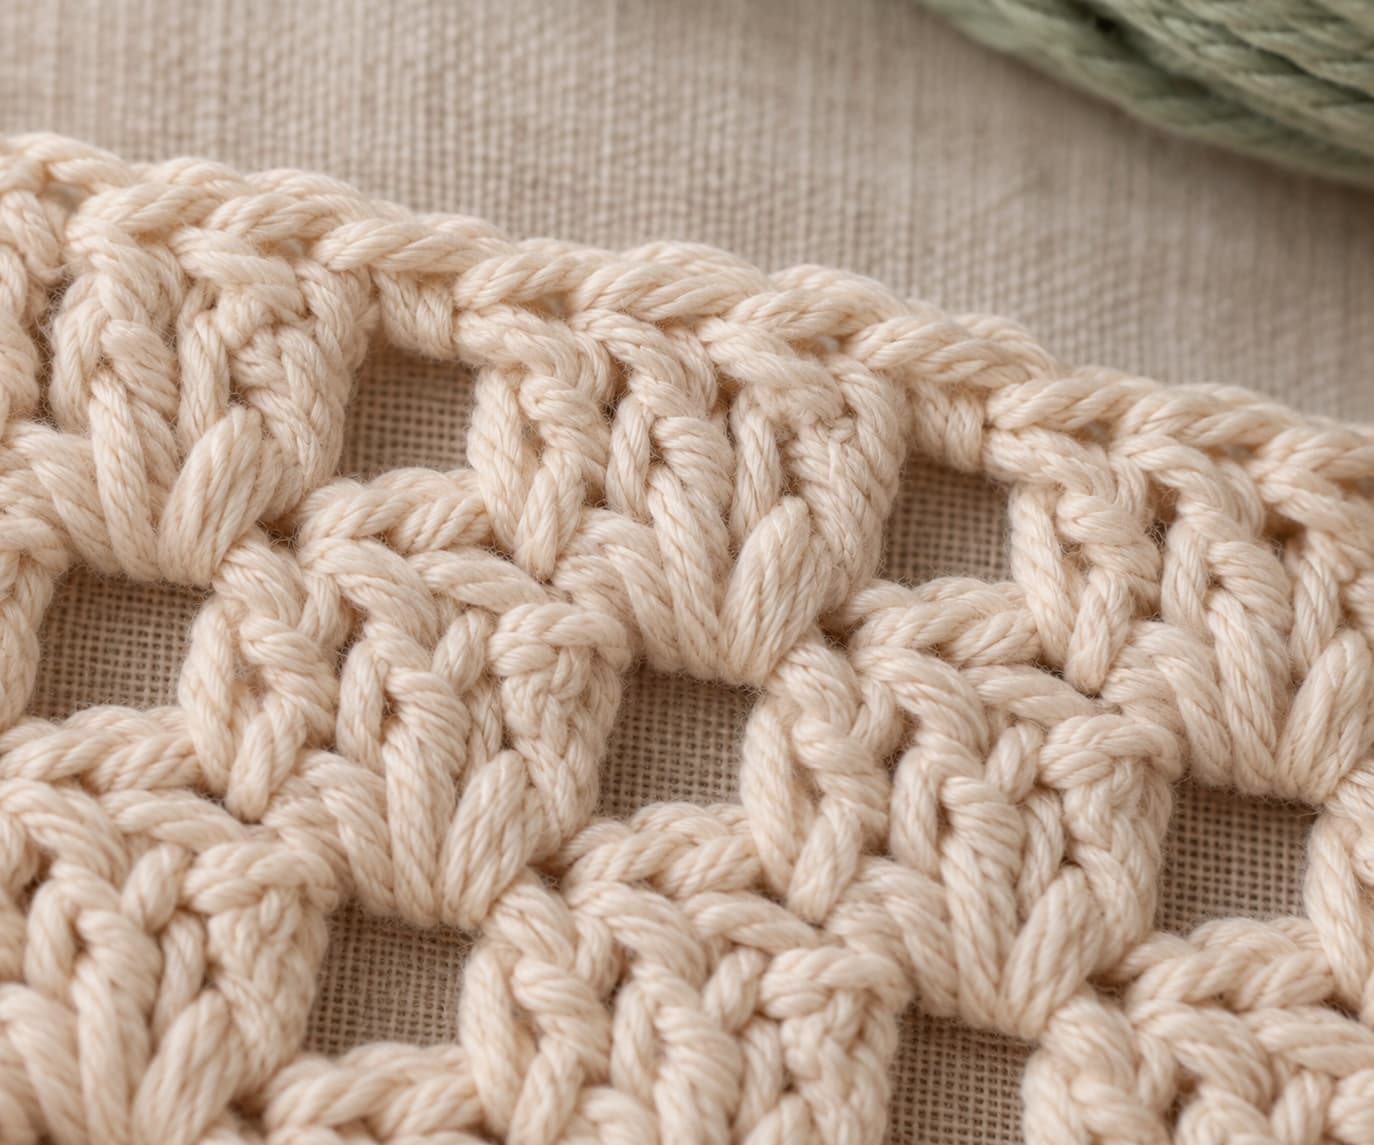
A standard C2C block has a chain-3 space and three double crochet stitches. The chain-3 space lets you connect the next block. Meanwhile, the three double crochets make its solid side.
At the start of an increase row, chain 6. Then work one double crochet in the fourth chain from your hook. Work one double crochet in each of the next two chains. The skipped chains form the chain-3 space. Together, these parts form your first block.
Look for one chain-3 opening beside a group of three double crochets. That repeating unit is one C2C block.
Start with 1 block
→
Increase 1 block per row
→
Reach 8 blocks
→
Decrease 1 block per row
→
Finish with 1 block
Step by step
C2C crochet increase rows: add one block to every diagonal
Each increase row adds one block. For an 8×8 square, work diagonals of 1 through 8 blocks. Count each diagonal before you turn.
Row 1 · 1 block: Ch 6. Dc in 4th ch from hook and in each of next 2 ch. Turn.
Row 2 · 2 blocks: Ch 6. Dc in 4th ch from hook and in each of next 2 ch. Sl st into the ch-3 space of the Row 1 block. Ch 3, then work 3 dc in the same ch-3 space.
Row 3 and later: Turn, then ch 6 and work 3 dc as before. Join to the next ch-3 space with a sl st. Next, ch 3 and work 3 dc in that space. Repeat across, joining to each remaining ch-3 space.
Row
Blocks
Total blocks completed
Checkpoint
1
1
1
First corner block.
2
2
3
The diagonal begins to widen.
3
3
6
Count all three blocks before turning.
4
4
10
Keep the slip-stitch joins relaxed.
5
5
15
The diagonal texture is now easy to see.
6
6
21
Check that every new block has 3 dc.
7
7
28
One more increase row remains.
8
8
36
Full width reached; decrease next.
Each increase diagonal adds one block. Row 8 is the widest diagonal in the 8×8 practice square.
Step by step
C2C crochet decrease rows: remove one block from each new diagonal
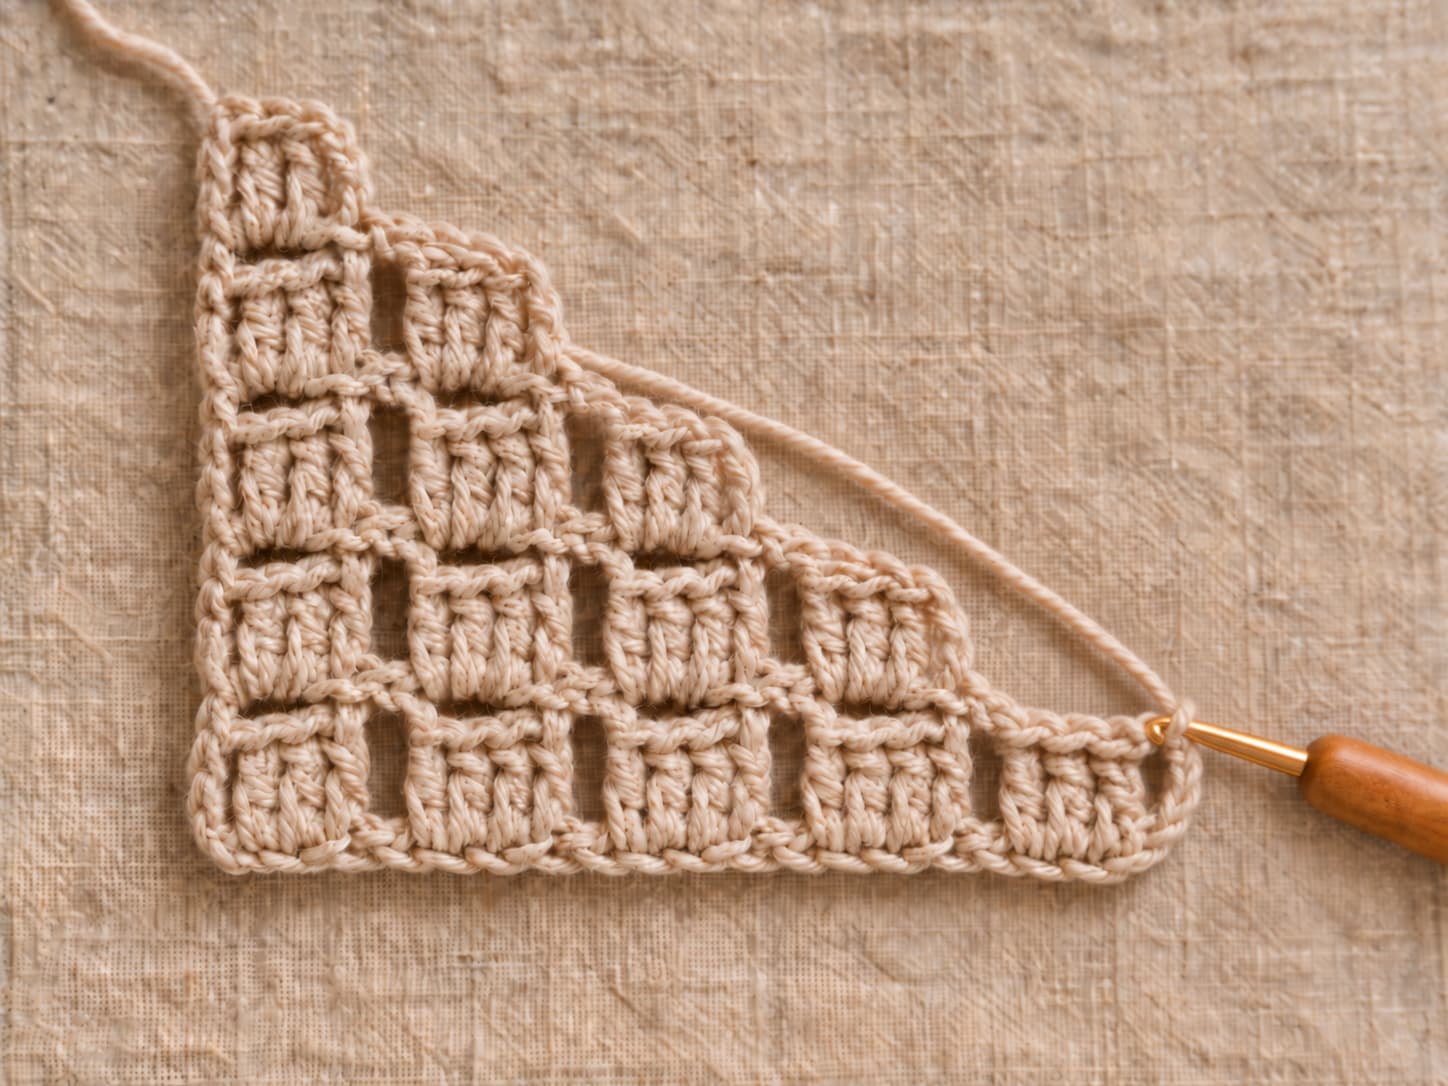
After the eight-block diagonal, stop adding a new edge block. First, turn your work. Then slip stitch across the three double crochets of the edge block. Slip stitch into its chain-3 space. Now you can start the next row without adding width.
First decrease row · 7 blocks: Turn. Sl st across the next 3 dc, then sl st into the ch-3 space. Ch 3 and work 3 dc in the same space. Continue across the diagonal. Join each next block at its ch-3 space. Finally, sl st into the last ch-3 space. Do not add another edge block.
Following decrease rows: Repeat the edge setup. Each row has one fewer block: 6, 5, 4, 3, 2, and finally 1.
Row
Blocks
Total blocks completed
Checkpoint
9
7
43
First decrease diagonal.
10
6
49
Edge should stay straight, not puckered.
11
5
54
Keep joining into chain-3 spaces.
12
4
58
The second half should mirror the first.
13
3
61
Three blocks remain.
14
2
63
One final diagonal remains.
15
1
64
Square complete.
Slip stitching across the edge block moves the hook inward so the next diagonal begins one block shorter.
How a C2C rectangle stays the same width
A rectangle needs a different shaping rhythm. Once the short side is wide enough, decrease at one edge. At the same time, increase at the other edge. As a result, the block count stays steady while the long side grows. Then decrease at both edges to finish the rectangle.
Chart reading
Read a C2C crochet chart one diagonal at a time
A C2C chart looks like pixel art. Each chart square stands for one crochet block. This tutorial starts in the bottom-right corner. Row 1 has one block, Row 2 has two, and Row 3 has three. Then the reading direction changes each time you turn.
After the widest diagonal, the chart starts to narrow. Each new row contains one fewer block. Mark each finished square on your chart. That way, you can follow your progress and avoid missed blocks.
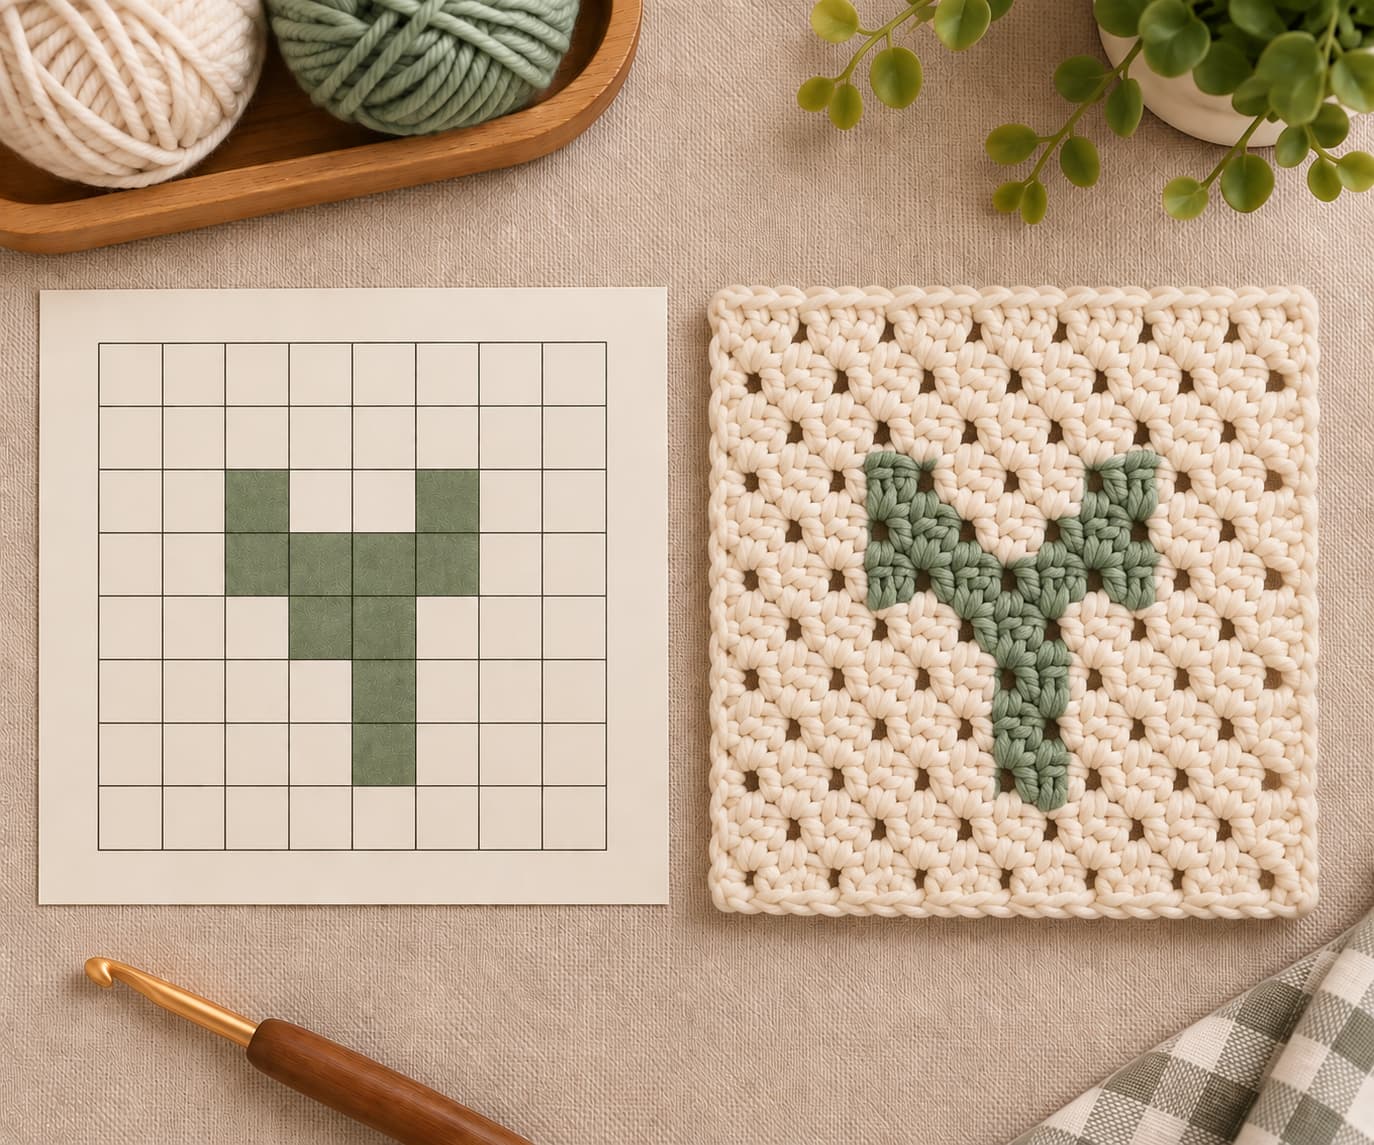
Each square on the chart represents one C2C block. The optional Seedling motif occupies the centered 4×4 area.
Seedling Tile · centered 4×4 motif
The original KnitSoul Seedling Tile uses sage for the leaf. Oatmeal forms the background. First, draw the motif in a centered 4×4 chart area. Use grid rows 3–6 and columns 3–6 of the 8×8 chart. This leaves a two-block border on each side.
Sage cells form the leaf motif. All uncolored cells are oatmeal background blocks.
Colorwork
Change colors in C2C crochet without muddy block edges
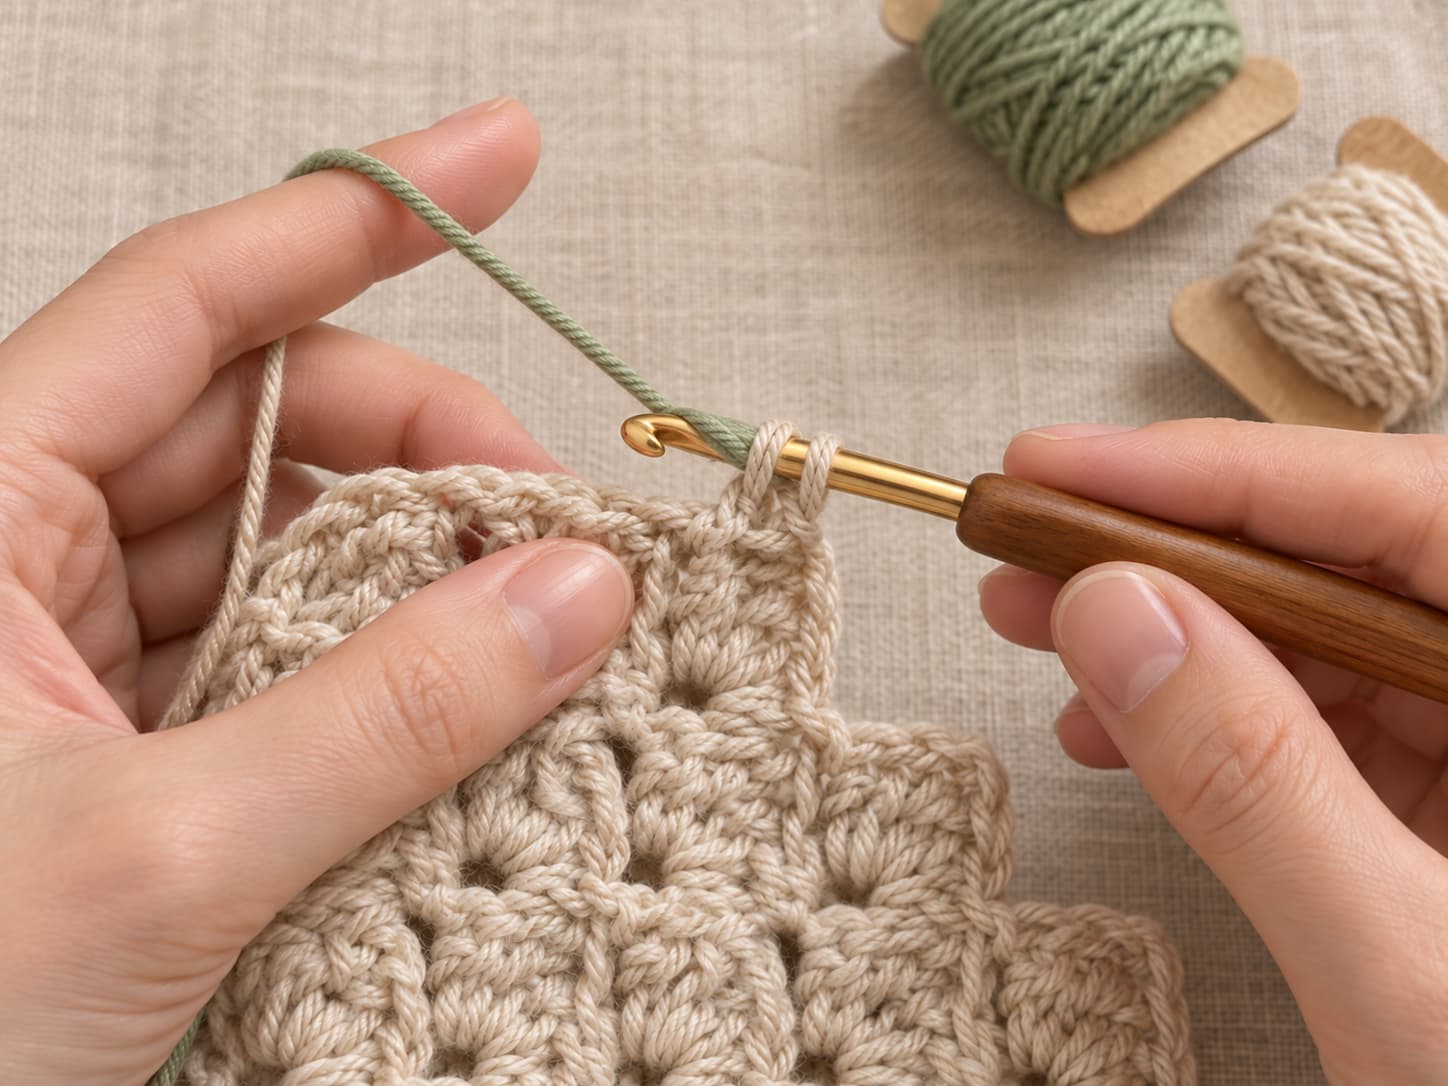
To change colors, work the last double crochet until two loops remain. Next, bring in the new yarn for the final yarn-over. Pull it through both loops. Now the top of the stitch matches the new color. Continue with the next block as your chart directs.
For several color areas, use small yarn bobbins. Keep unused colors attached when you will need them again. For a short section, you may carry yarn inside the stitches. However, check both fabric sides. Make sure the carried strand does not show through.
Complete the final yarn-over with the new color so the top of the last stitch already matches the next block.
Materials and gauge
Use a smooth yarn that makes every block easy to read
Item
Suggested specification
Why it helps
Main yarn
Smooth, light-colored CYC #4 / worsted yarn
Block openings and double crochets stay visible.
Accent yarn
Optional second color in the same yarn line and weight
Keeps the Seedling colorwork gauge consistent.
Hook
About 5.0 mm / US H-8, or size needed for comfortable fabric
Choose smooth yarn in a light color. For example, try oatmeal, cream, pale sage, or dusty blue. These shades make the chain spaces easier to see. In contrast, fuzzy or dark yarn may hide the joins.
Before making a larger graphghan, work at least four increase diagonals. Then measure the blocks. Your own gauge determines the finished chart size. If each block grows, the whole project grows too.
Practice pattern
8×8 C2C crochet mini square: learn the full shaping cycle
This practice square contains 64 blocks. First, work eight increase diagonals. Then work seven decrease diagonals. Your block gauge sets the finished size, so measure your own swatch.
KnitSoul free practice pattern
8×8 C2C Mini Square
TermsU.S. crochet terms
ConstructionDiagonal blocks
Abbreviationsch, dc, sl st, sp
Block count64 total blocks
Increase section · Rows 1–8
Row 1: Ch 6. Dc in 4th ch from hook and in each of next 2 ch. Turn. 1 block.
Row 2: Ch 6. Dc in 4th ch from hook and in each of next 2 ch. Sl st into ch-3 sp of Row 1 block. Ch 3, 3 dc in same ch-3 sp. Turn. 2 blocks.
Row 3: Ch 6. Dc in 4th ch from hook and in each of next 2 ch. *Sl st in next ch-3 sp. Ch 3, then 3 dc in same sp. Repeat from * across. Turn. 3 blocks.
After Row 8, count eight blocks across the diagonal before beginning the decrease section.
Decrease section · Rows 9–15
Row 9: Turn. Sl st across the 3 dc of the edge block and into its ch-3 sp. Ch 3, 3 dc in same sp. Continue making blocks across, joining into each next ch-3 sp. End by sl st into the final ch-3 sp. 7 blocks.
Rows 10–14: Repeat the decrease-row structure, working one fewer block each row. Row 10 = 6 blocks, Row 11 = 5, Row 12 = 4, Row 13 = 3, Row 14 = 2.
Row 15: Work the same decrease setup and complete the final single block. Join at the edge, fasten off, and weave in the ends. 1 block.
The finished square contains 64 blocks arranged in a clear diagonal texture.
Troubleshooting
Fix six C2C crochet mistakes before they distort the grid
Wrong block count
Count the diagonal before turning. Increase rows should gain one block; square decrease rows should lose one.
Joining into a dc instead of the space
Connect the next block to the chain-3 space. Joining into the stitch itself can twist the block alignment.
Tight edge slip stitches
Positioning slip stitches should stay relaxed. Tight ones shorten the edge and can make the square pucker.
Forgetting to turn
Turn after each diagonal row. The alternating direction is part of the C2C construction.
Changing color too late
Switch to the new yarn during the final yarn-over of the last stitch. Then follow the color chart for the next block.
Assuming every chart starts in the same corner
Check the chart key before starting. This guide starts at bottom-right. However, other patterns may use a different corner.
Practice tips and variations
Scale C2C crochet into rectangles, colorwork, and blankets
Make a rectangle
Reach the short side first. Then decrease at one edge while increasing at the other to keep the block count steady. Once the long side is complete, decrease at both edges.
Add the Seedling motif
Use oatmeal for the border and sage for the centered 4×4 leaf. Small bobbins make the short color sections easier to manage.
Build a graphgan
First, wash and measure one finished block. Then use that gauge to plan the chart width and height. Finally, estimate your yarn needs.
Try a different yarn weight
C2C works at many gauges, but a different yarn changes block size and final dimensions. Swatch rather than relying on a universal inches-per-block estimate.
Count every diagonal. A five-second block count prevents a small mistake from traveling through several rows.
Mark the first and last chain spaces. Stitch markers can make the edge joins easier to find while you learn.
Practice in one color first. Add charted colorwork only after increase and decrease rows feel automatic.
Block to settle the shape. Follow the care instructions for your yarn and reshape the square without forcing it larger.
Yes, if you know chains, slip stitches, and double crochet. Start with one color. Then work a small square to learn the diagonal rhythm. Add colorwork after the shaping feels natural.
2. What stitches are used in standard double-crochet C2C?
Standard C2C uses chains, slip stitches, and three-double-crochet groups. Each block has a chain-3 space and three double crochets. Increase rows start with chain 6. Decrease rows start with edge slip stitches.
3. How do I know when to start decreasing in C2C crochet?
For a square, begin decreasing after you reach the planned block count. For example, increase an 8×8 square to eight blocks. Then decrease through rows of seven to one block.
4. How do I read a C2C crochet chart?
Read the chart diagonally. Each chart square represents one crochet block. In this guide, you begin at the bottom-right corner. Then follow the next diagonal as you turn your work.
5. Can C2C crochet make a rectangle instead of a square?
Yes. First, increase until you reach the short side. Next, decrease at one edge while increasing at the other. The block count stays steady as the rectangle grows. Finally, decrease at both edges.
6. May I sell finished items made from the Seedling practice pattern?
You may sell finished physical items made from this practice pattern. However, do not reproduce or sell the written pattern, chart, or KnitSoul images. Credit KnitSoul as the pattern source when appropriate.
One block at a time
Use C2C crochet to turn a simple diagonal rhythm into a grid
The technique becomes much easier once you stop thinking about individual stitches and start counting blocks. Increase until the square reaches full width. Then decrease back to one block. That is the complete shaping cycle.
After the solid 8×8 square feels comfortable, add the Seedling Tile or another small graph. The construction stays the same; only the color decisions change. From there, the same method can scale into cushions, scarves, rectangles, and full graphgan blankets.